Table of content as following:
1REQUIREMENT – Back to top
At the basic level, this template will require the following conditions:
- Compatible with version Joomla: Joomla 3.x
- Compatible with Components include: AdsManager Component, K2 Component, Acy Mailing Component, and JComenents Component.
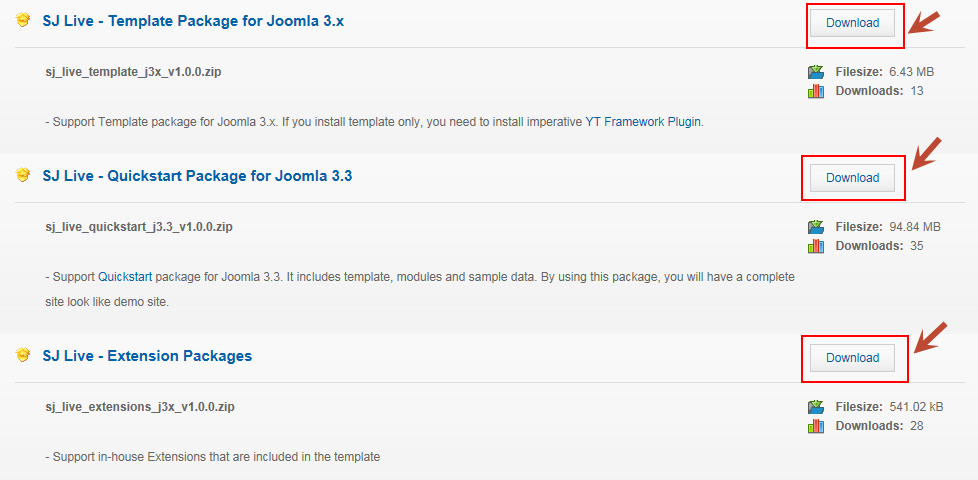
- Installation Packages include:
- Quickstart Package
- Template package only
- Extensions package from our store
2HOW TO DOWNLOAD – Back to top
Download Packages from our store:
Step 1: Login your account
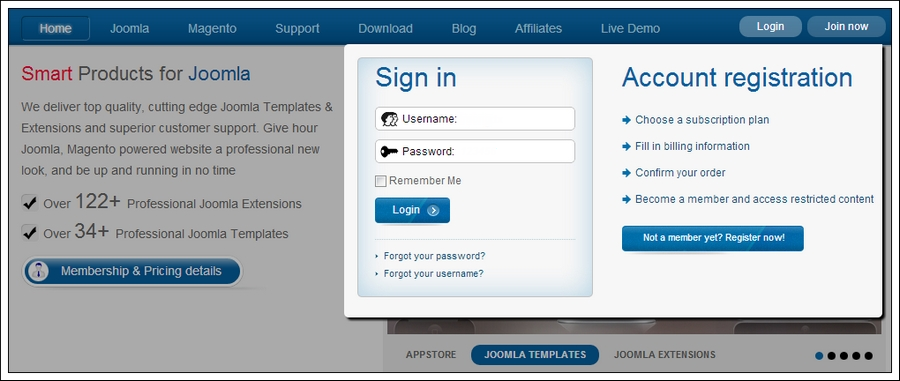
Step 2: Go to Joomla > Download > Joomla Templates Club
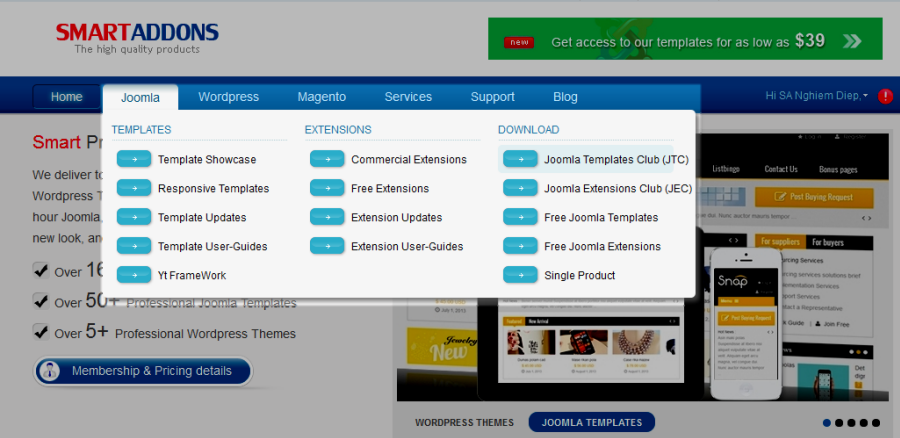
Step 3: Under Premium Joomla Templates –> click to download template as you want

Step 4: Under name of template –> Download packages as you want
3HOW TO INSTALL – Back to top
There are two ways to install a Joomla Template:
- Install quickstart: By using this package, you will set the template exactly as our Demo with sample data. This is applied when you need a fresh Joomla with our template.
- Install Template and Extensions: This is applied when you have already installed a Joomla instance on your server. You will need only be using the zipped files in “Extensions” and “Template” folders mentioned above.
3.1 Install with Quickstart Package:
The following steps will guide to install a quickstart package of SmartAddons Joomla Template: Click here
3.2 Install with Template and Extensions:
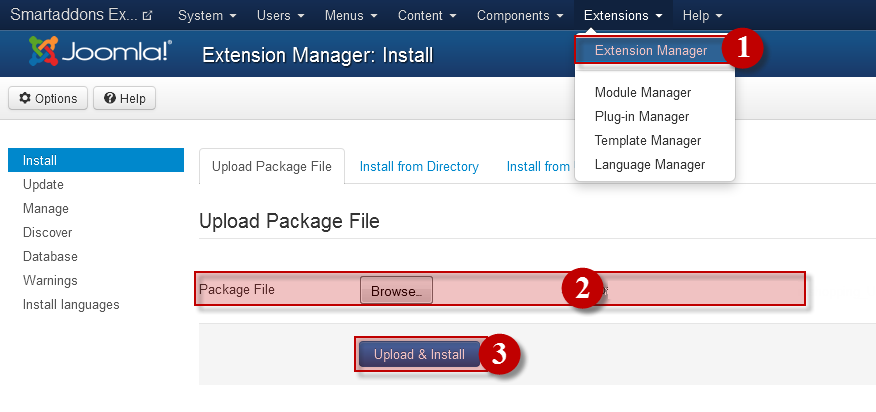
Log in your Administrator, go to Extensions > Extension Manager
Then install Template and Extensions as below.
3.2.1 Install Template:
Step 1: Click Choose File/Browse button, select our template file you have downloaded > Upload & Install.
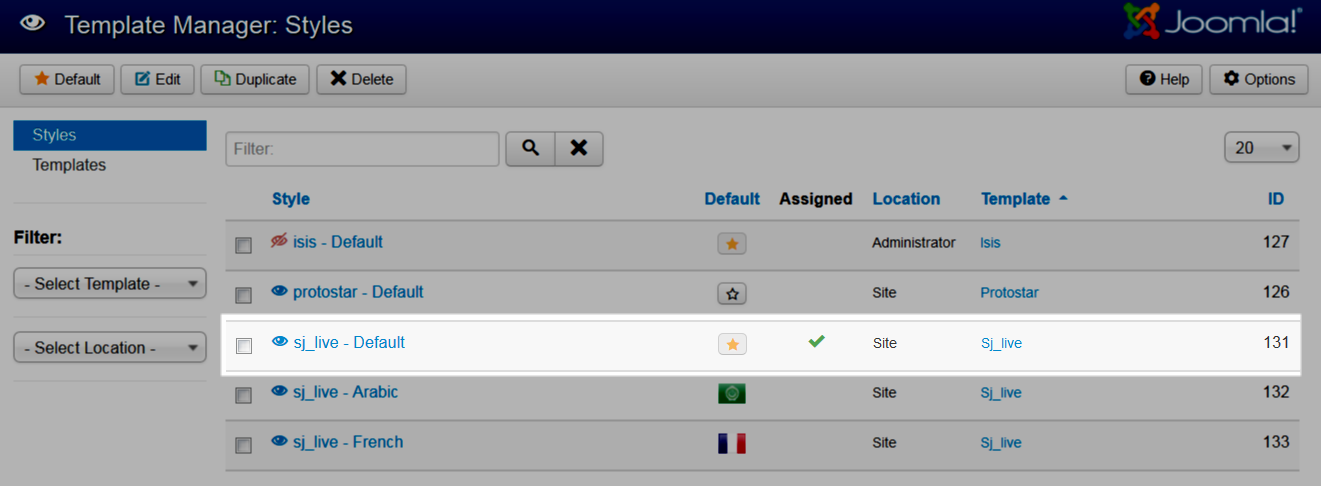
Step 2: Go to Extensions > Template Manager and set SJ Live to become the default template as below
3.2.2 Install Extensions:
Here is list of extensions that are used in the template.
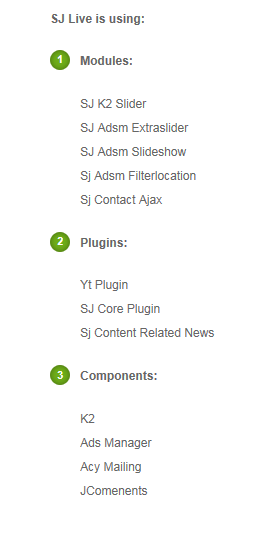
Step 1: Install Extensions that are developed by SmartAddons. Please Unzip First the Extension package for getting SmartAddons extensions then install each of them as install template above.
Step 2: Enable/Public plug-ins. Note: all plug-ins listed are imperative.
- YT Framework Plug-in supports to add extra parameters used with Mega Menu and to compress CSS/JS/HTML when optimizing code. Besides, configure Yt Framework to show SJ Help with Report Bugs, Template Tutorials and YT Framework Tutorials or include j Query into template. You can go here for getting more information of this plug-in.
You need to install and activate them when using this template. Let’s start from 1 – 2 – 3 to active plug-ins as below:

After install template/extensions, please go to next step – Configuration of template as 4. Part below
3.3 Install multilingual site in SJ Template
To help you better about language problem when you work with SJ Template. We will instruct you how to set up multilingual site in SJ Template. FOLLOW US!
4HOW TO CONFIGURE – Back to top
The following part we will guide how to configure the template becomes the same with our home page – Demo
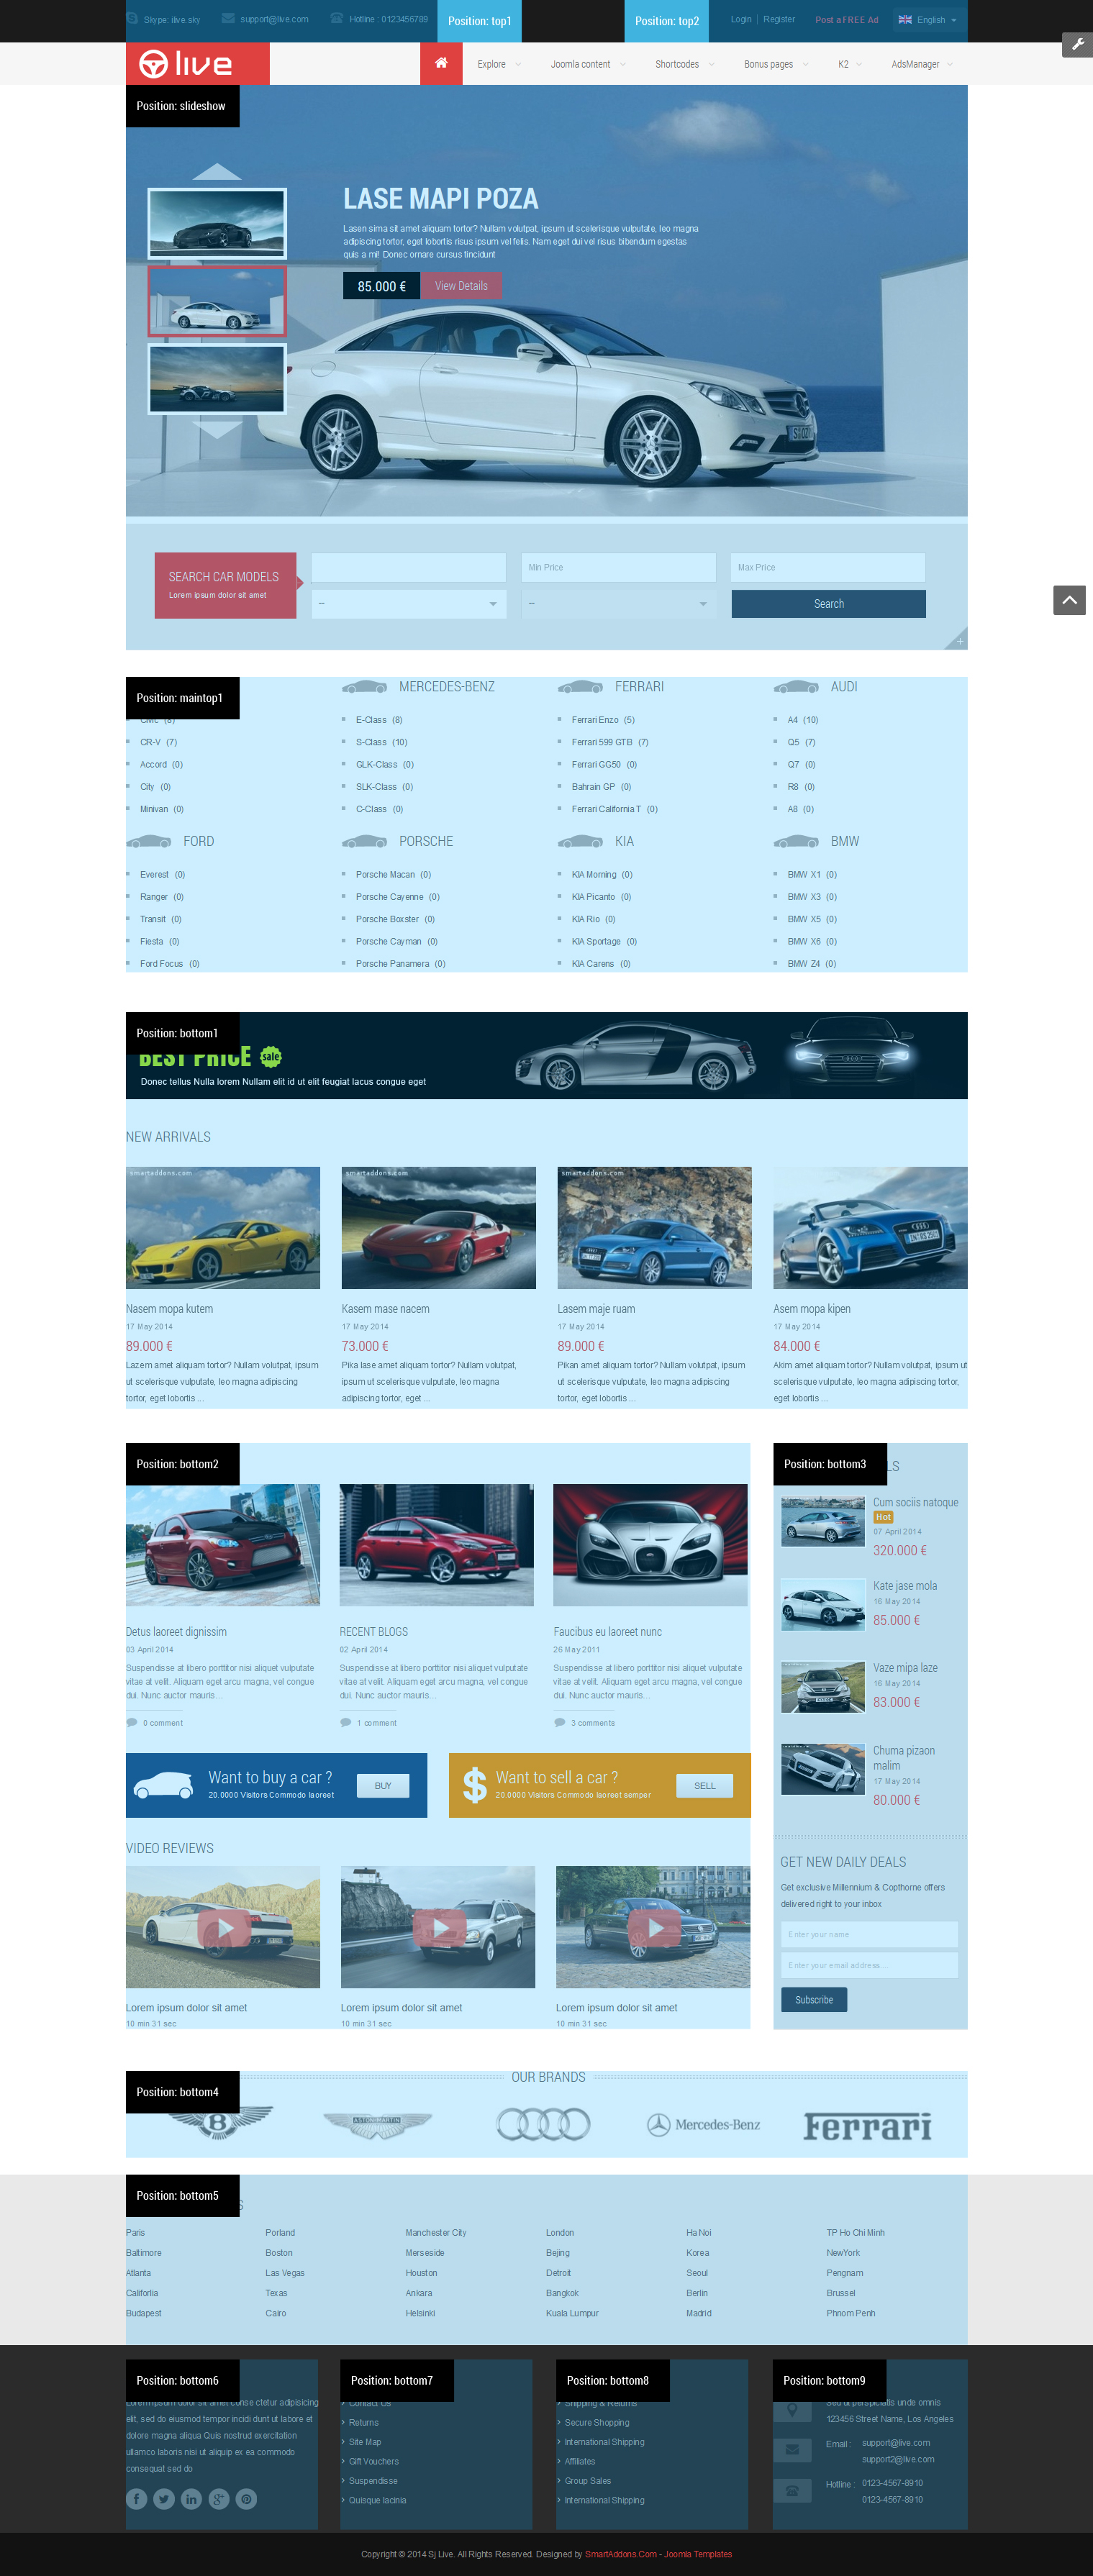
4.1 Modules Positions
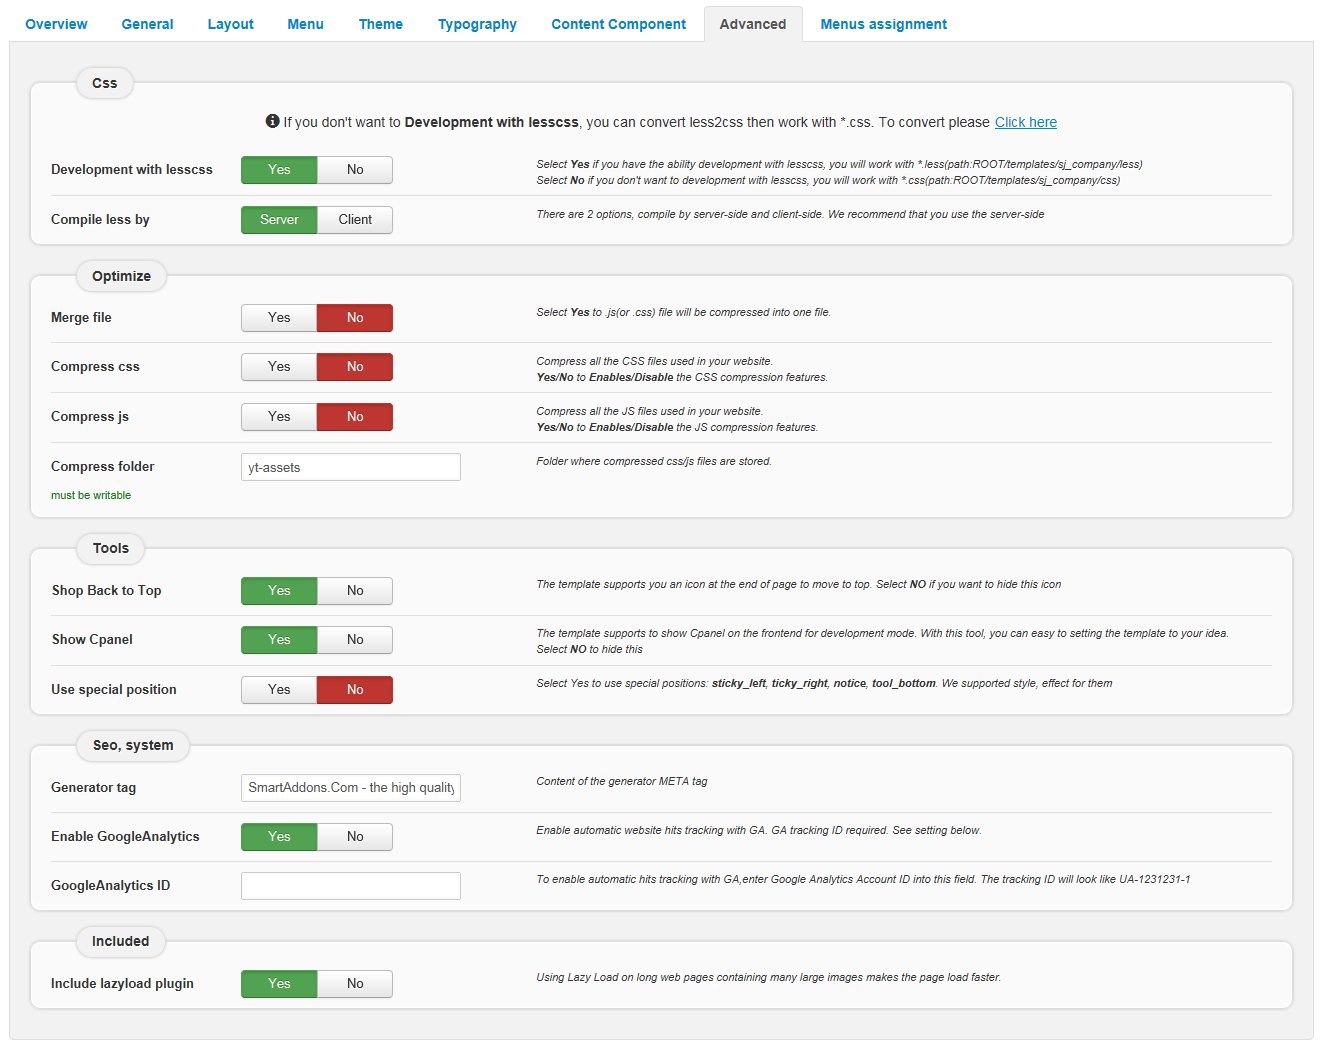
4.2 Template Configuration
Go to Extensions > Template Manager > SJ Live. All of parameters of this template are divided into the following groups, in which they are explained themselves:
OVERVIEW
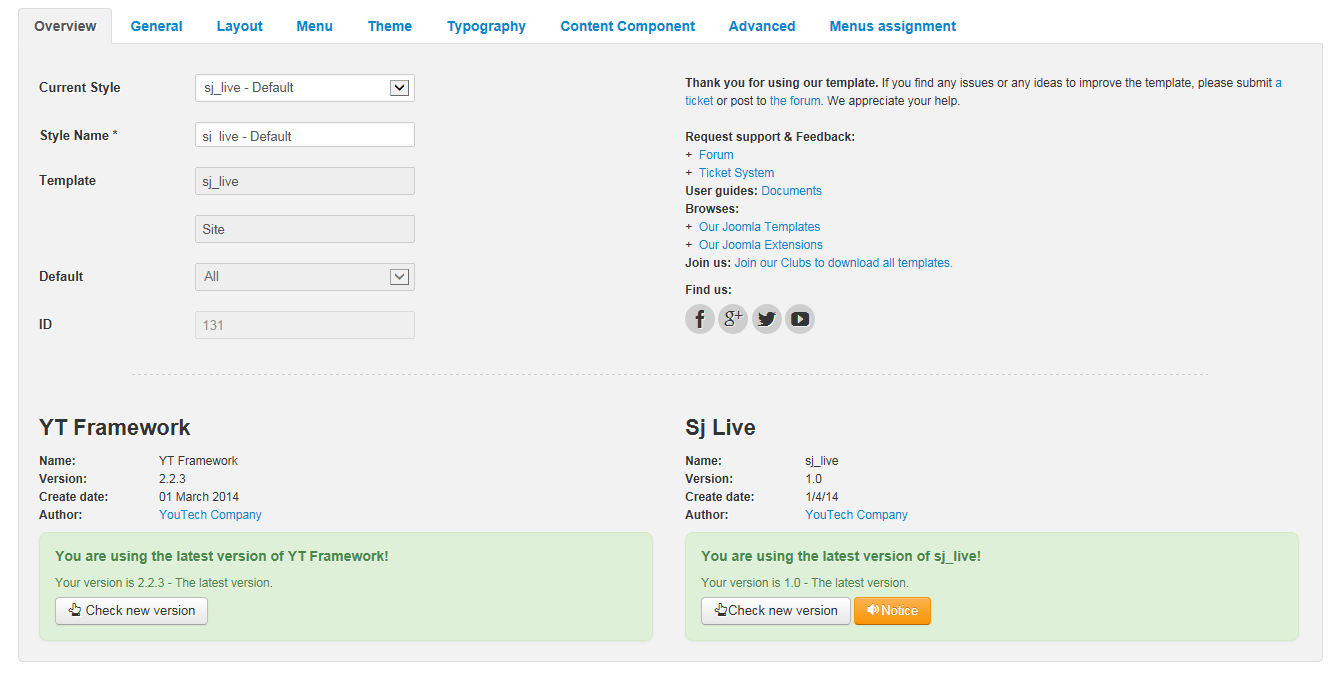
GENERAL

LAYOUT

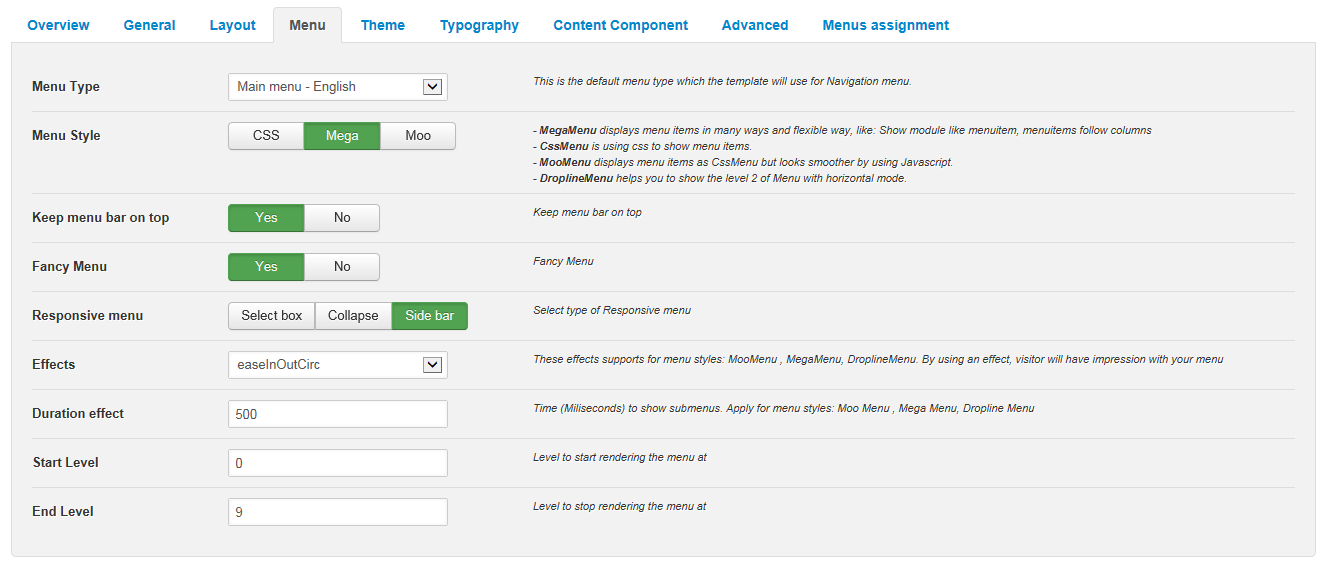
MENU
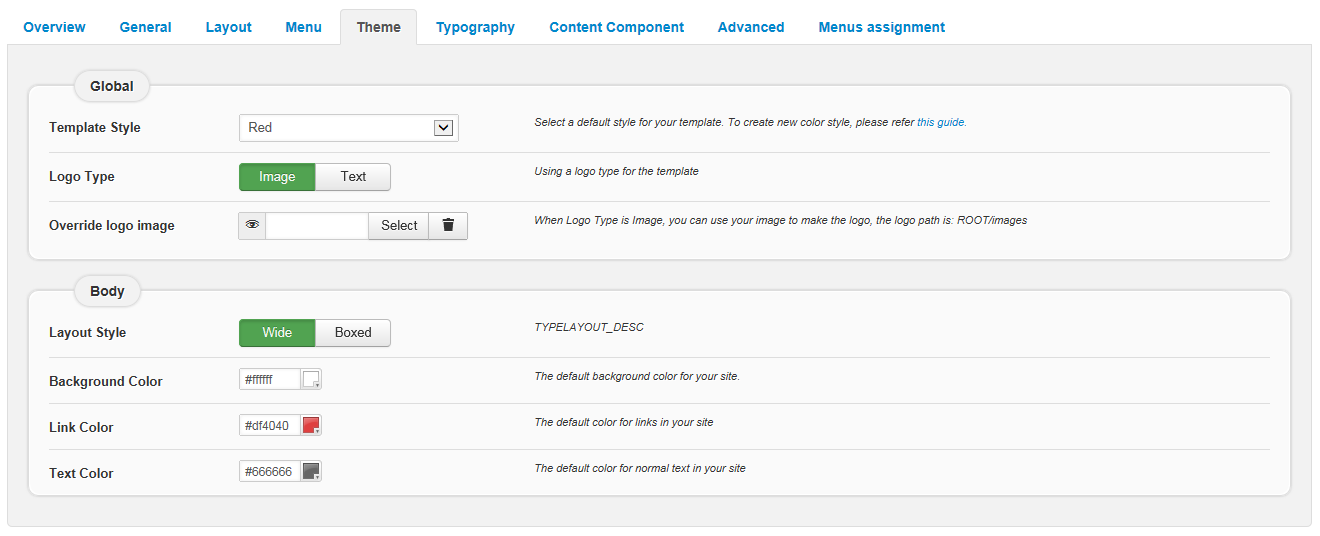
THEME
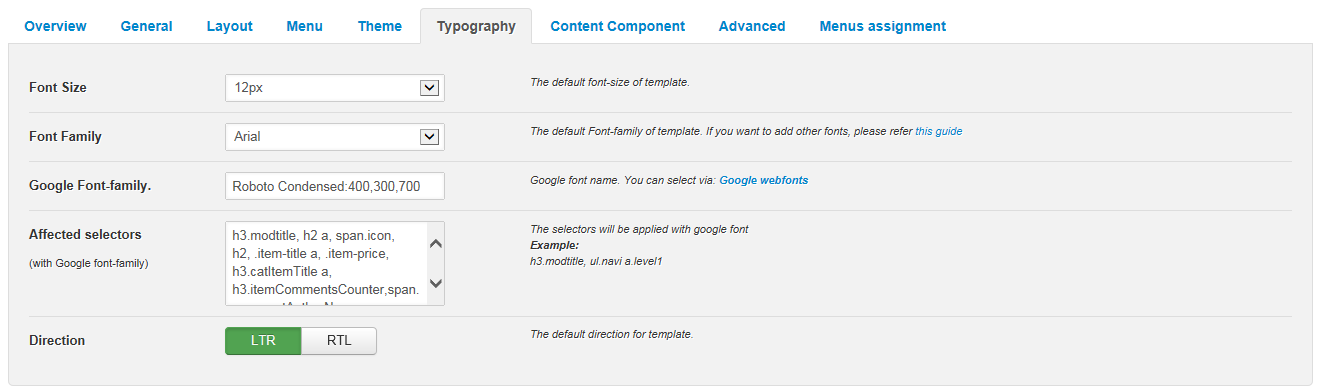
TYPOGRAPHY
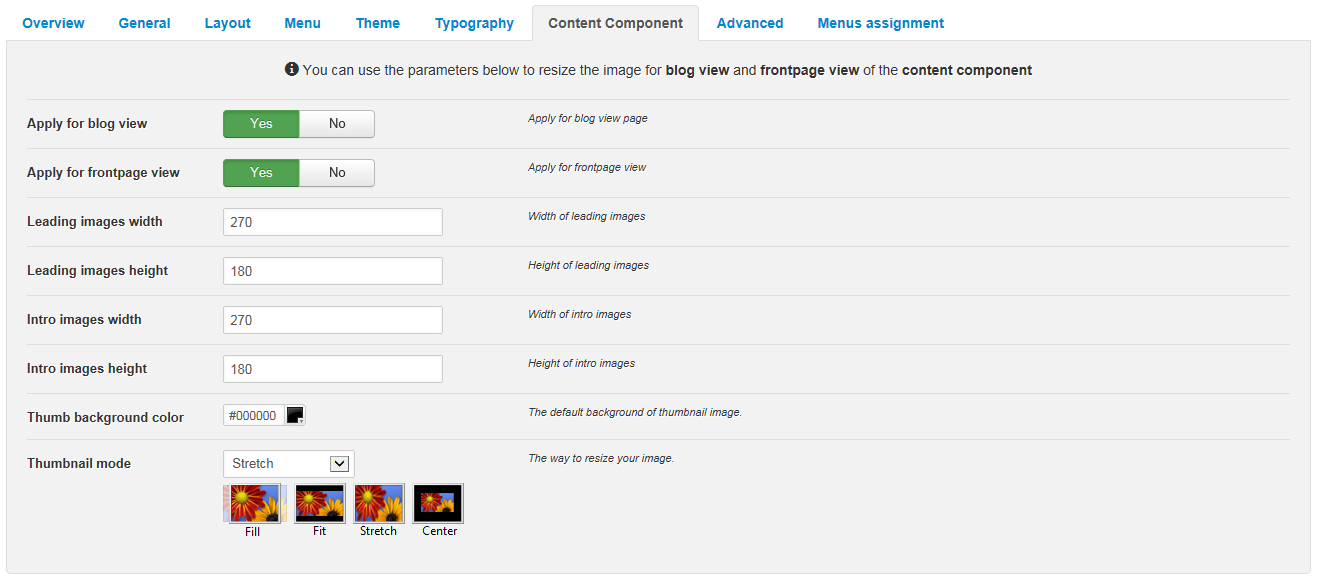
CONTENT COMPONENT
ADVANCED
4.3 Menu Configuration
4.3.1 Mega menu Configuration
To configure Mega Menu, go to: Extensions –> Template manager –> open SJ Live template, in the Menu setting, you can configure Mega Menu. To view more guide about how to install, set up and configure SJ Mega Menu as you want, please click here
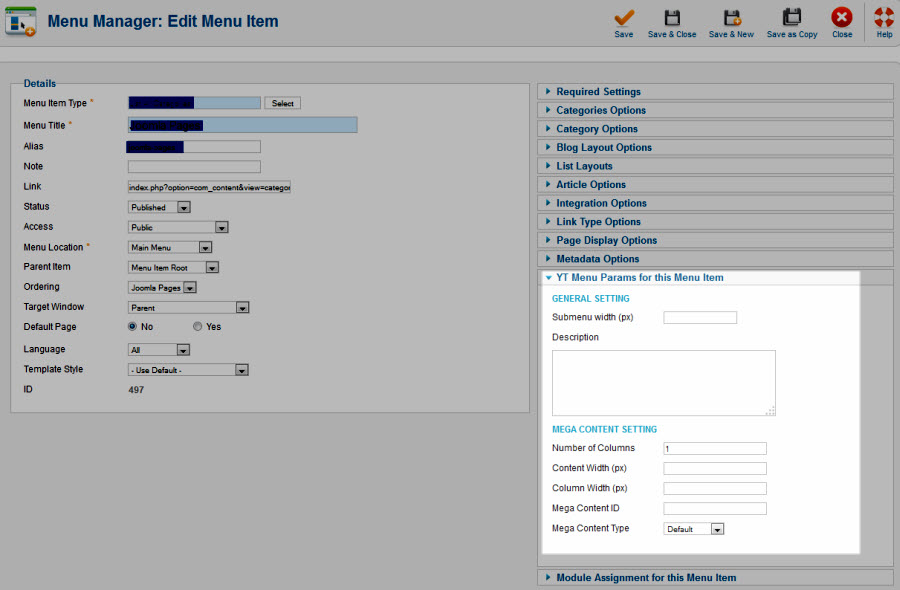
4.3.2. Menu Item Configuration

NOTE: Please go HERE to readmore How To Configure Mega Menu for SJ Template.
ADS MANAGER MENU: TREE OF MENU – MENU PARAM
Frontend

Backend: Ads Category
4.4 Extension Configuration
4.4.1. Top 1
Module Position – Module Suffix
Class Suffix: “yt_support”
Frontend

Backend: Top 1
Code Custom HTML of “Top 1”:
|
1 2 3 |
<div class="skype">[icon type="fa" name="skype"]<a href="#">Skype: ilive.sky</a></div> <div class="email">[icon type="fa" name="envelope"]<a href="#">support@live.com</a></div> <div class="phone">Hotline : 0123456789</div> |
Module Position – Module Suffix
Frontend

- Backend: Login Form
Class Suffix of Post Ads: “post_ads”
- Backend: Post Ads
- Backend: Language Switcher
4.4.3. Slideshow
Module Position – Module Suffix
Frontend
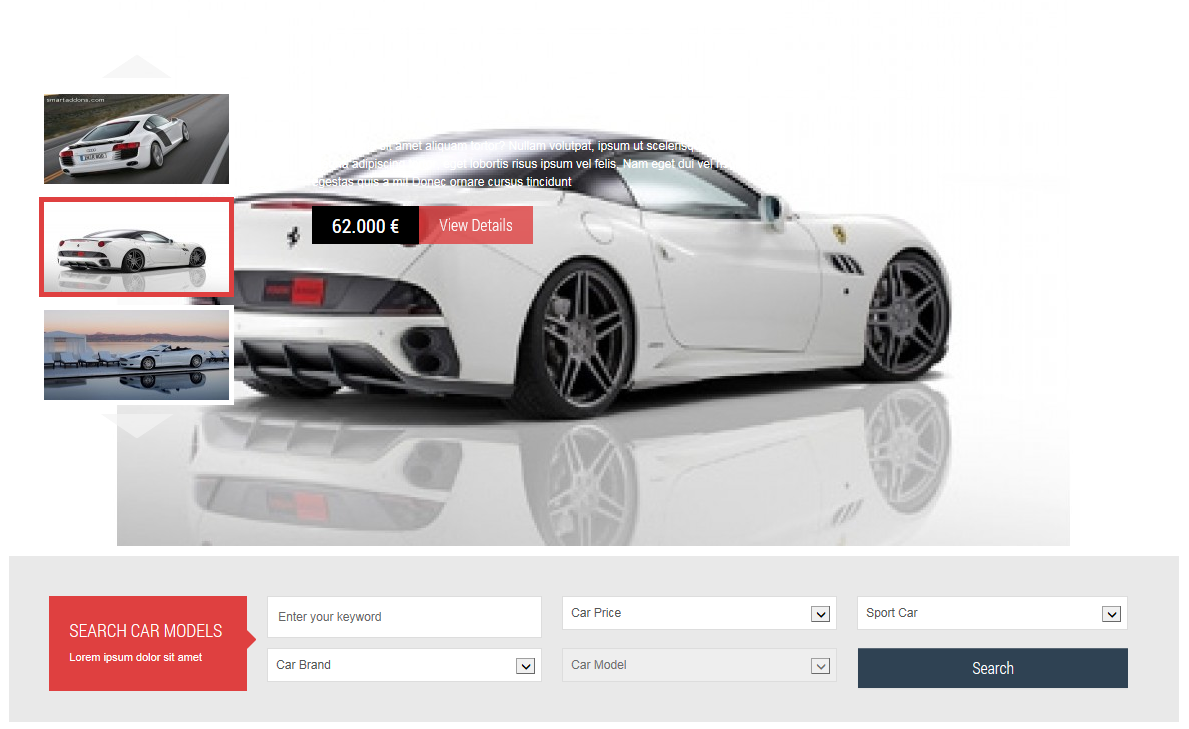
- Backend: Ads Slideshow
- Backend: SEARCH CAR MODELS
4.4.4. Content AdsManager
Module Position – Module Suffix
Frontend
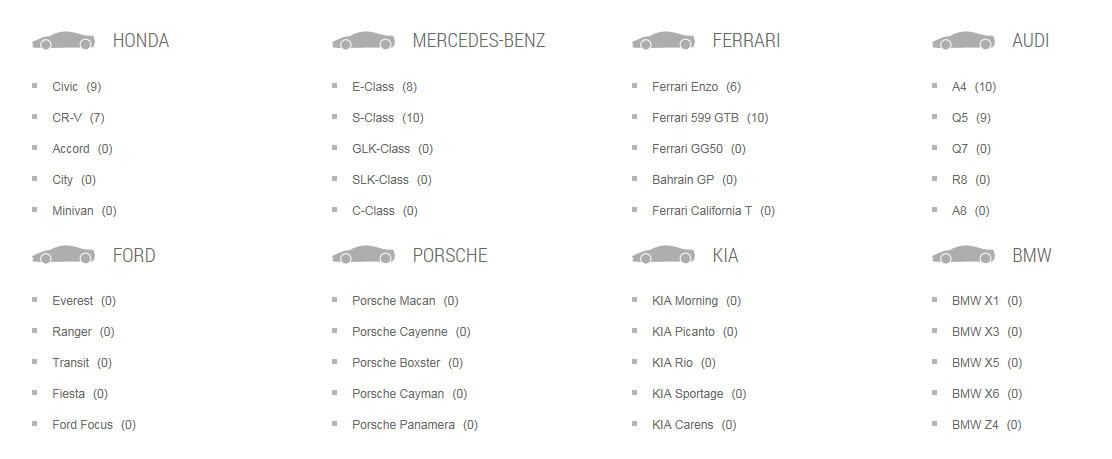
To display content Adsmanager as frontend, please follow the steps as following:
Step 1: Navigate to Components >> Adsmanager >> Categories ( and create tree of category as below image):
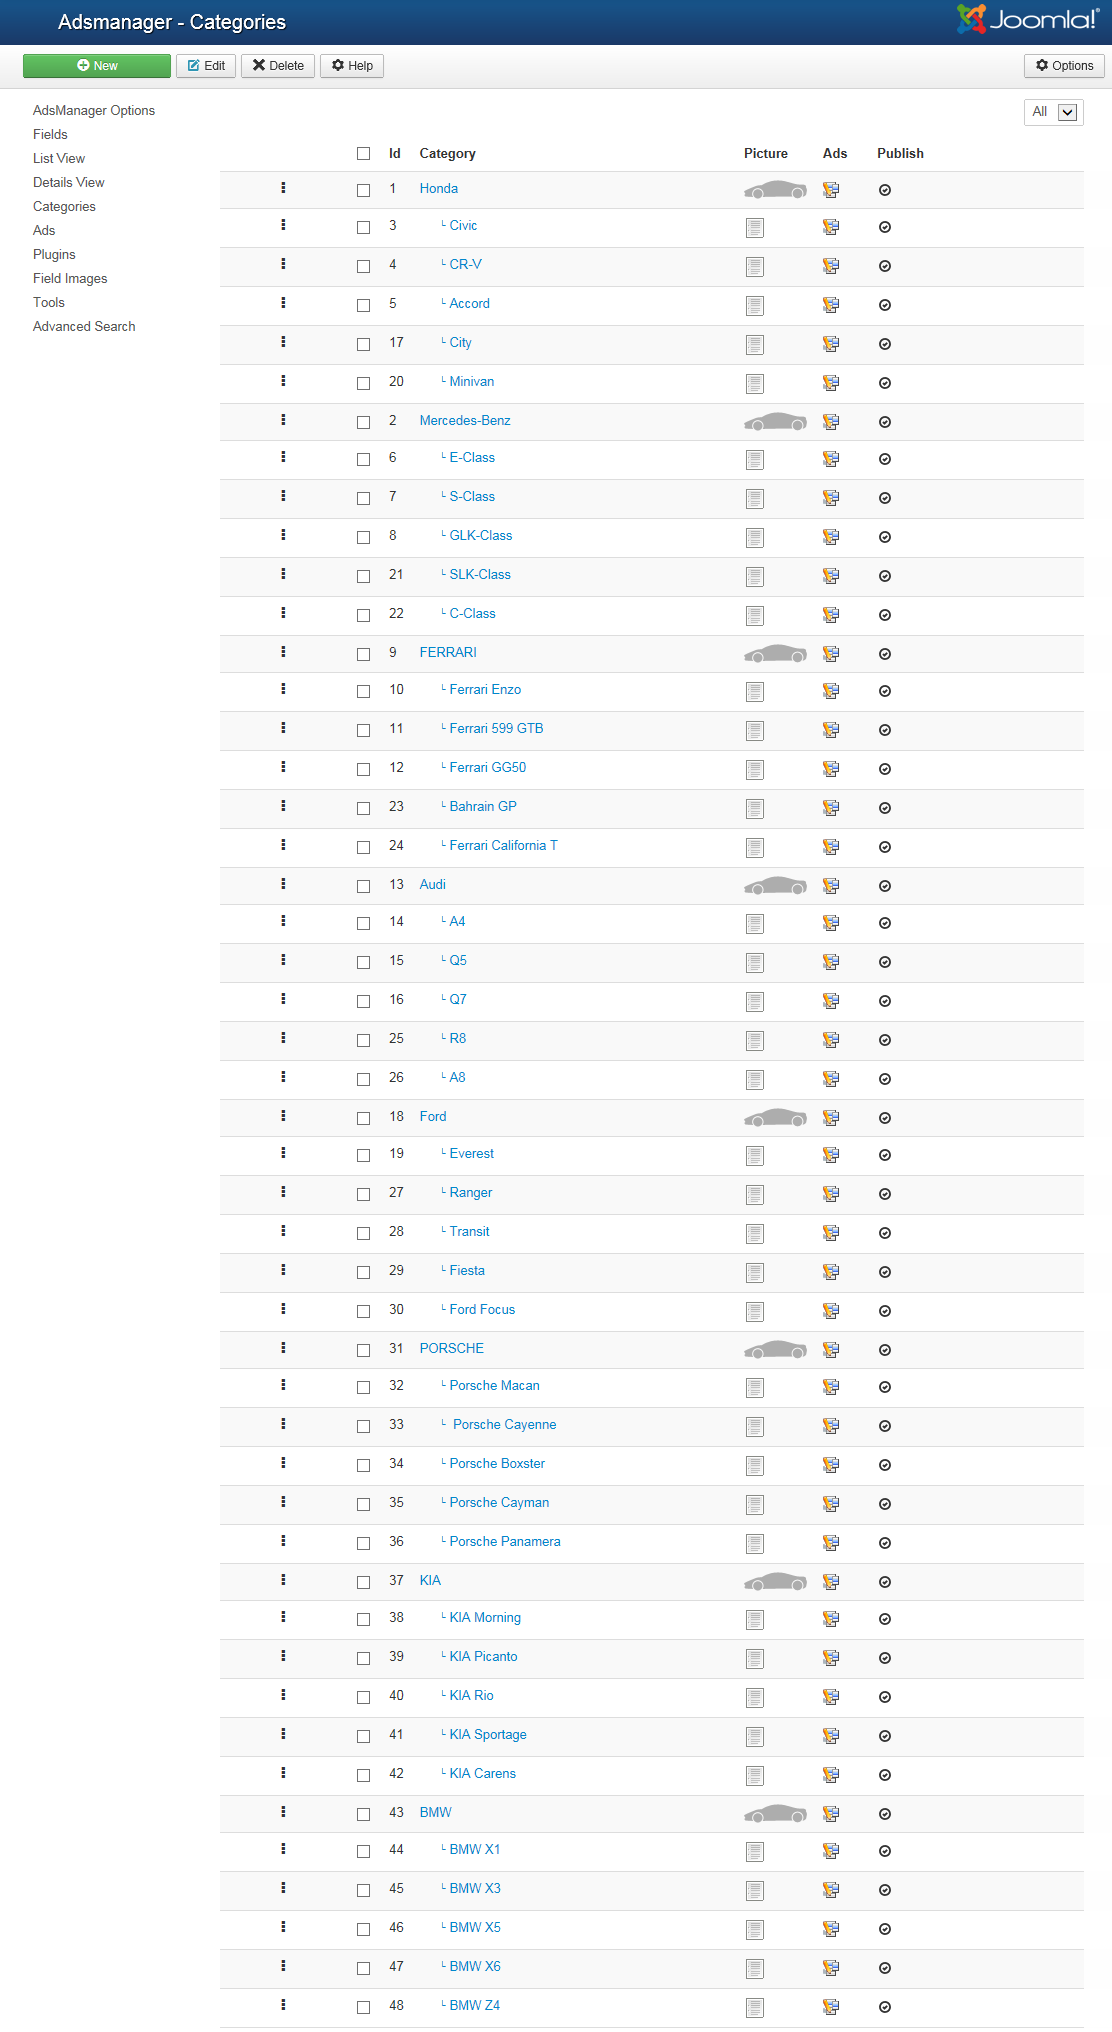
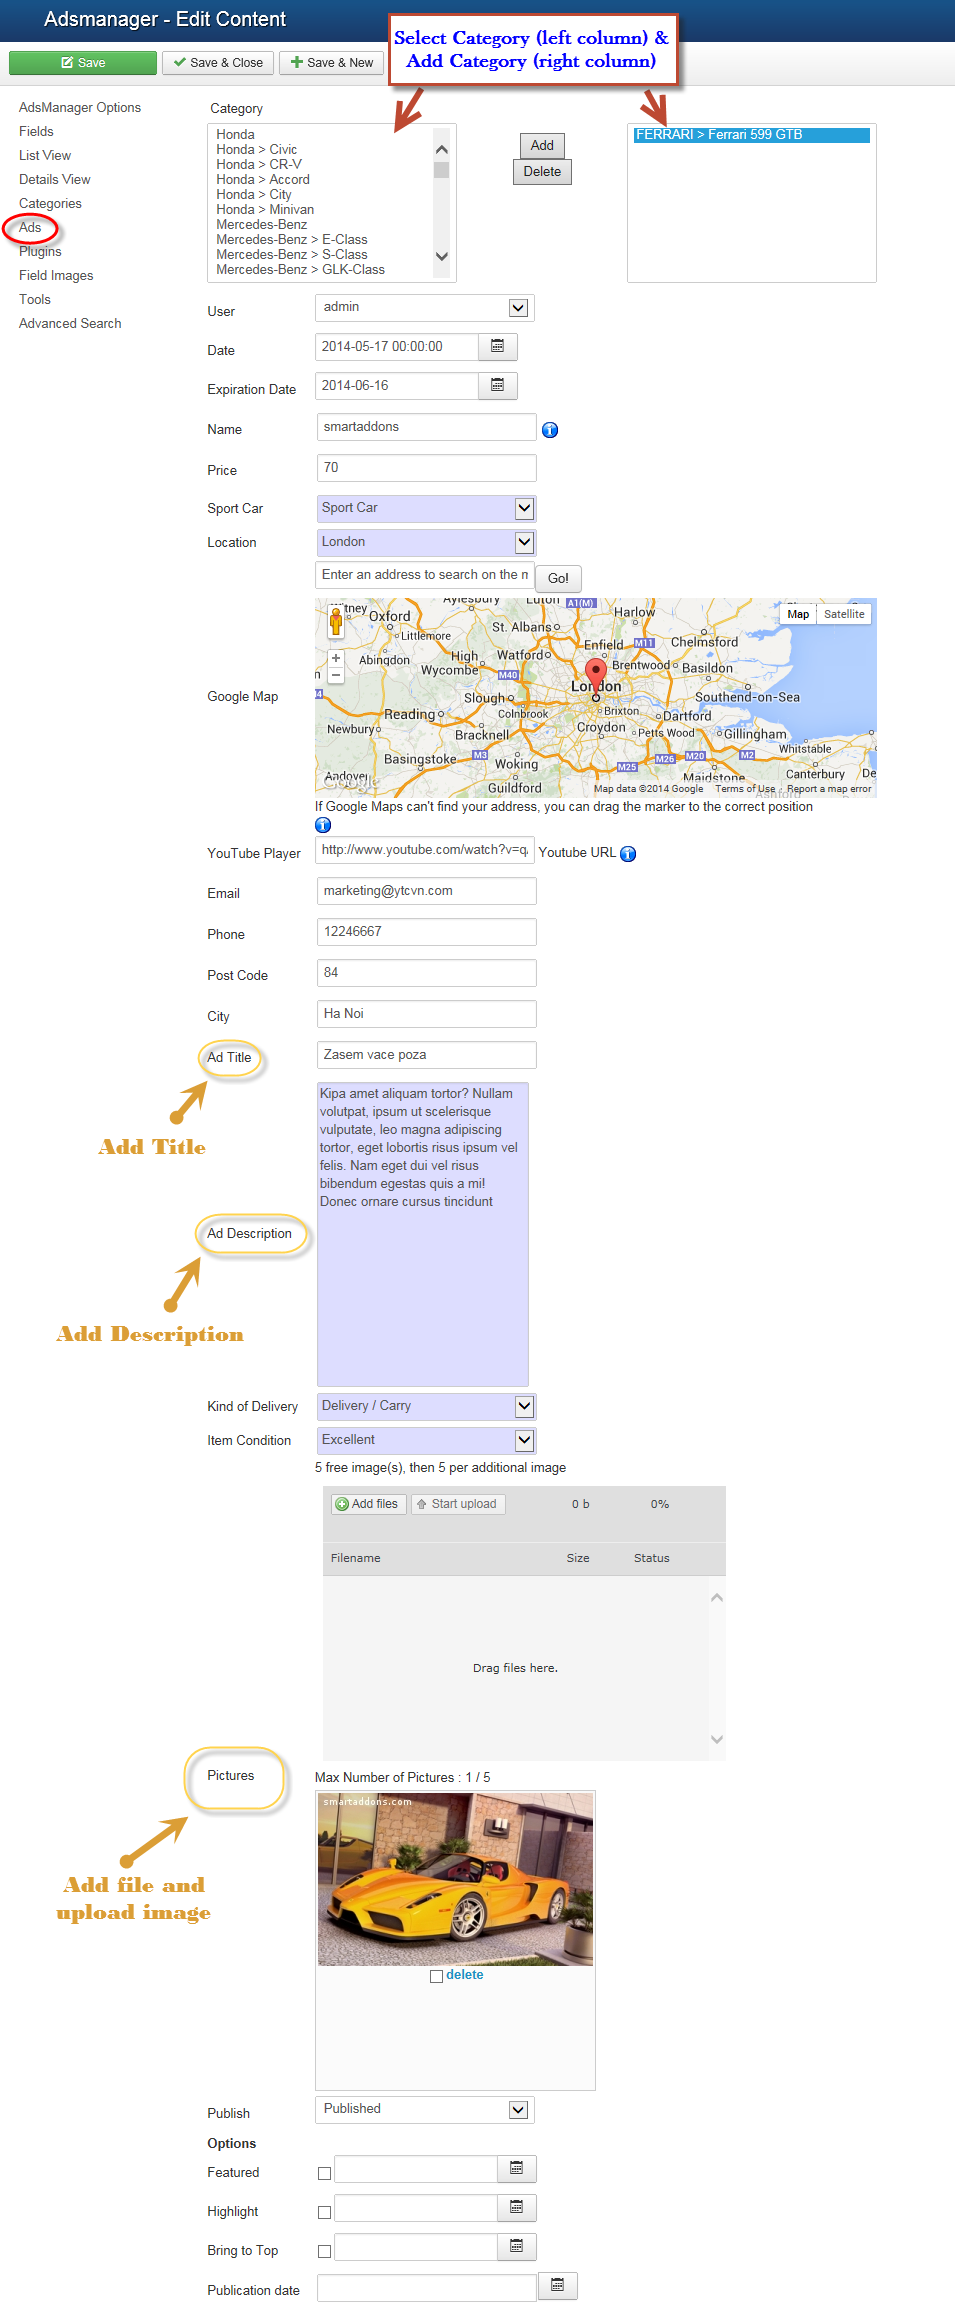
Step 2: Navigate to Components >> Adsmanager >> Ads (and create content of category as below image):
4.4.5. Banner – Module Custom HTML
Module Position – Module Suffix
Frontend

Backend: Banner
Code custom output of “Banner”:
|
1 |
<p><a class="ads-image" href="#"><img src="images/banner.png" alt="" /></a></p> |
Module Position – Module Suffix
Frontend
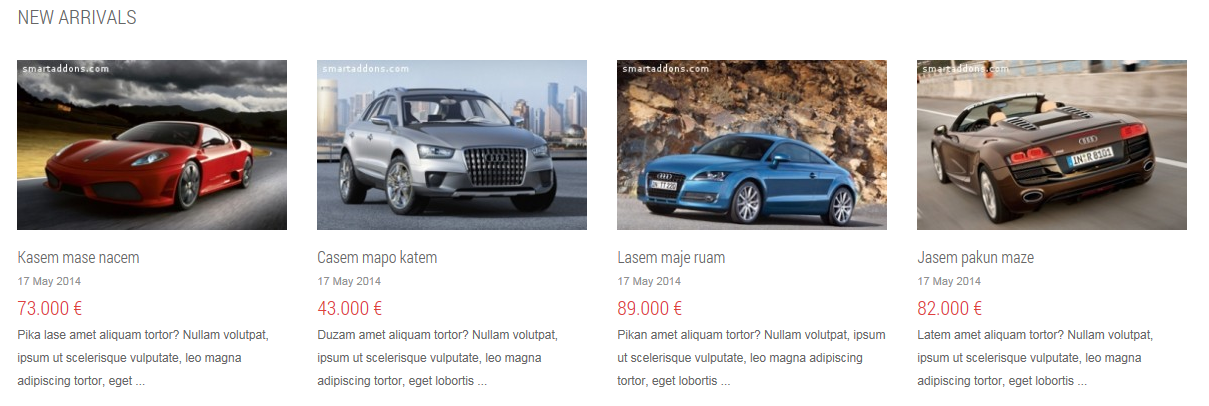
Backend: New Arrivals
4.4.7. RECENT BLOGS – SJ K2 Content Module
Module Position – Module Suffix
Frontend
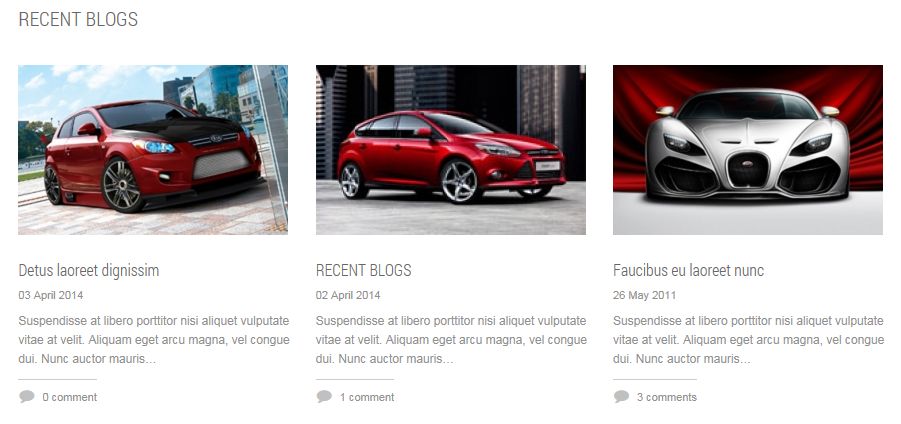
Backend: RECENT BLOGS
4.4.8. Banner-buy-sell – Custom HTML Module
Module Position – Module Suffix
Suffix: “trade”
Frontend

Backend: Banner-buy-sell
Code Custom HTML of “Banner-buy-sell”:
|
1 2 3 4 5 6 7 8 9 10 |
<ul> <li class="buy"> <h2>Want to buy a car ?</h2> <p>20.0000 Visitors Commodo laoreet</p> <a class="btn" href="#">Buy</a></li> <li class="sell last"> <h2>Want to sell a car ?</h2> <p>20.0000 Visitors Commodo laoreet semper</p> <a class="btn" href="#">Sell</a></li> </ul> |
Module Position – Module Suffix
Suffix: “sj-video “
Frontend
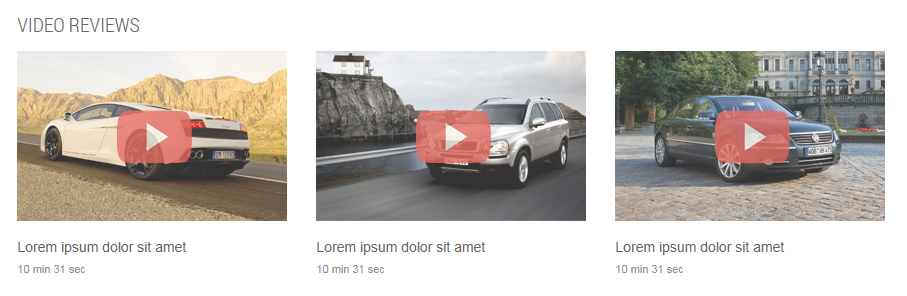
Backend: VIDEO REVIEWS
Code Custom HTML of “VIDEO REVIEWS”:
|
1 2 3 4 5 6 7 8 9 10 11 12 13 14 15 16 17 |
<ul> <li> <div class="image-video"><a href="http://www.youtube.com/watch?v=IfnjY70UYco" data-rel="prettyPhoto"> <span class="icon_video">icon</span> <img src="images/video03.png" alt="" /></a></div> <div class="title-video"><a href="#">Lorem ipsum dolor sit amet</a></div> <div class="video-time">10 min 31 sec</div> </li> <li> <div class="image-video"><a href="http://www.youtube.com/watch?v=I77ualn0s0E" data-rel="prettyPhoto"> <span class="icon_video">icon</span> <img src="images/video01.png" alt="" /></a></div> <div class="title-video"><a href="#">Lorem ipsum dolor sit amet</a></div> <div class="video-time">10 min 31 sec</div> </li> <li class="nomarginleft nomarginright"> <div class="image-video"><a href="http://www.youtube.com/watch?v=RAJko59yg1A" data-rel="prettyPhoto"> <span class="icon_video">icon</span> <img src="images/video02.png" alt="" /></a></div> <div class="title-video"><a href="#">Lorem ipsum dolor sit amet</a></div> <div class="video-time">10 min 31 sec</div> </li> </ul> |
Module Position – Module Suffix
Suffix:
Frontend
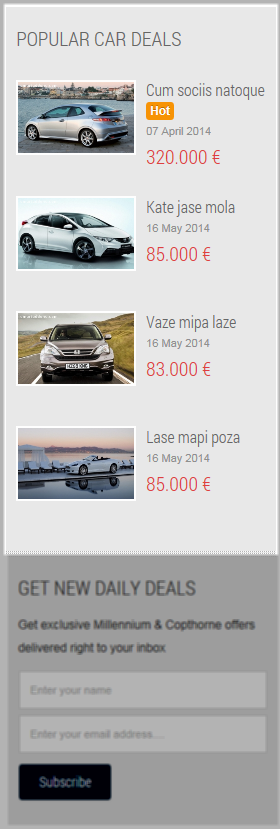
Backend: Popular car deals
4.4.11. GET NEW DAILY DEALS – AcyMailing Module
Module Position – Module Suffix
Suffix:
Frontend
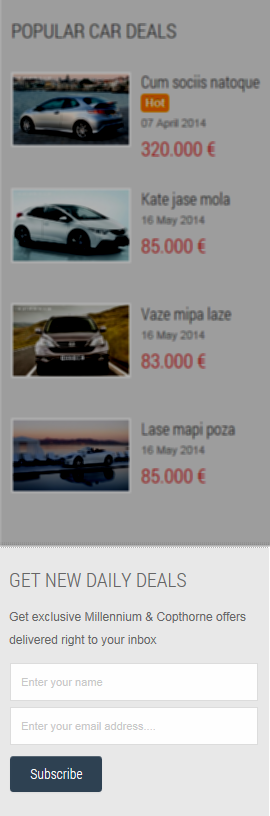
Backend: Get New Daily Deals
4.4.12. Our Brands – SJ K2 Slider Module
Module Position – Module Suffix
Suffix: “our_brands”
Frontend

Backend: Our Brands
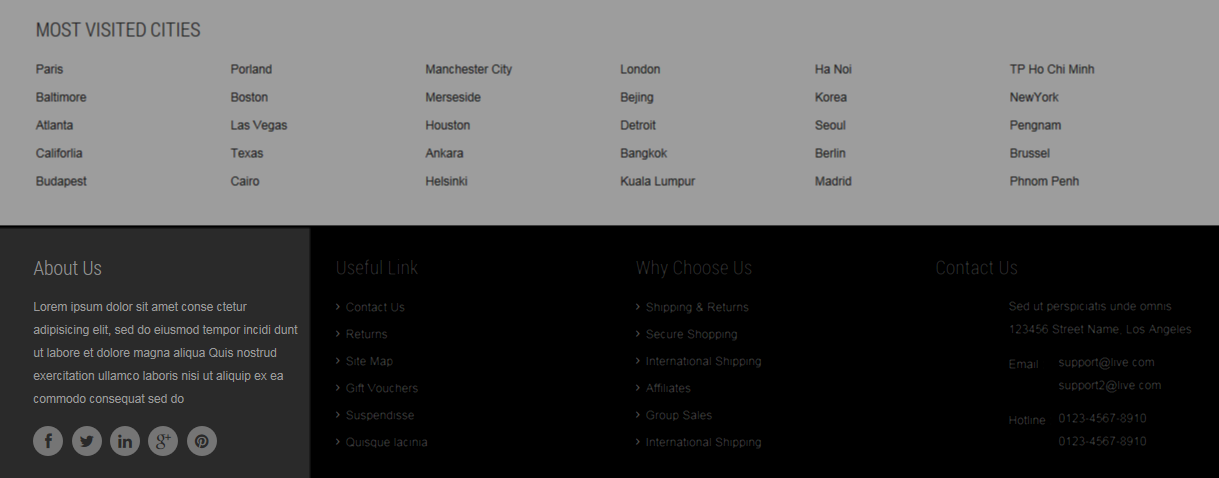
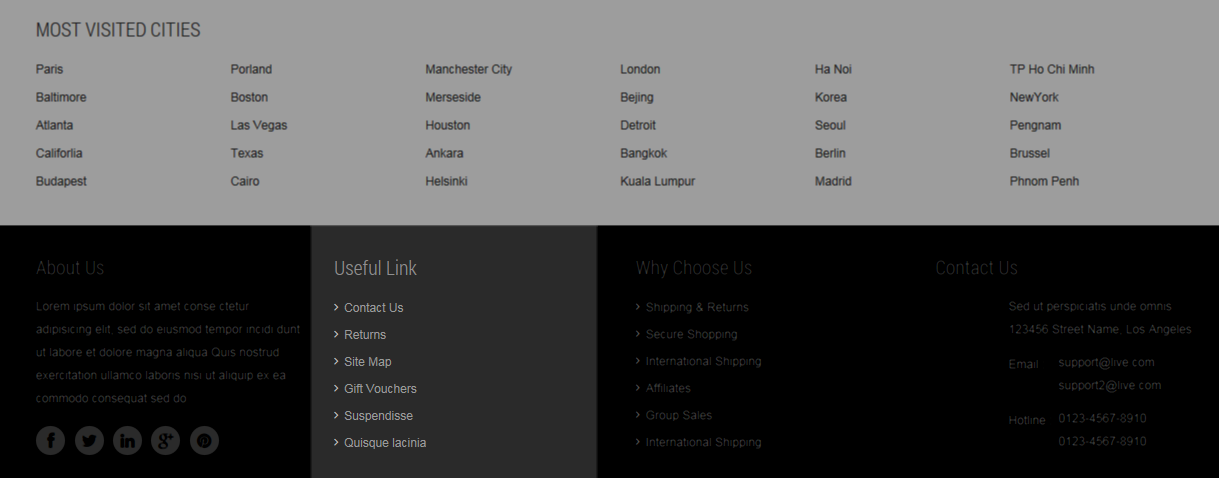
4.4.13. Most Visited Cities – SJ Ads Filter Location for AdsManager Module
Module Position – Module Suffix
Suffix: “visited-cities”
Frontend
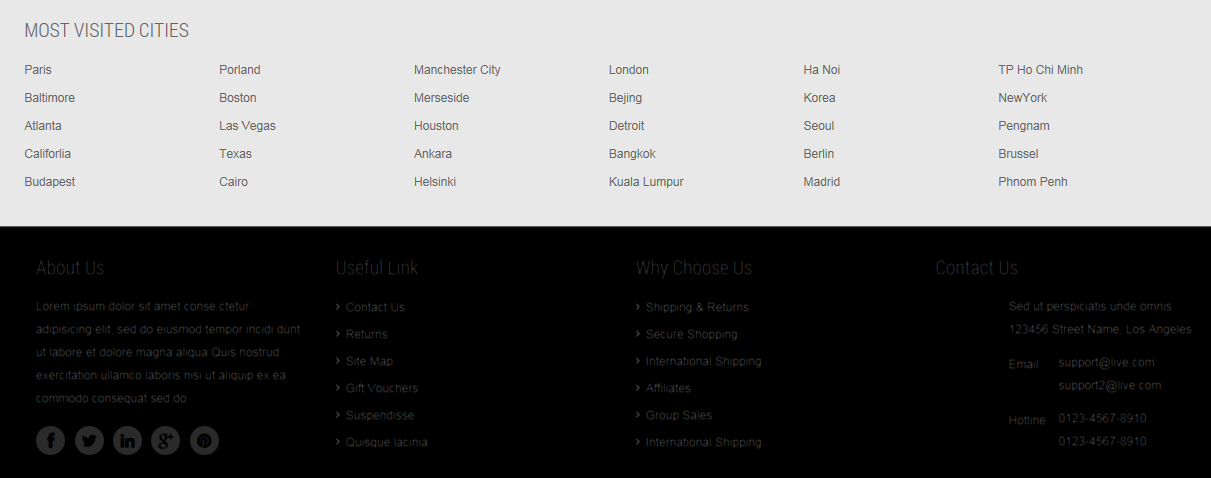
Backend: Most Visited Cities
4.4.15. About Us – Custom HTML Module
Module Position – Module Suffix
Suffix: “about_us”
Frontend
Backend: About Us
Code Custom “About Us”:
|
1 2 3 4 5 6 7 8 |
<div class="content_text">Lorem ipsum dolor sit amet conse ctetur adipisicing elit, sed do eiusmod tempor incidi dunt ut labore et dolore magna aliqua Quis nostrud exercitation ullamco laboris nisi ut aliquip ex ea commodo consequat sed do</div> <div class="socials"> <div class="yt-socialbt"><a class="sb facebook default cicle " style="display: inline-block;" title="" href="http://www.facebook.com/SmartAddons.page" target="_blank" data-original-title="" data-placement="top">[icon type="fa" name="facebook fa-2x" ]</a></div> <div class="yt-socialbt"><a class="sb twitter default cicle " style="display: inline-block;" title="" href="http://twitter.com/#!/smartaddons" target="_blank" data-original-title="" data-placement="top">[icon type="fa" name="twitter fa-2x" ] </a></div> <div class="yt-socialbt"><a class="sb rss default cicle " style="display: inline-block;" title="" href="http://www.linkedin.com/in/smartaddons" target="_blank" data-original-title="" data-placement="top">[icon type="fa" name="linkedin fa-2x" ] </a></div> <div class="yt-socialbt"><a class="sb google-plus default cicle " style="display: inline-block;" title="" href="https://plus.google.com/u/0/103151395684525745793/posts" target="_blank" data-original-title="" data-placement="top">[icon type="fa" name="google-plus fa-2x"] </a></div> <div class="yt-socialbt"><a class="sb rss default cicle " style="display: inline-block;" title="" href="http://pinterest.com/smartaddons" target="_blank" data-original-title="" data-placement="top">[icon type="fa" name="pinterest fa-2x" ]</a></div> </div> |
Module Position – Module Suffix
Suffix:
Frontend
Backend: Useful Link
Code Custom HTML of “Useful Link”:
|
1 2 3 4 5 6 7 8 |
<ul class="menu"> <li><a href="#">Contact Us</a></li> <li><a href="#">Returns</a></li> <li><a href="#">Site Map</a></li> <li><a href="#">Gift Vouchers</a></li> <li><a href="#">Suspendisse</a></li> <li><a href="#">Quisque lacinia</a></li> </ul> |
Module Position – Module Suffix
Suffix:
Frontend
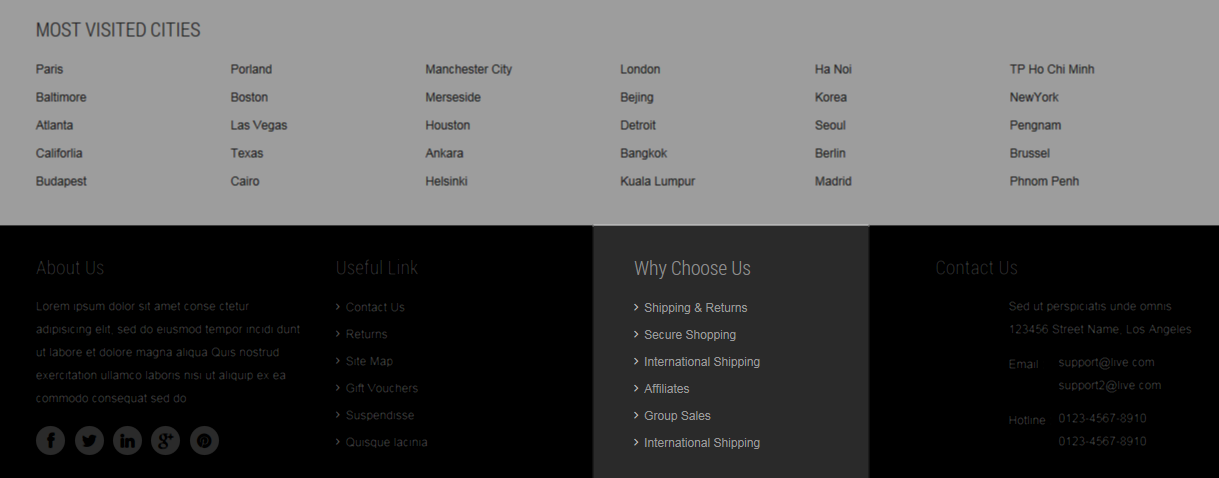
Backend: Why Choose Us
Code Custom HTML of “Why Choose Us”:
|
1 2 3 4 5 6 7 8 |
<ul class="menu"> <li><a href="#">Shipping & Returns</a></li> <li><a href="#">Secure Shopping</a></li> <li><a href="#">International Shipping</a></li> <li><a href="#">Affiliates</a></li> <li><a href="#">Group Sales</a></li> <li><a href="#">International Shipping</a></li> </ul> |
Module Position – Module Suffix
Suffix: “contact_us”
Frontend
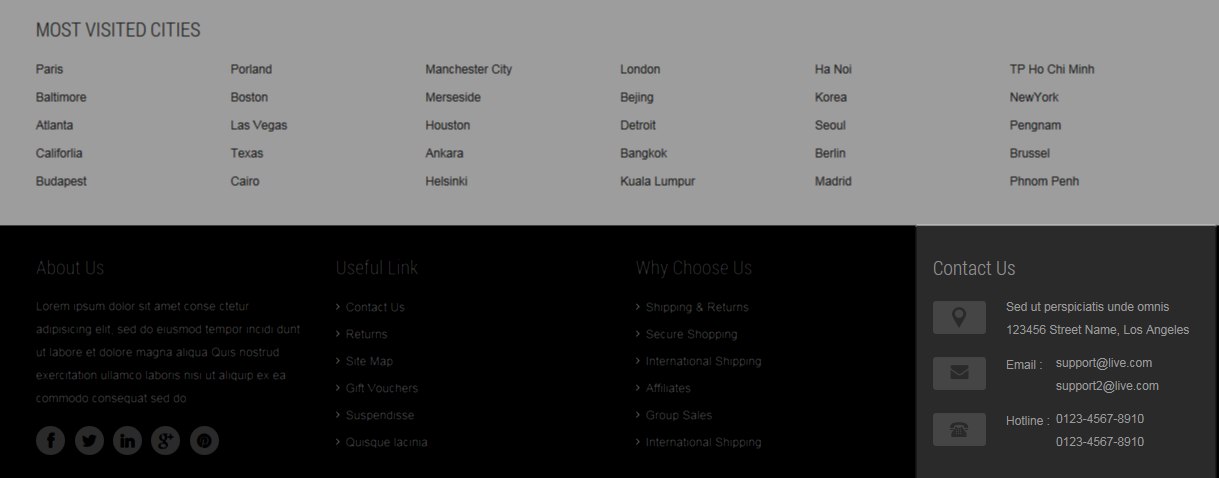
Backend: Contact Us
Code Custom HTML of “Contact Us”:
|
1 2 3 4 5 6 7 8 9 |
<div class="address"> <div class="icon"> </div> Sed ut perspiciatis unde omnis 123456 Street Name, Los Angeles</div> <div class="email"> <div class="icon">[icon type="fa" name="envelope" ]</div> <label>Email :</label> <a href="#">support@live.com</a> <a href="#">support2@live.com</a></div> <div class="phone"> <div class="icon"> </div> <label>Hotline :</label> 0123-4567-8910 <br /> 0123-4567-8910</div> |
5SUPPORT – Back to top
Thank you so much for purchasing this template. If you have any questions that are beyond the scope of this help file, please send us via: Submit a Ticket
Thanks so much!
