
SW Well Them User Guide
- June.05.2013
|
Introduction
Main Features
1. WordPress 3.5 ready
2. Compatible with IE8+, Firefox 4+, Netscape, Safari, Opera 9.5 and Chrome
3. Responsive layout for all devices
4. Allow to set site title, tagline, logo and Analytics ID
5. Support RTL/LTR language
6. Support menu with Dropdown or Mega style
7. Support 2 menu locations, 4 widget sidebars
8. Preset Color Styles: Pink (default), Carrot, Cyan, Green, Orange, Purple and Bordeaux
9. Custom Font with Google Web Fonts
10. Social Networks integration
11. HTML5 Validation
12. CSS3 table-less design
13. LESS for advanced development
14. Custom page templates: right sidebar, about us, contact us...
15. Custom style for plugins: Contact Form 7, SEO Plugins...
Live Demo


Live Demo
1. Installation
1.1 System Requirements
1.1.1 Wordpress 3.5
Download: http://www.wordpress.org
1.2 Installing SW Theme
Step-by-step
1.2.1 Login your Wordpress as admin, change Theme

1.2.2 Use option Upload to upload SW Well theme file

1.2.3 Select sw_well_theme_v1.0.0.zip you have downloaded from our Website and Install it

1.2.4 Now SW Well is your default theme, how to customze and configure it below
1.2.5 OR using Quickstart package
If you would like to have Website with all sample data as our demo?
1.2.5.1 Download sw_well_quickstart_v1.0.0.zip and extract all contents to your Web root folder, usually under public_html/ folder, then navigate to your Website location.
1.2.5.2 You will see visual wizard - sequence of pages - that will help you through, screenshots below:


1.2.5.3 Now you would have a site with all demo content to play with!
2. Customization
You can customize following options


3. Layout
It is easy to customize the layout. Firstly please view its overview, with position that will be used in next steps:

4. Configuration
You have to configure two most important things: Menus and Widgets. Here is how we will set up them, using layout image above for positioning
4.1 Menus
4.1.1 Positions
Under Appearance -> Menus, you can see SW Well supports one menu. To tweak each menu items, please click the down arrow next to each menu item title. Here are primary and footer
4.1.2 Primary items - Position: Primary
4.1.3 Footer items - Position: Footer
4.2 Widgets
4.2.1 Positions
SW Well supports a total of 4 widget positions. Under Appearance -> Widgets, you can see these widgets. According to the layout above, you will know position of each one.
4.2.2 How to tweak
Each position includes many widgets. Click the down arrow next to each widget title and follow its description. Below is how we will customize most important ones for the homepage. Under Appearance -> Widgets, navigate to sidebar position and according to the layout above, you will know position of each one. Configuration for widgets below:
4.2.2.1 Position: Slideshow - Widget: YA Posts
Drag a new YA Posts widget into this sidebar, configure as below:
4.2.2.2 Position: About us - Widget: Text
Drag a new Text widget into this sidebar, configure as below:
4.2.2.3 Position: Portfolio - Widget: YA Posts
Drag a new YA Posts widget into this sidebar, configure as below:
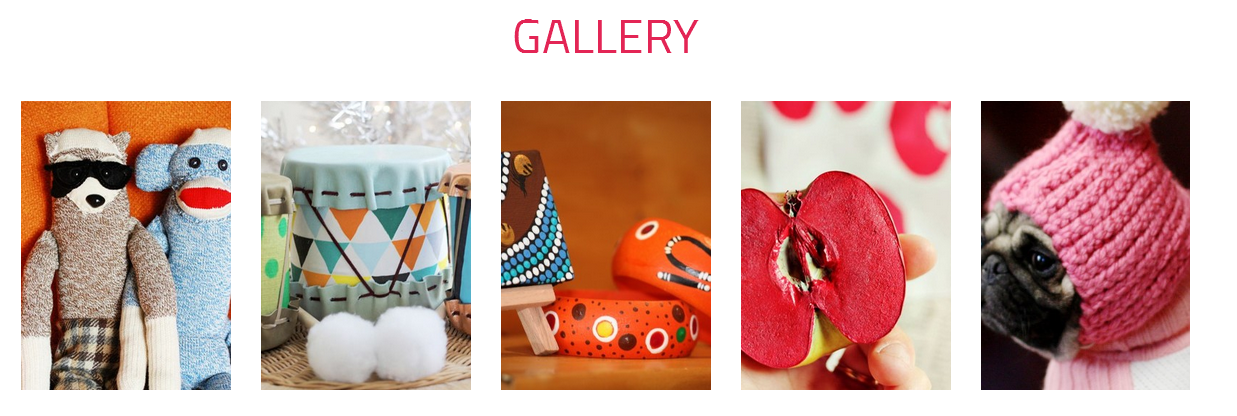
4.2.2.4 Position: Gallery - Widget: Ya Gallery
Let drag a new Ya Gallery widget into this sidebar, configure as below:
4.2.2.5 Position: Blog - Widget: YA Posts
Let drag a new YA Posts widget into this sidebar, configure as below:
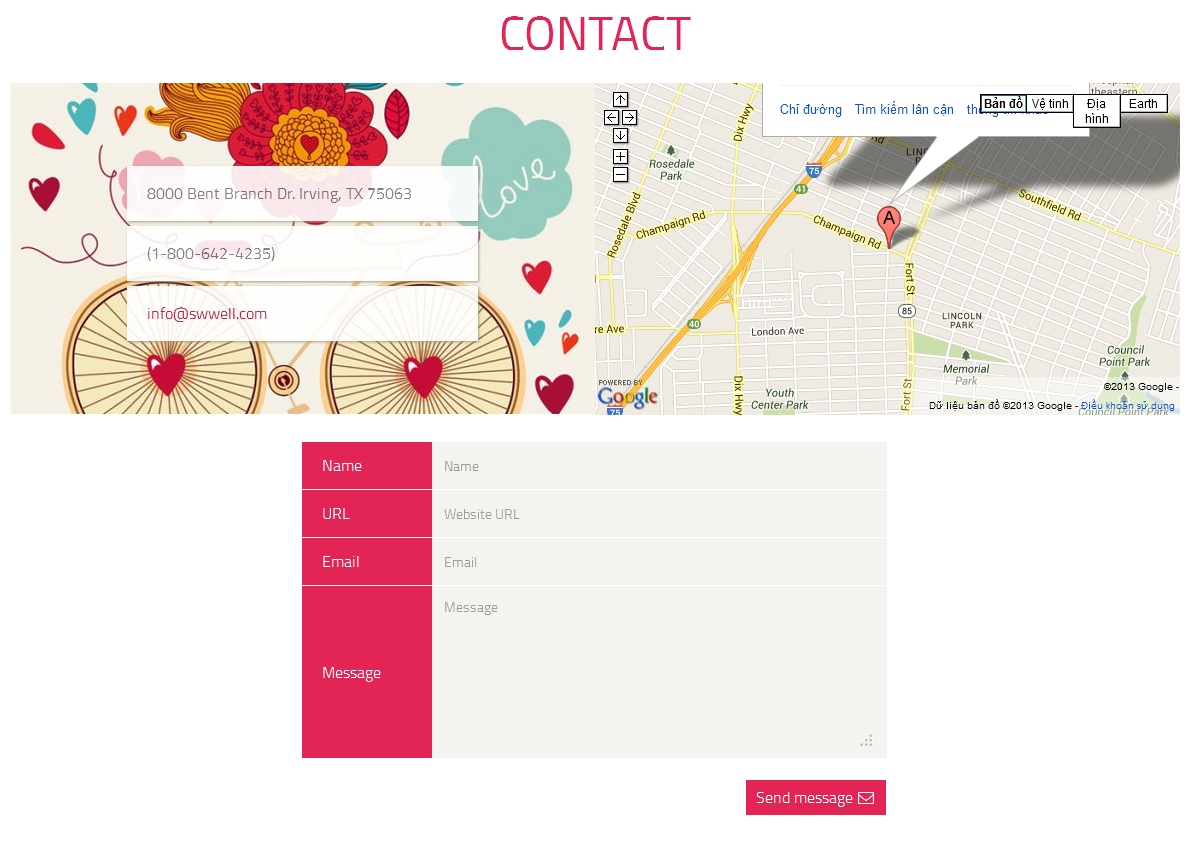
4.2.2.6 Position: Contact - Widget: Text
Let drag a new Text widget into this sidebar, configure as below:
4.2.2.7 Position: Footer information - Widget: Text
Let drag a new Text widget into this sidebar, configure as below:
4.2.2.8 Position: Footer Link - Widget: Custom Menu
This position uses 4 Custom menus. We have to create menus first, same as Menus above. Then drag a new Custom Menu widget into this sidebar, configure an example:
That's it for most important part of homepage! Now you are ready to blog! For other advanced configuration, please submit ticket OR purchase our installation service.

