1SYSTEM REQUIREMENTS – Back to top
System Requirements: here
2INSTALLATION – Back to top
2.1 Install Theme
You can download Opencart here.
Feel free to check the detailed VIDEO TUTORIAL
Use the new Extension Installer featured in OpenCart 2.0
-
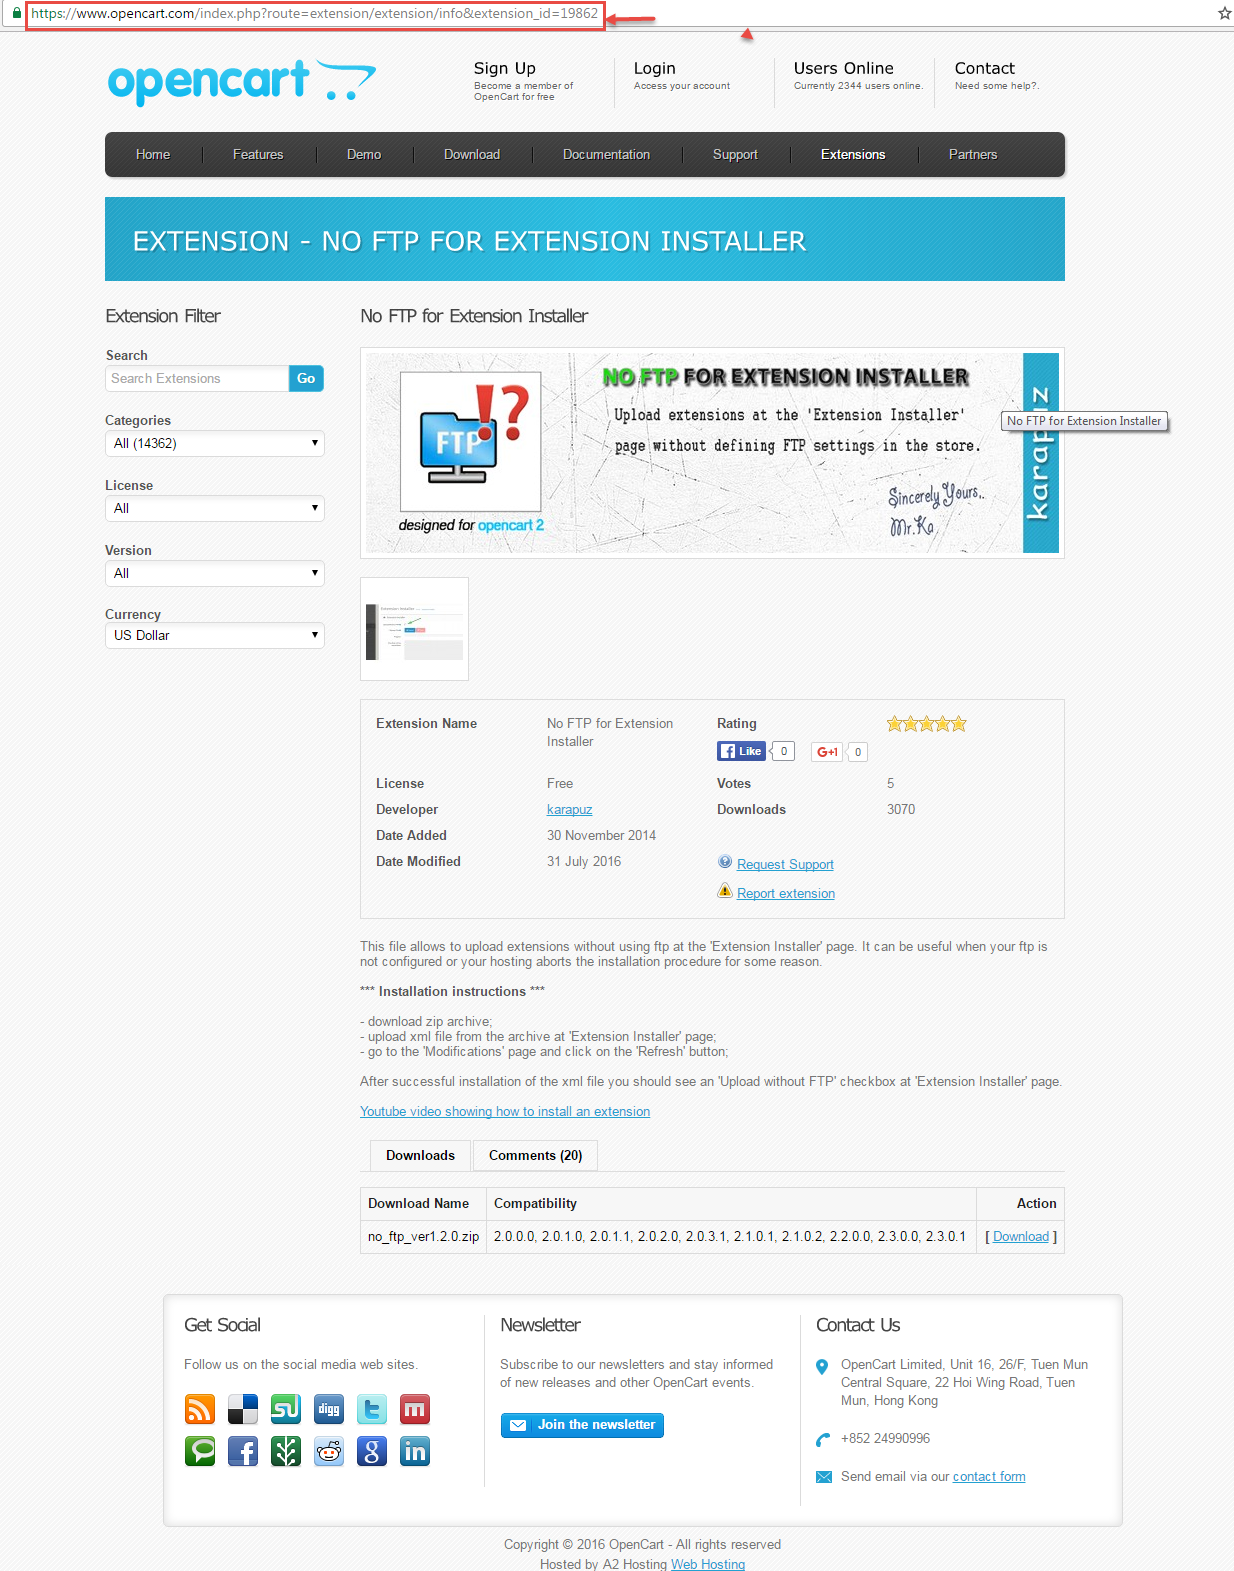
1 : Please type the following link: https://www.opencart.com/index.php?route=extension/extension/info&extension_id=19862. Extension allows to upload extensions without using FTP
2: Go to Extensions > Extension Installer > Click Upload and select the “no_ftp.ocmod.XML” file to upload. Then You should see the message Success: You have installed your extension!
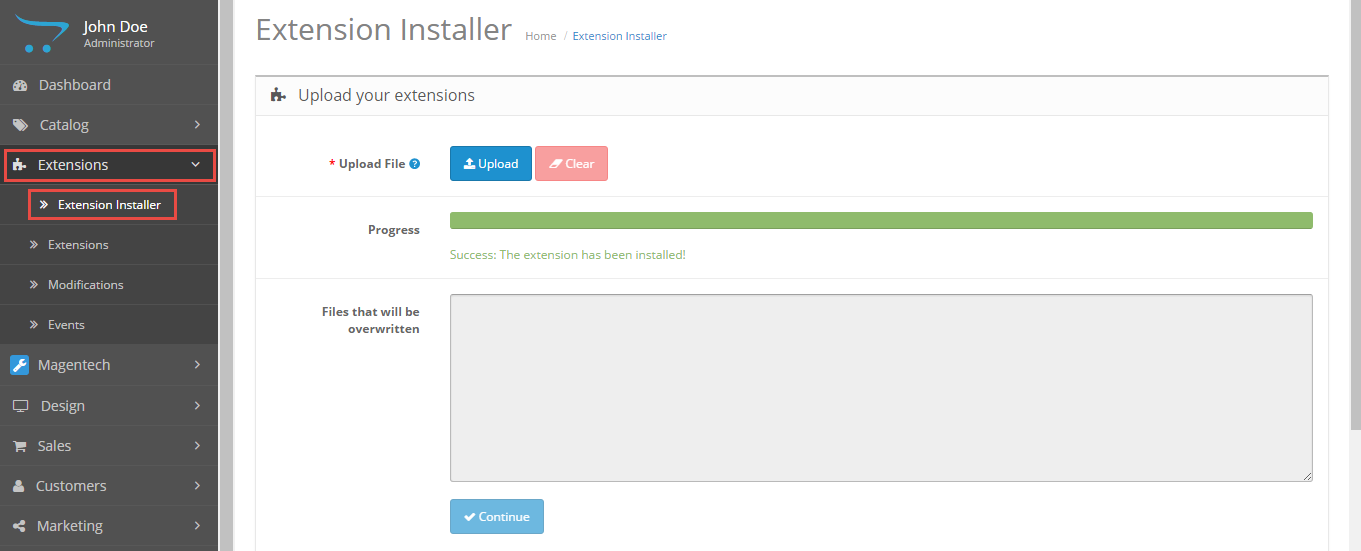
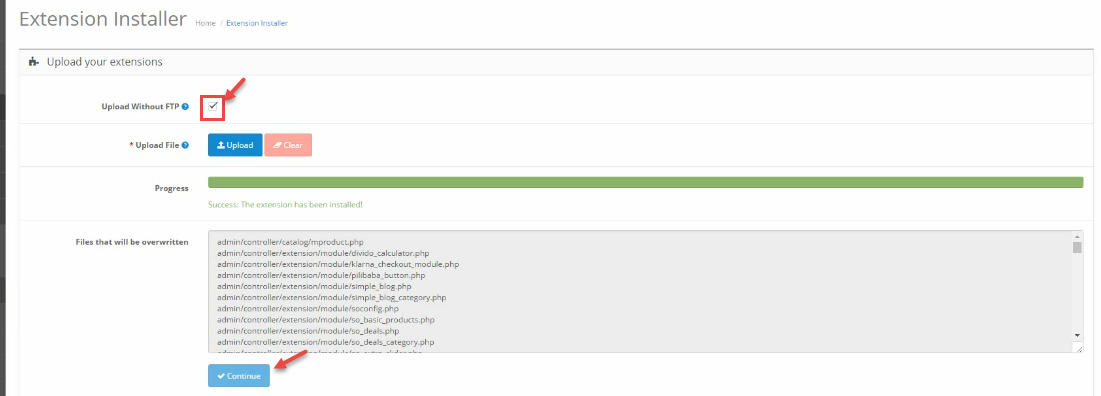
3: Go to Extensions > Extension Installer > Click Upload and select the “so23_maxshop_template_oc2.3.0_v1.2.0.zip” file to upload. Then You should see the message Success: You have installed your extension!
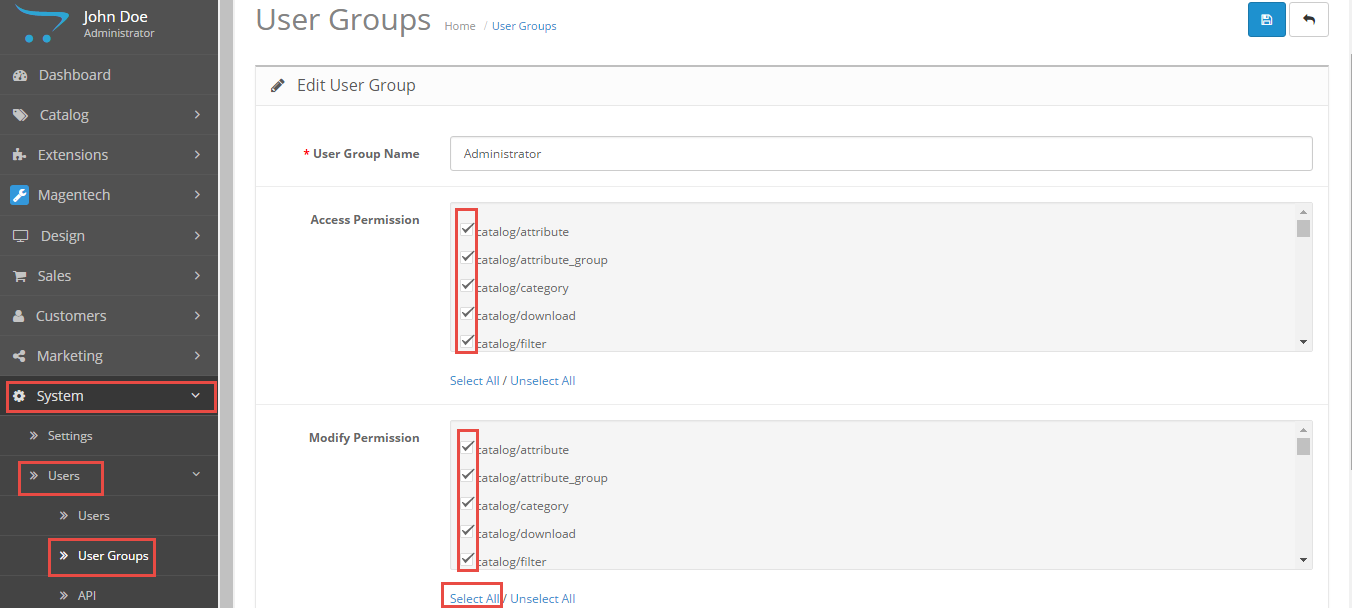
4: Go to System > User > User-Group > Click “Edit” button > Then you click “Select All” button
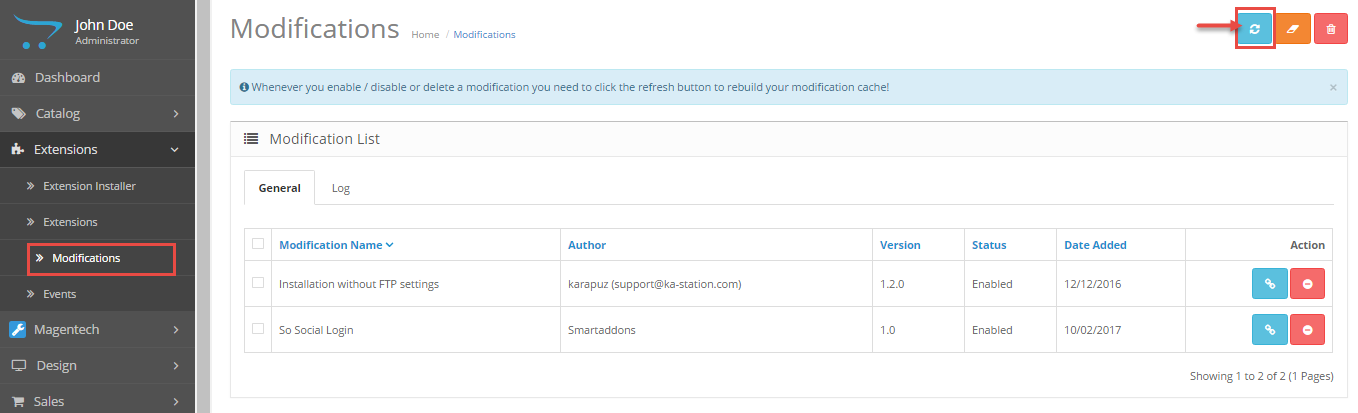
6: Go to Extensions > Modifications > Click “Refresh” button to run “ocmod.xml” file
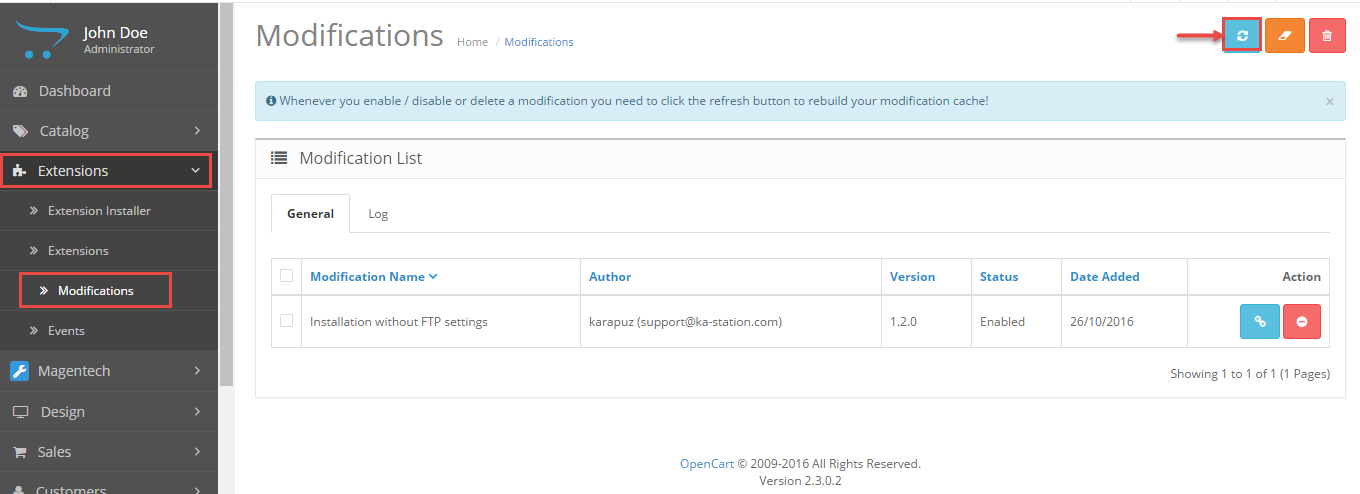
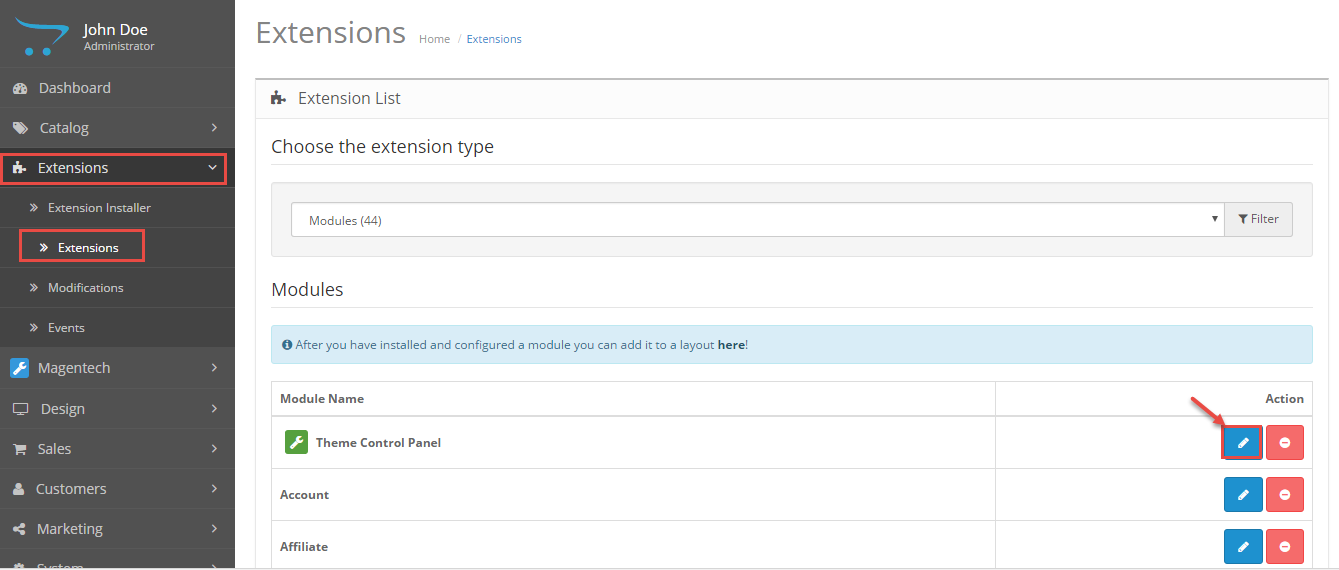
7: Go to Extensions > Theme Control Panel and edit your store: General Tab, Layout Tab, Page Tab…
Step 8: Go to Extensions >> Modifications >> Click “Refresh” button
8: Refresh your site and you got it
2.2 Select Layout
Feel free to check the detailed VIDEO TUTORIAL
2.3 CreateColor Theme Control
Feel free to check the detailed VIDEO TUTORIAL
2.4 Install Language and Override Language
You can read more information: Here
1: Extracting
Extract the archive file of the language pack you have downloaded into your PC: “patch_language_v2.3.x”
2: Renaming
The folders are need to be changed:
|
1 2 3 4 5 6 |
patch_language_v.2.3.x\admin\language\%locale% patch_language_v.2.3.x\catalog\language\%locale% patch_language_v.2.3.x\admin\language\%locale%\%locale%.php patch_language_v.2.3.x\catalog\language\%locale%\%locale%.php |
Rename both of these folders to the language of your choice: replace “%locale%” with the name of the language (English, German…).
3:Uploading
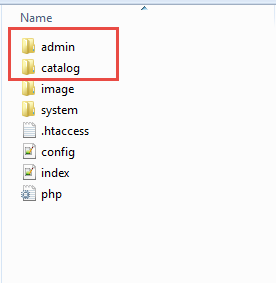
Upload the admin and catalog folders you have replaced into your folder upload theme
4: Translating
Then please go to Catalog > language > extension > choose 1 of 5 files PHP >> translate the text to your preference
3CONFIGURATION – Back to top
3.1 Template Configuration
1. Template Configuration
Go to Extensions > Modules > Theme Control Panel >> Click “Edit” Button. All of parameters of this theme are divided into the following groups, in which they are explained themselves:
Backend Settings
-
General: General/ Header/ Footer/ Banner Effect
-
Layout: Layout
-
Fonts: Fonts
-
Social Widgets Accounts: Social Widgets Accounts
-
Custom Code: CSS Input/ CSS File/ JS Input/ JS File
-
Advanced: Advanced
3.2 Menu Configuration
Frontend Appearance

1. Create New Megamenu
Go to Extensions >> Modules >> Find module “SO Mega Menu” >> Click “Edit” button >> Enter a menu’s name: “SO Mega Menu” >> Then Click “Save” button >> Create New Megamenu Here
2. Electronic Menu Configuration
Frontend Appearance
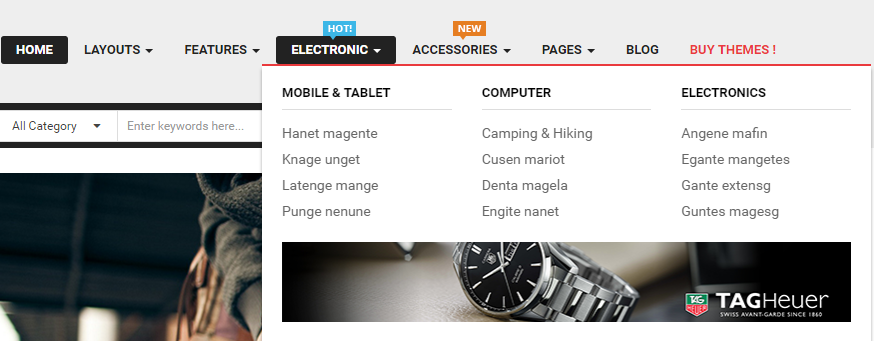
Check the menu item in the boxes in the left column, click “Createnew Item” to add Submenus to the menu and drag/drop to arrange them.
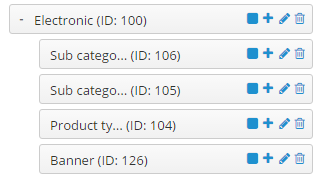
To Electronic Menu, click on “pencil” symbol to configure its backend settings
To configure Sub category1 – Submenu, click on “pencil” symbol to configure its backend settings
To configure Banner – Submenu, click on “pencil” symbol to configure its backend settings
Backend settings
Copy and paste the Code into editor:
|
1 2 3 |
<div class="col-xs-12 img-bottom"> <div class="row"><a href="#"><img src="image/catalog/cms/static-image-h-2.png" alt="banner1"></a> </div> </div> |
3. Accessories Menu Configuration
Frontend Appearance
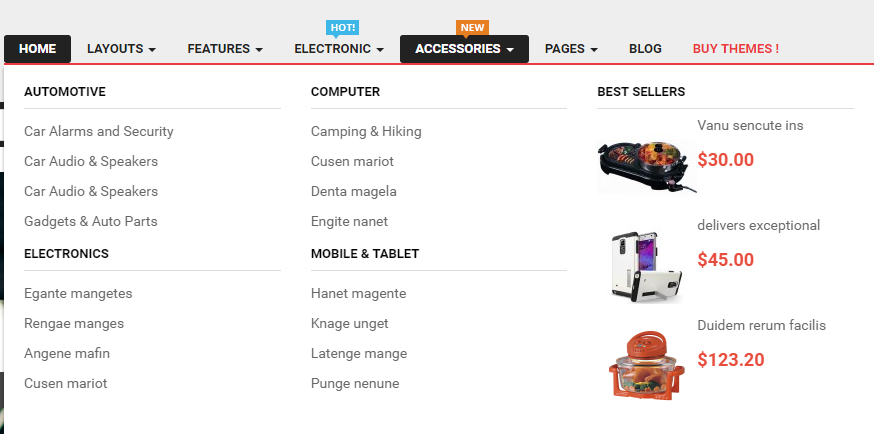
Check the menu item in the boxes in the left column, click “Createnew Item” to add Submenus to the menu and drag/drop to arrange them.
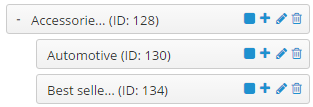
To configure Accessories Menu, click on “pencil” symbol to configure its backend settings
To configure Automotive – Submenu, click on “pencil” symbol to configure its backend settings
To configure Best sellers – Submenu, click on “pencil” symbol to configure its backend settings
4. Pages Menu Configuration
Frontend Appearance
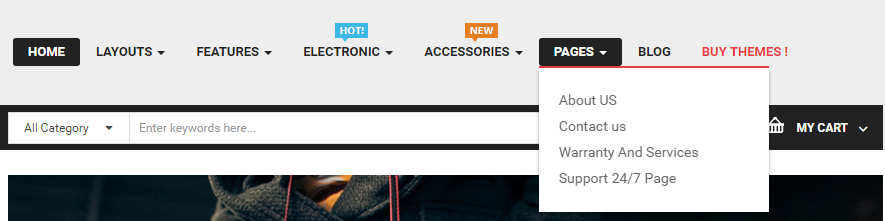
Check the menu item in the boxes in the left column, click “Createnew Item” to add Submenus to the menu and drag/drop to arrange them.
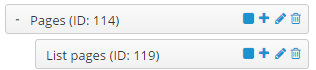
To configure Pages Menu, click on “pencil” symbol to configure its backend settings
To configure List pages – Submenu, click on “pencil” symbol to configure its backend settings
Backend settings
Copy and paste the Code into editor:
|
1 2 3 4 5 6 7 |
<ul class="row-list" style="font-size: 14px;"> <li><a class="subcategory_item" href="index.php?route=information/information&information_id=4">About US</a></li> <li><a class="subcategory_item" href="index.php?route=information/contact">Contact us</a></li> <li><a class="subcategory_item" href="index.php?route=information/information&information_id=3">Warranty And Services</a></li><a class="subcategory_item" href="index.php?route=information/information&information_id=3"> </a><li><a class="subcategory_item" href="index.php?route=information/information&information_id=3"></a><a class="subcategory_item" href="index.php?route=information/information&information_id=11">Support 24/7 Page</a></li> </ul> |
Frontend Appearance
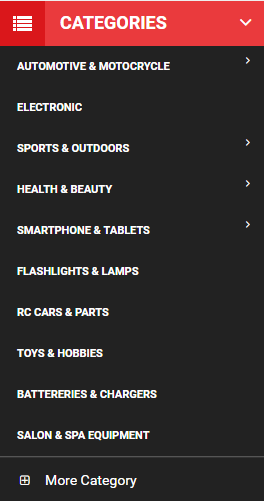
1. Create New Vertical Menu
Go to Extensions >> Modules >> Find module “SO Mega Menu” >> Click “Edit” button >> Enter a menu’s name: “SO Vertical Menu” >> Then Click “Save” button >> Create New Vertical Here
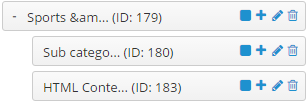
2. Automotive & Motocrycle Menu Configuration
Frontend Appearance
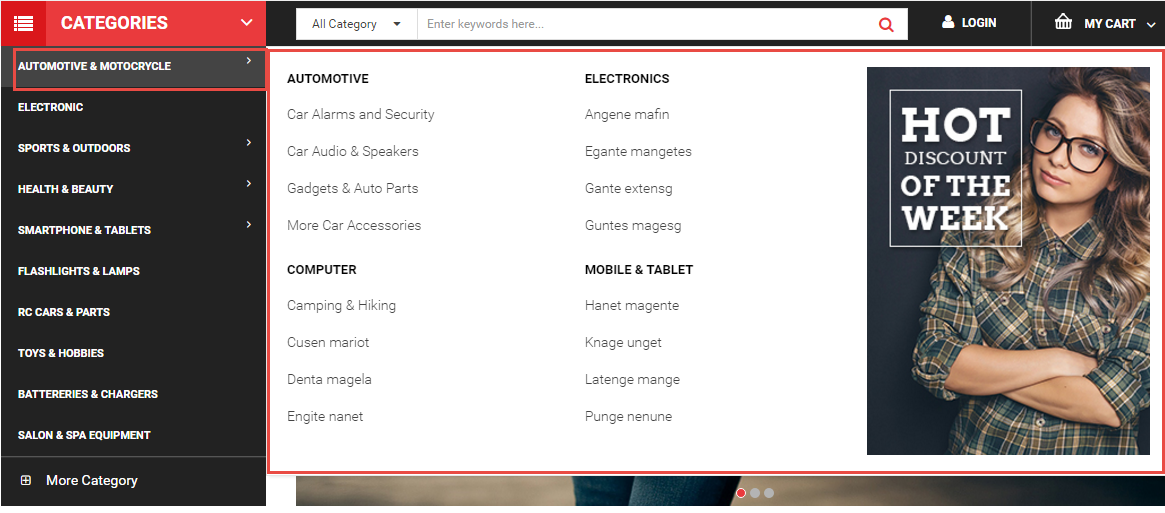
Check the menu item in the boxes in the left column, click “Createnew Item” to add Submenus to the menu and drag/drop to arrange them.

To configure Automotive & Motocrycle Menu, click on “pencil” symbol to configure its backend settings
To configure Sub category – Submenu, click on “pencil” symbol to configure its backend settings
To configure HTML Content – Submenu, click on “pencil” symbol to configure its backend settings
Backend settings
Copy and paste the Code into editor:
|
1 |
<div class="row img-banner"><a href="#"><img src="image/catalog/cms/img-static-megamenu-h.png" alt="banner"></a></div> |
3. Sports & Outdoors Menu Configuration
Frontend Appearance
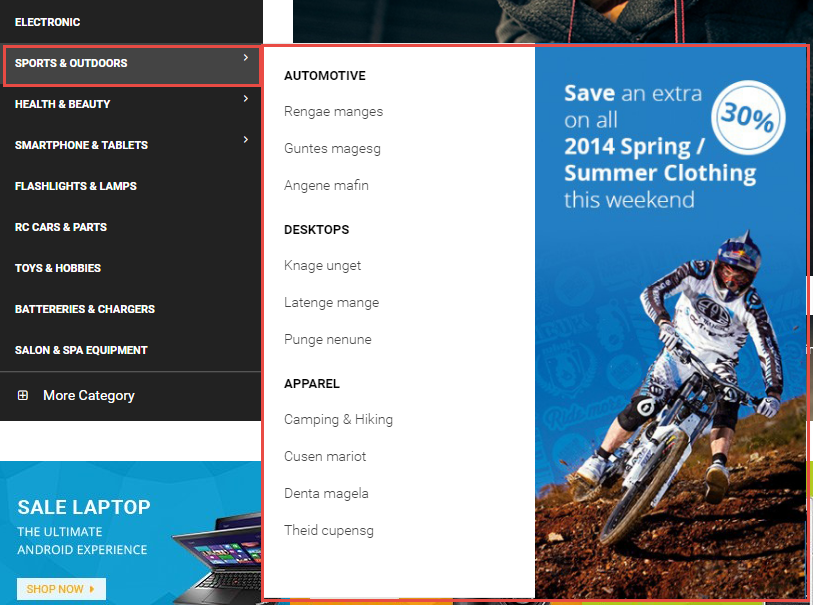
Check the menu item in the boxes in the left column, click “Createnew Item” to add Submenus to the menu and drag/drop to arrange them.
To configure Sports & Outdoors Menu, click on “pencil” symbol to configure its backend settings
To configure Theme Colors – Submenu, click on “pencil” symbol to configure its backend settings
To configure Sub category – Submenu, click on “pencil” symbol to configure its backend settings
To configure HTML Content – Submenu, click on “pencil” symbol to configure its backend settings
Backend settings
Copy and paste the Code into editor:
|
1 |
<div class="row banner"><a href="#"><img src="image/catalog/cms/menu_bg2.jpg" alt="banner1"></a></div> |
4. Health & Beauty Menu Configuration
Frontend Appearance
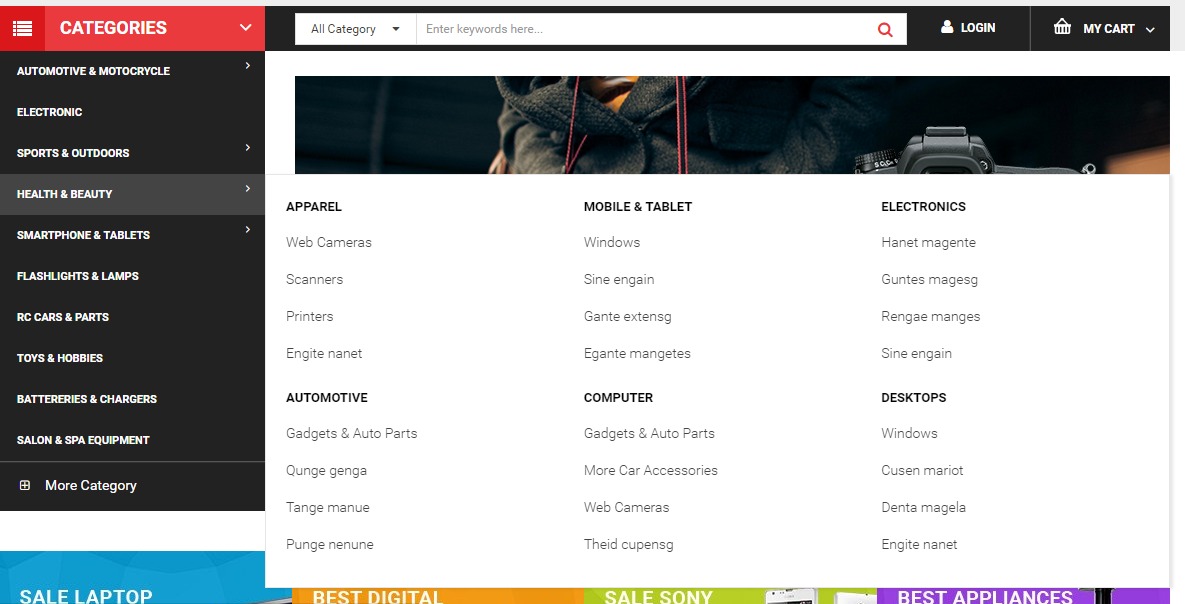
Check the menu item in the boxes in the left column, click “Createnew Item” to add Submenus to the menu and drag/drop to arrange them.

To configure Sub category – Submenu, click on “pencil” symbol to configure its backend settings
5. Smartphone & Tablets Menu Configuration
Frontend Appearance
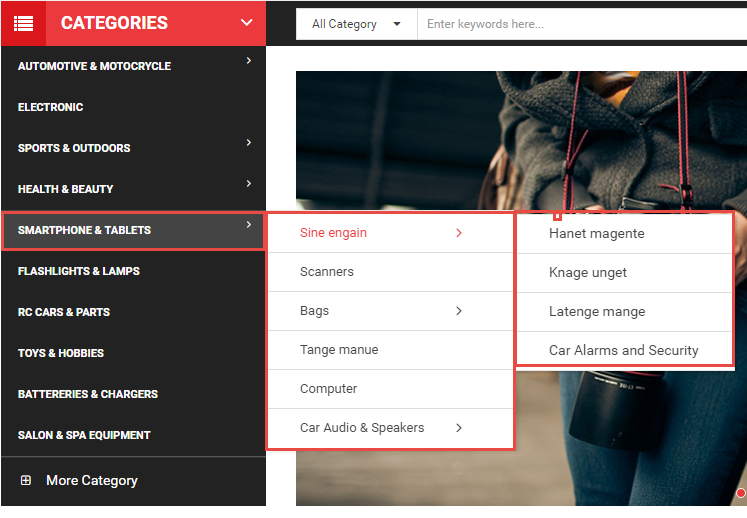
Check the menu item in the boxes in the left column, click “Createnew Item” to add Submenus to the menu and drag/drop to arrange them.
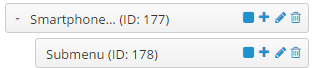
To configure Smartphone & Tablets Menu, click on “pencil” symbol to configure its backend settings
To configure Submenu – Submenu, click on “pencil” symbol to configure its backend settings
3.3 Extension Configuration – Layout1
1. Layout1: here
Please click: here to find out how to configure SO Page Builder
To configure this Layout, please go to Admin Control Panel >> SO Page Builder >> Select the modules you want and click “Edit” button .
-
Backend Settings: here
3.4 Extension Configuration – Layout2
2. Layout2: here
To configure this Layout, please go to Admin Control Panel >> SO Page Builder >> Select the modules you want and click “Edit” button .
-
Backend Settings:here
3.5 Extension Configuration – Layout3
3. Layout3: here
To configure this Layout, please go to Admin Control Panel >> SO Page Builder >> Select the modules you want and click “Edit” button .
-
Backend Settings: here
3.6 Extension Configuration – Layout4
4. Layout4: here
To configure this Layout, please go to Admin Control Panel >> SO Page Builder >> Select the modules you want and click “Edit” button .
-
Backend Settings:here
3.7 Extension Configuration – Layout5
5. Layout2: here
To configure this Layout, please go to Admin Control Panel >> SO Page Builder >> Select the modules you want and click “Edit” button .
-
Backend Settings: here
3.8 Extension Configuration – Layout6
6. Layout6: here
To configure this Layout, please go to Admin Control Panel >> SO Page Builder >> Select the modules you want and click “Edit” button .
-
Backend Settings: here
3.9 Extension Configuration – Layout7
7. Layout7: here
To configure this Layout, please go to Admin Control Panel >> SO Page Builder >> Select the modules you want and click “Edit” button .
-
Backend Settings: here
3.10 Extension Configuration – Layout8
8. Layout8: here
To configure this Layout, please go to Admin Control Panel >> SO Page Builder >> Select the modules you want and click “Edit” button .
-
Backend Settings:here
3.11 Extension Configuration – Layout9
9. Layout9: here
To configure this Layout, please go to Admin Control Panel >> SO Page Builder >> Select the modules you want and click “Edit” button .
-
Backend Settings:here
Note: You can read other extensions here:
Simple blog: here.
4SUPPORT – Back to top
Thank you so much for purchasing this template. If you have any questions that are beyond the scope of this help file, please send us via: Submit a Ticket
Thanks so much!
