Table of content as following:
1REQUIREMENT – Back to top
At the basic level, this template will require the following conditions:
- Compatible with version Joomla: Joomla 3.x
- Installation Packages include:
- Quickstart Package
- Template package only
- Extensions package from our store
- Third Party Extensions package (if have)
2HOW TO DOWNLOAD – Back to top
Download Packages from our store:
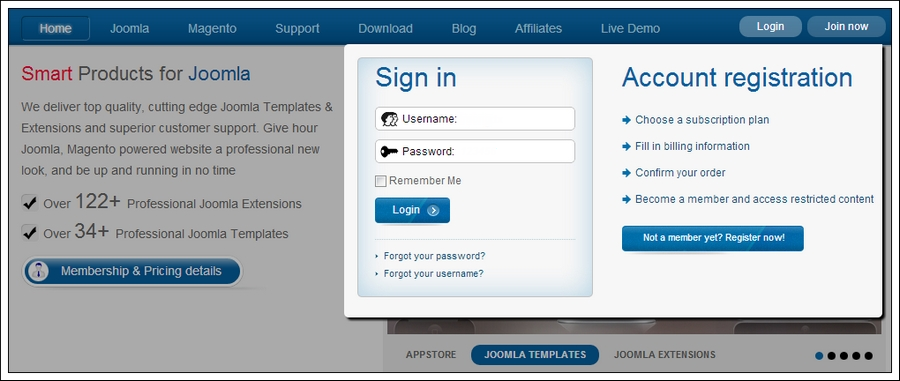
Step 1: Login your account
Step 2: Go to Joomla > Download > Joomla Templates Club
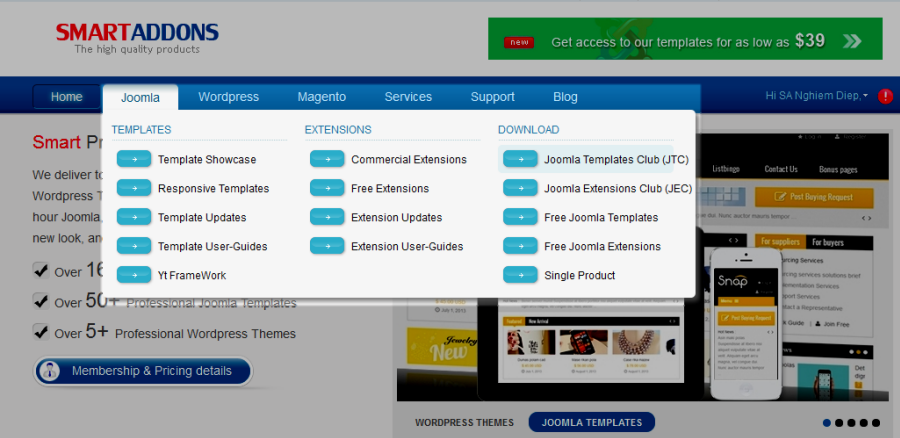
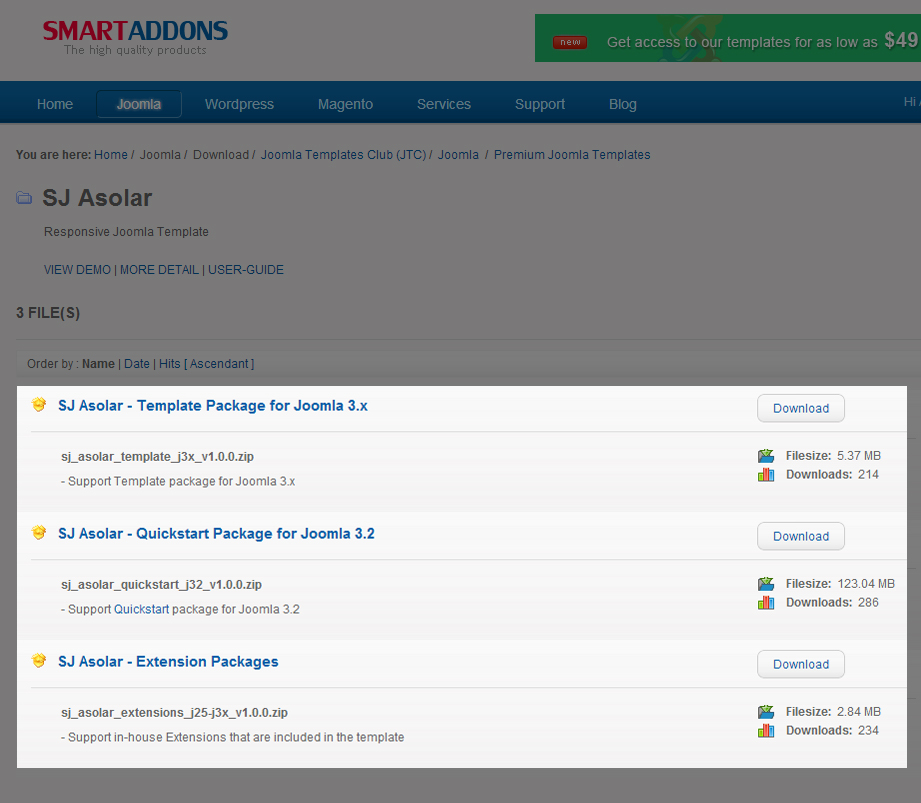
Step 3: Under Premium Joomla Templates –> click to download template as you want

Step 4: Under name of template –> Download packages as you want
3HOW TO INSTALL – Back to top
There are two ways to install a Joomla Template:
- Install quickstart: By using this package, you will set the template exactly as our Demo with sample data. This is applied when you need a fresh Joomla with our template.
- Install Template and Extensions: This is applied when you have already installed a Joomla instance on your server. You will need only be using the zipped files in “Extensions” and “Template” folders mentioned above.
3.1 Install with Quickstart Package:
Before installing the Quickstart package, we recommend you back up your site first. You click to learn how to back up a Joomla site. The following steps will guide to install a quickstart package of SmartAddons Joomla Template: Click here
3.2 Install with Template and Extensions:
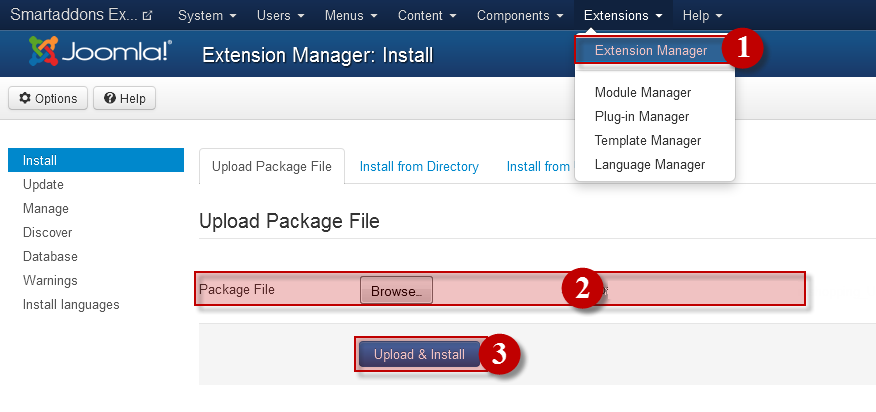
Log in your Administrator, go to Extensions > Extension Manager
Then install Template and Extensions as bellow.
3.2.1 Install Template:
Step 1: Click Choose File/Browse button, select our template file you have downloaded > Upload & Install.
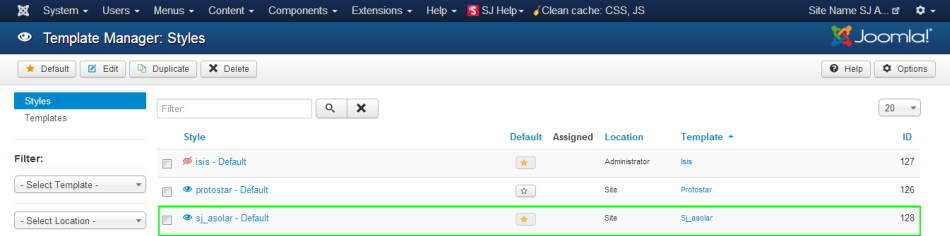
Step 2: Go to Extensions > Template Manager and set SJ Asolar to become the default template as bellow
3.2.2 Install Extensions:
Here is list of extensions that are used in the template.
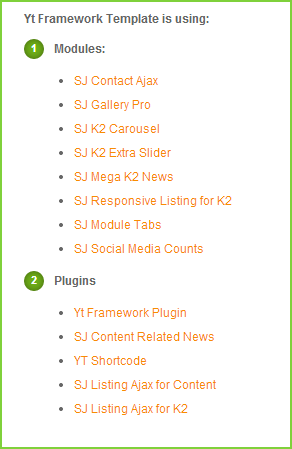
Step 1: Install Extensions that are developed by SmartAddons. Please Unzip First the Extension package for getting SmartAddons extensions then install each of them as install template above.
Step 2: Enable/Public plugins. Note: all plugins listed are imperative.
- Yt Framework Plugin supports to add extra parameters used with Mega Menu and to compress CSS/JS/HTML when optimizing code. Besides, configure Yt Framework to show SJ Help with Report Bugs, Template Tutorials and YT Framework Tutorials or include jQuery into template. You can go here for getting more information of this plugin.
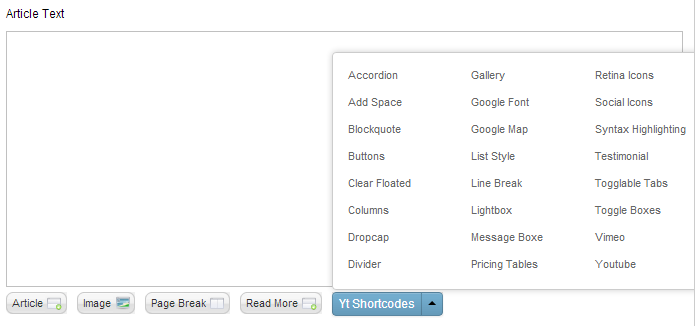
- YT Shortcodes supports users to make content for web pages. In Joomla administrator, YT Shortcodes button will be appeared below the text-area, you can choose shortcodes for the text-area to make content. Click here for viewing the screenshot of backend
- SJ Content Related News is used for showing other related articles in the same category. For more info about this module, please go here. Click here for viewing the screenshot of backend.
You need to install and activate them when using this template. Let’s start from 1 – 2 – 3 to active plugins as bellow:

After install template/extensions, please go to next step – Configuration of template as 4. Part bellow
3.3 Install multilingual site in SJ Template
To help you better about language problem when you work with SJ Template. We will instruct you how to set up multilingual site in SJ Template. FOLLOW ME!
4HOW TO CONFIGURE – Back to top
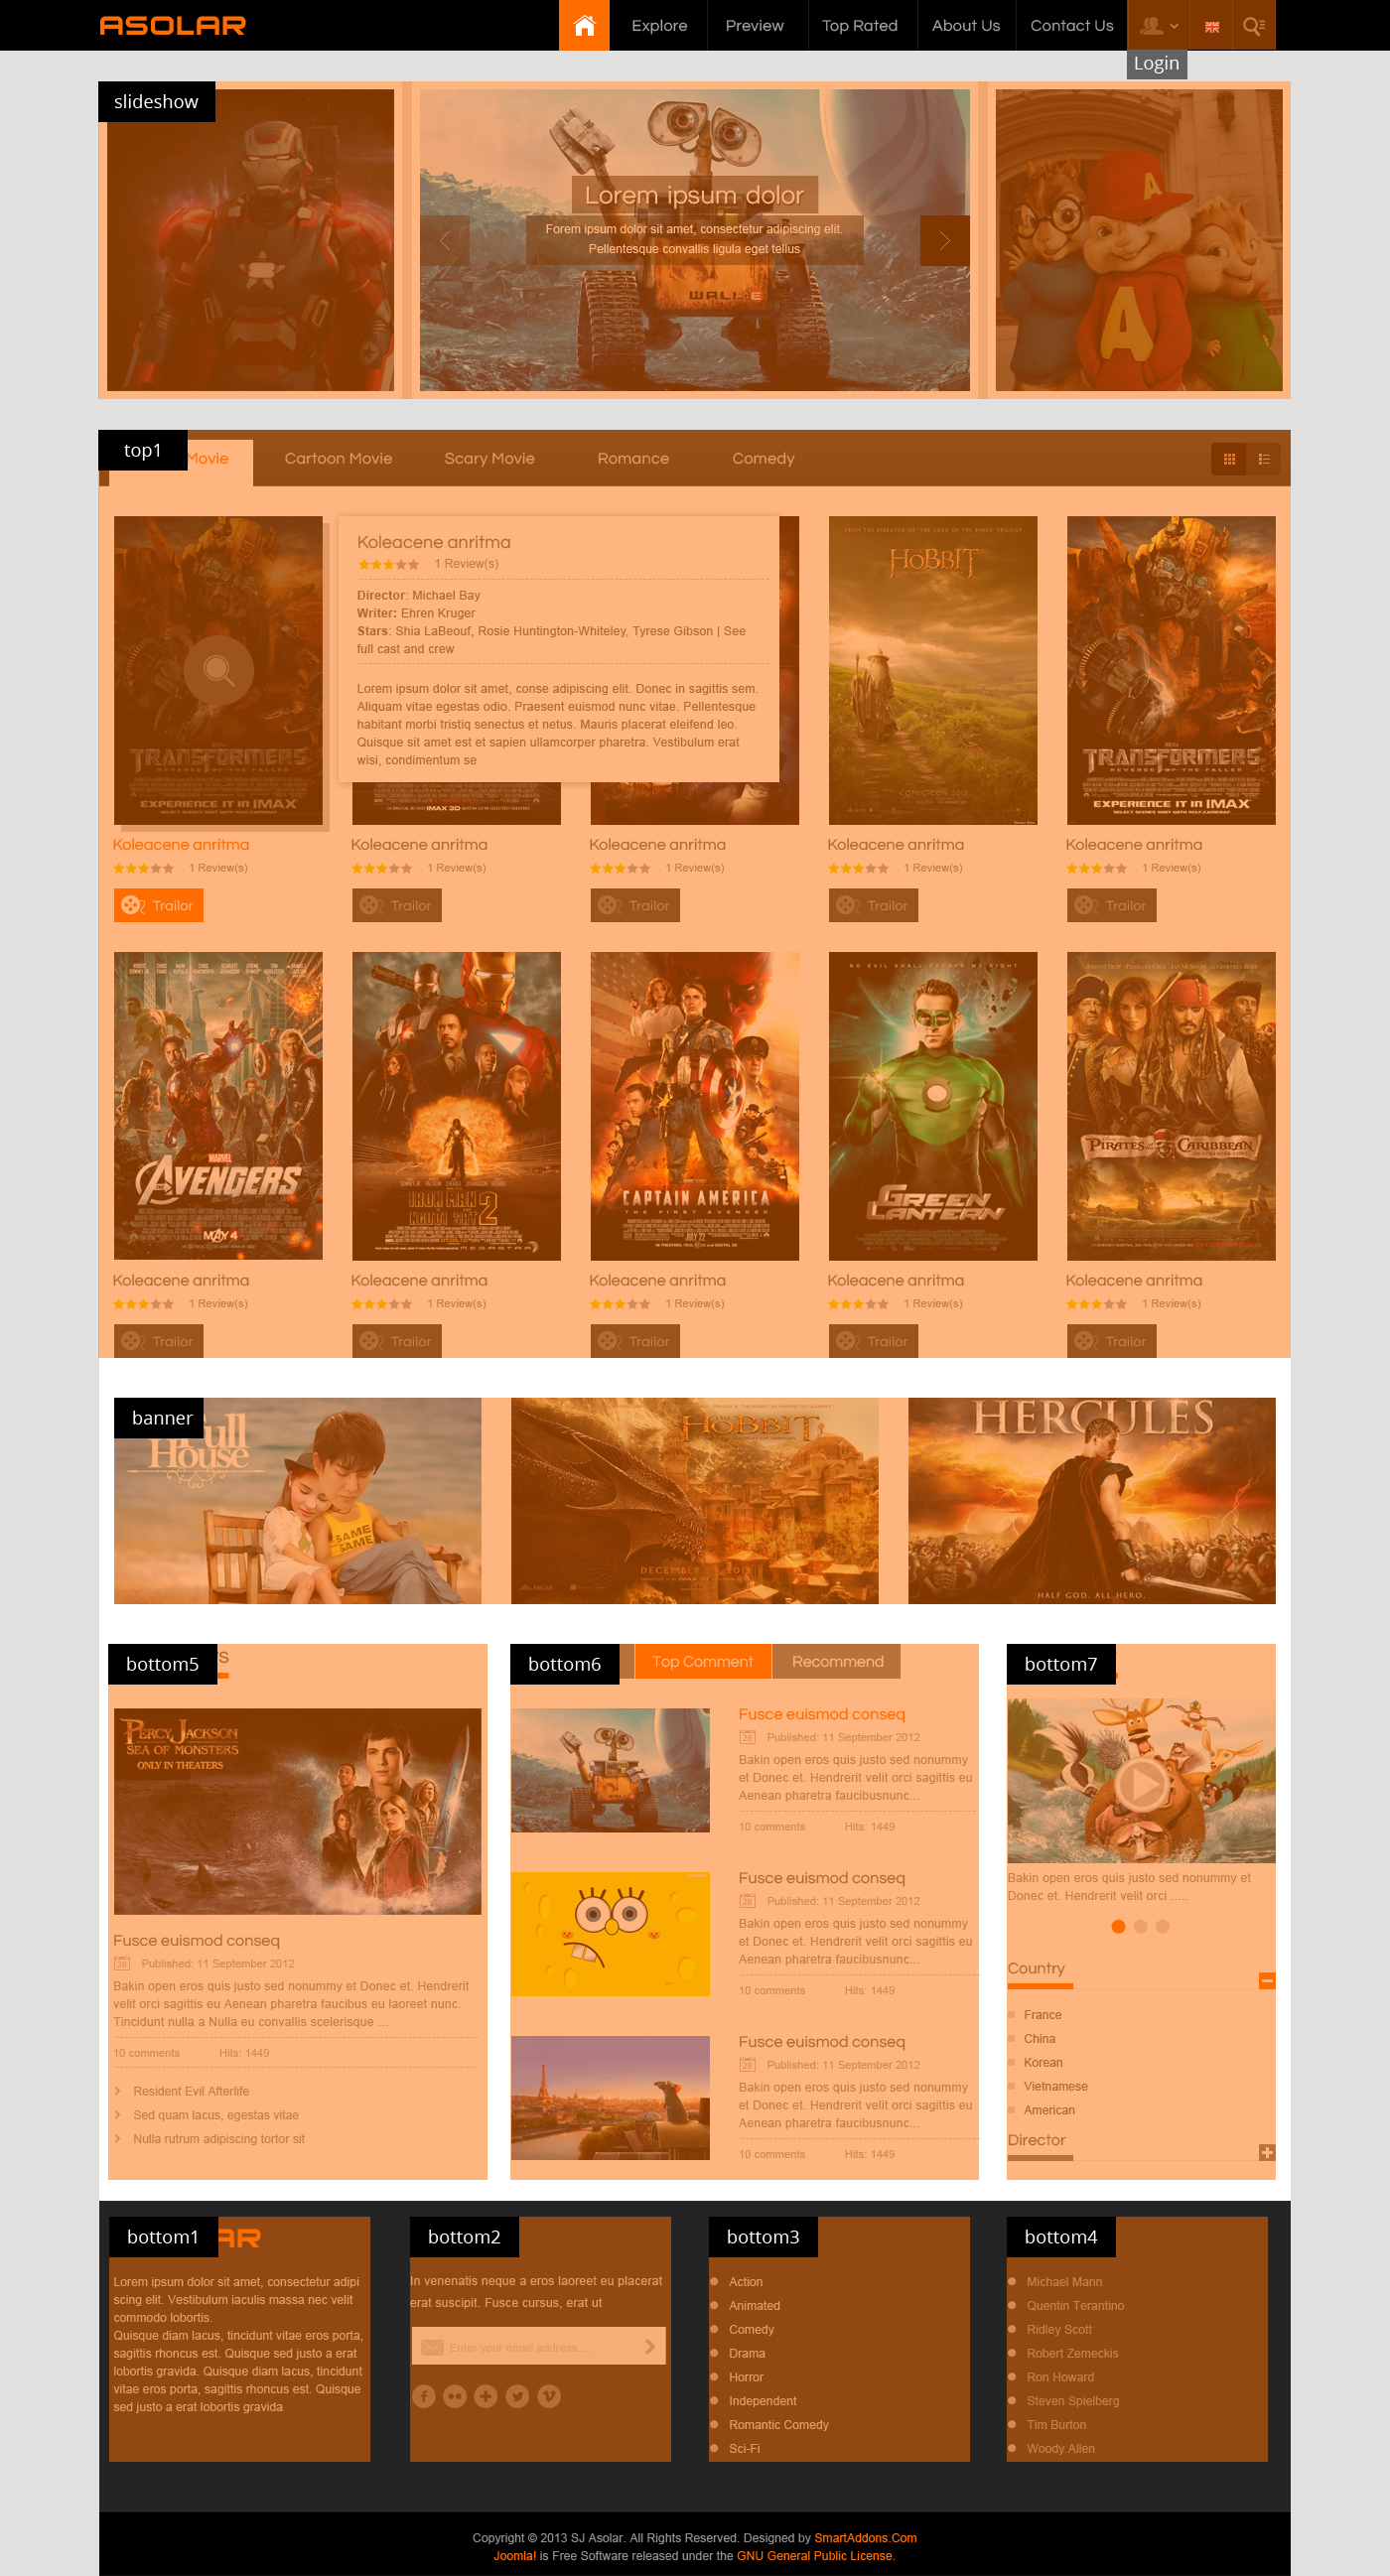
The following part we will guide how to configure the template becomes the same with our home page – Demo
4.1 Modules Positions
4.2 Template Configuration
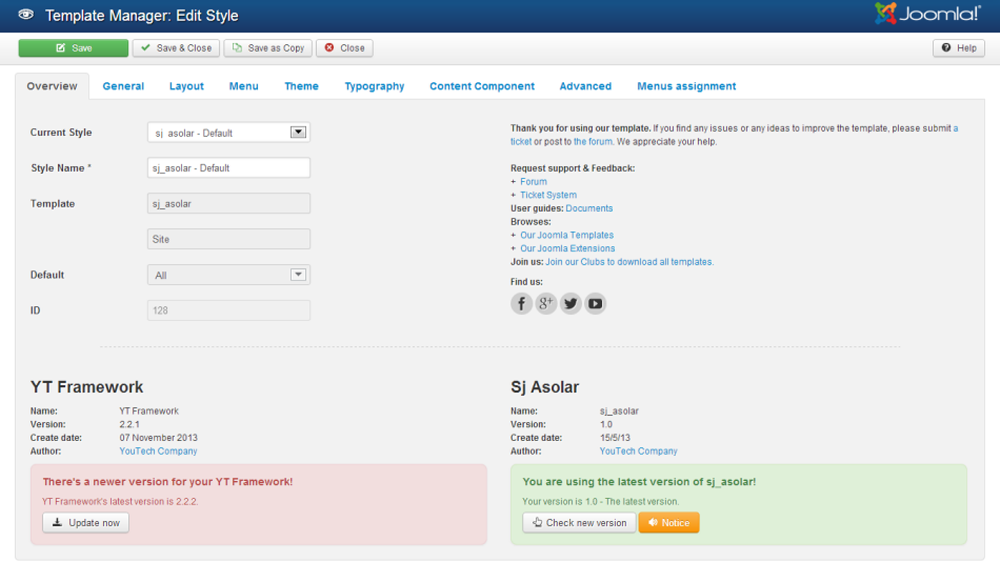
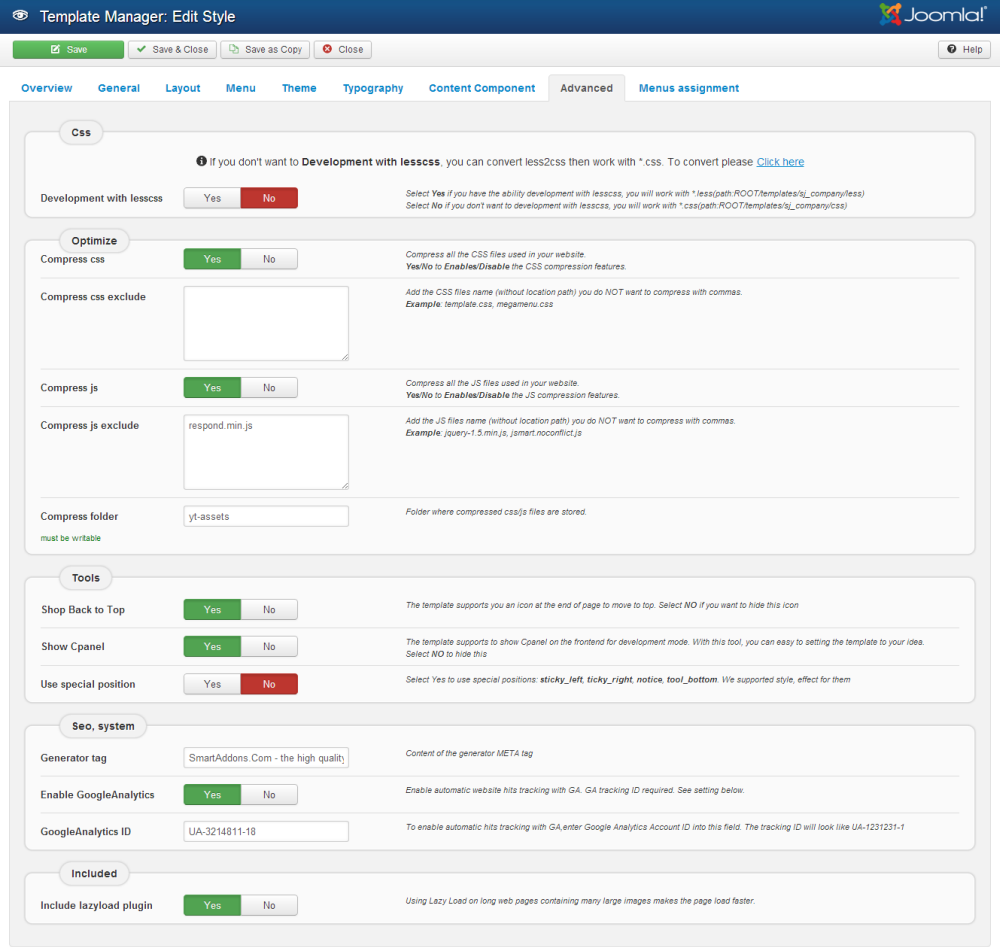
Go to Extensions > Template Manager > SJ Asolar. All of parameters of this template are divided into the following groups, in which they are explained themselves:
OVERVIEW
GENERAL

LAYOUT

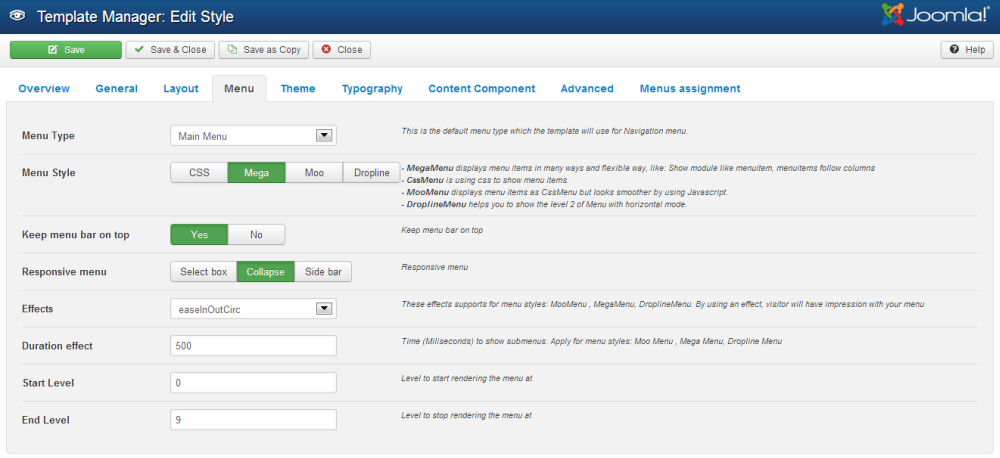
MENU
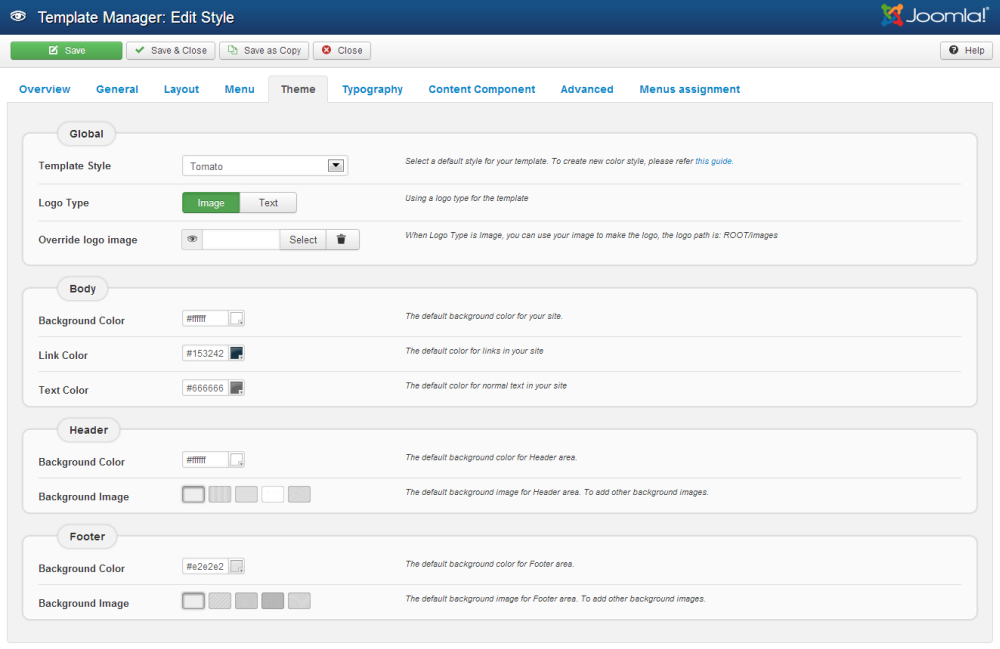
THEME
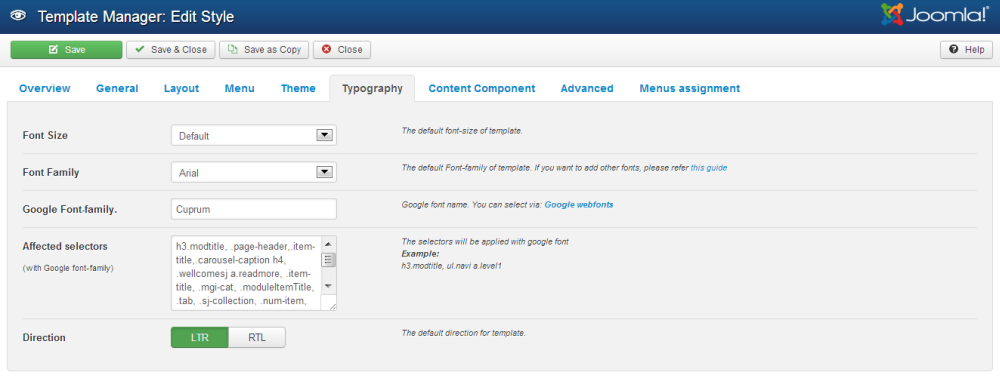
TYPOGRAPHY
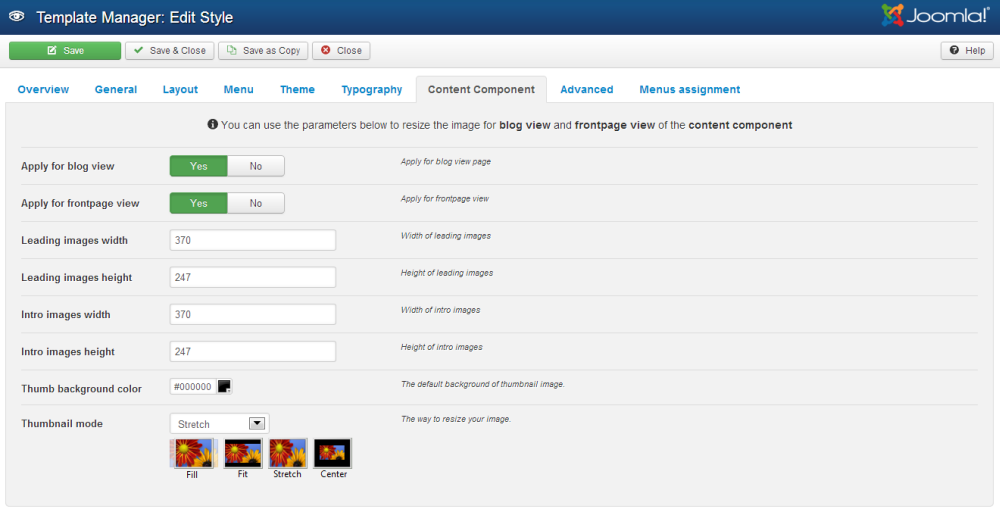
CONTENT COMPONENT
ADVANCED
4.3 Menu Configuration
4.3.1 Megamenu Configuration

To configure Mega Menu, go to: Extensions –> Template manager –> open SJ Asolar template, in the Menu setting, you can configure Mega Menu. To view more guide about how to install, set up and configure SJ Mega Menu as you want, please click here
4.3.2. Menu Item Frontend & Backend Configuration
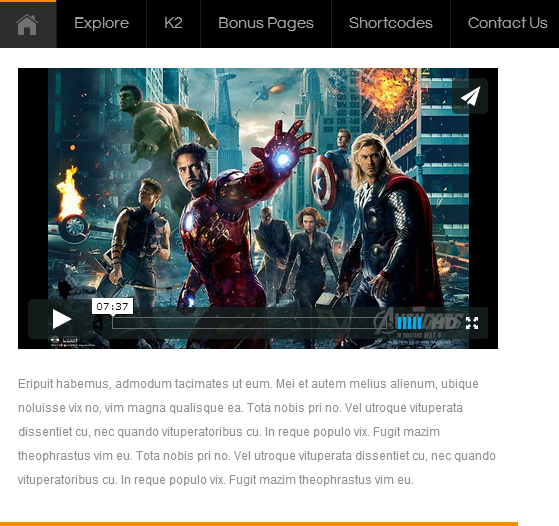
- HOME MENU: MENU PARAM
Frontend
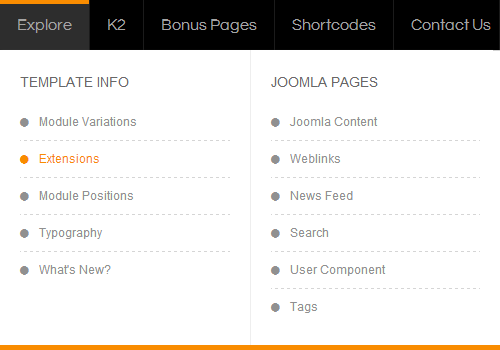
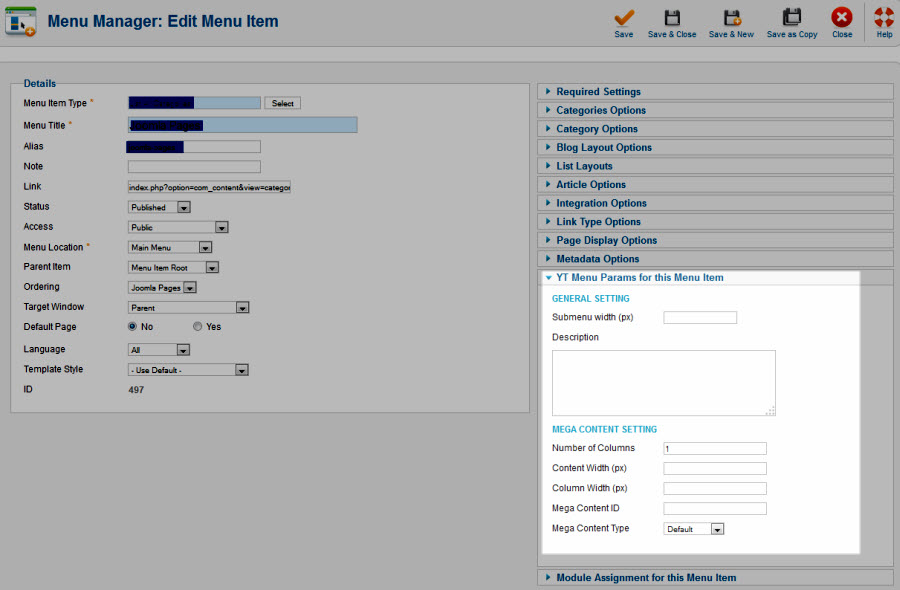
- EXPLORE MENU: TREE OF MENU – MENU PARAM
Frontend
Backend
– Template Info: backend
– Joomla Pages: backend
- K2 MENU: TREE OF MENU – MENU PARAM
Frontend

Backend
– K2 Category: Backend
– Note 1: Menus below configure the same ” K2 Category”.
– Note 2: “Bonus Pages Menu” configures the same ” K2 Menu”.
- SHORTCODES MENU:
Frontend

Backend
– Shortcodes: Backend
– Note: “CONTACT US MENU” configures the same ” SHORTCODES MENU”.
4.4 Extension Configuration
4.4.1. Login Form – Login Module
- Module Position – Module Suffix
Position: login
Suffix: - Frontend – Backend
FRONTEND

4.4.2. Sj K2 Carousel – SJ K2 Carousel Module
- Module Position – Module Suffix
Position: slideshow
Suffix: - Frontend – Backend
FRONTEND

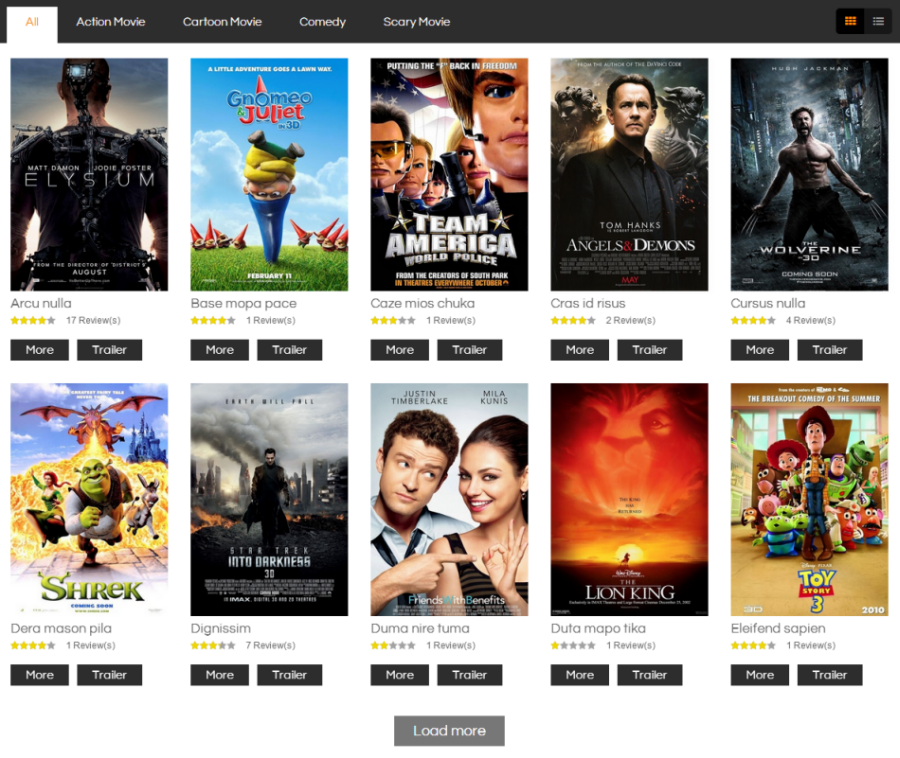
4.4.3. SJ Responsive Listing for K2 – SJ Responsive Listing for K2 Module
- Module Position – Module Suffix
Position: top1
Suffix: - Frontend – Backend
FRONTEND
4.4.4. banner – Custom HTML Module
- Module Position – Module Suffix
Position: banner
Suffix: - Frontend – Backend
FRONTEND

CODE – CUSTOM OUTPUT
|
1 2 3 4 5 6 7 8 |
<div class="banner-home"> <div class="span9"> <a href="#"><img src="images/demo/banner.png" alt="" /></a> </div> <div class="span3"> <a href="#"><img src="images/demo/banner2.png" alt="" /></a> </div> </div> |
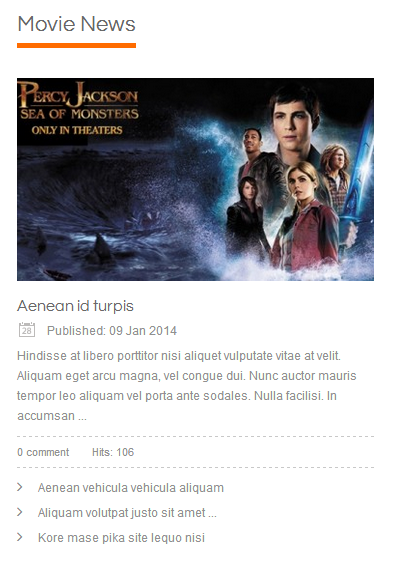
4.4.5. Movie News – SJ K2 Mega News Module
- Module Position – Module Suffix
Position: bottom5
Suffix: box_default - Frontend – Backend
FRONTEND
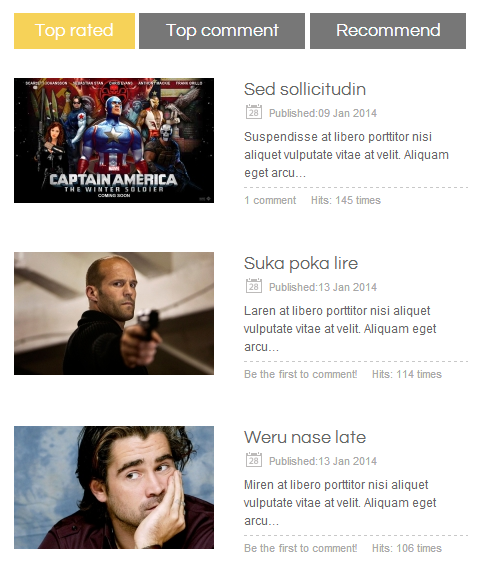
4.4.6. Tab home – SJ Module Tabs Module
- Module Position – Module Suffix
Position: bottom6
Suffix: tab_home - Frontend – Backend
FRONTEND
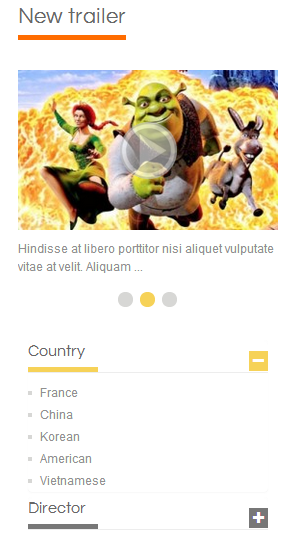
4.4.7. New trailer – SJ K2 Extra Slider Module
- Module Position – Module Suffix
Position: bottom7
Suffix: box_default padding-box - Frontend – Backend
FRONTEND
4.4.8. About Asolar – Custom HTML Module
- Module Position – Module Suffix
Position: bottom1
Suffix: - Frontend – Backend
FRONTEND
CODE – CUSTOM OUTPUT
12345<div class="about-us"><img src="images/logo.png" alt="" /><p>Lorem ipsum dolor sit amet, consectetur adipi scing elit. Vestibulum iaculis massa nec velit commodo lobortis. <br/>Quisque diam lacus, tincidunt vitae eros porta, sagittis rhoncus est.Quisque sed justo a erat lobortis gravida.Quisque diam lacus, tincidunt vitae eros porta, sagittis rhoncus est. Quisque sed justo a erat lobortis gravida</p></div>
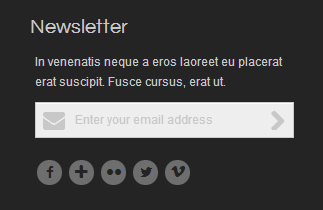
4.4.9. Newsletter – Custom HTML Module
- Module Position – Module Suffix
Position: bottom2
Suffix: - Frontend – Backend
FRONTEND
CODE – CUSTOM OUTPUT
1234567891011121314151617<div class="newsletter-content"><p>In venenatis neque a eros laoreet eu placerat erat suscipit. Fusce cursus, erat ut.</p><form id="subscribe" action="http://feedburner.google.com/fb/a/mailverify" method="post" target="popupwindow" onsubmit="window.open( 'http://feedburner.google.com/fb/a/mailverify?uri=codeimba', 'popupwindow', 'scrollbars=yes,width=550,height=520');return true"><div class="subscribe-content"><i class="icon-envelope"></i><input type="email" value="Enter your email address" id="subbox" onfocus="if ( this.value == 'Enter your email address') { this.value = ''; }" onblur="if ( this.value == '' ) { this.value = 'Enter your email address'; }" name="email"><input type="hidden" name="uri" value="codeimba"><input type="hidden" name="loc" value="en"><button><i class="icon-chevron-right"></i></button></div></form><div id="footer-social" class="social"><a href="http://www.facebook.com/SmartAddons.page" class="sb facebook default min " target="_blank" rel="tooltip" data-original-title="facebook"><i class="icon facebook"></i> </a><a href="https://plus.google.com/u/0/103151395684525745793/posts" class="sb google-plus default min " target="_blank" rel="tooltip" data-original-title="google plus"><i class="icon-plus"></i> </a><a href="#" class="sb flickr default min " target="_blank" rel="tooltip" data-original-title="flickr"><i class="icon flickr"></i> </a><a href="https://twitter.com/#!/smartaddons" class="sb twitterbird default min " target="_blank" rel="tooltip" data-original-title="twitterbird"><i class="icon twitterbird"></i> </a><a href="#" class="sb vimeo default min " target="_blank" rel="tooltip" data-original-title="vimeo"><i class="icon vimeo"></i> </a></div></div>
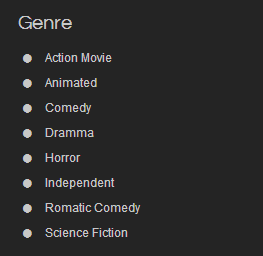
4.4.10. Genre – Custom HTML Module
- Module Position – Module Suffix
Position: bottom3
Suffix: - Frontend – Backend
FRONTEND
CODE – CUSTOM OUTPUT
12345678910<ul class="menu blank"><li><a href="#">Action Movie</a></li><li><a href="#">Animated</a></li><li><a href="#">Comedy</a></li><li><a href="#">Dramma</a></li><li><a href="#">Horror</a></li><li><a href="#">Independent</a></li><li><a href="#">Romatic Comedy</a> </li><li><a href="#">Science Fiction</a></li></ul>
Note: “bottom4” configure the same with “bottom3” above.
5SUPPORT – Back to top
Thank you so much for purchasing this template. If you have any questions that are beyond the scope of this help file, please send us via: Submit a Ticket
Thanks so much!
