1SYSTEM REQUIREMENTS – Back to top
SO LoveFashion is compatible with Opencart 2.0.x. Please make sure your system meets the following requirements:
1.1 System Requirements
Software
- Software: PHP 5.2.4+ (5.4+ recommended)
- MySQL: 5.0.4+
Web Sever
- Apache: 2.x+
- Microsoft: IIS 7
- Nginx: 1.0 (1.1 recommended)
1.3 Browser Requirements
The requirements are the same with Opencart 2.0.x
- Firefox 4+
- IE (Internet Explorer) 9+
- Google Chrome 10+
- Opera 10+
- Safari 5+
1.4 Development Environment
The requirements are the same with Opencart 2.0.x
During the development process, Localhost is preferred. You can use the following servers on your PC to develop your site.
Windows
- WAMPSEVER
- XAMPP for Windows
Linux
- LAMP Bubdle
- XAMPP for Linux
Mac OS
- MAMP & MAMP Pro
- XAMPP for Mac OS
1.5 Note: You can read more document below
- Opencart Installation:
- OPencart Help
2INSTALLATION – Back to top
There are two ways to install a SO Theme:
- Install Quickstart: By using this package, you will set the template exactly as our Demo with sample data.
- Install Template : If you exist a opencart website you can install only template.
2.1 Install with Quickstart Package:
Step 1: Open your Browser and type : localhost/phpmyadmin or yourdomain/phpmyadmin
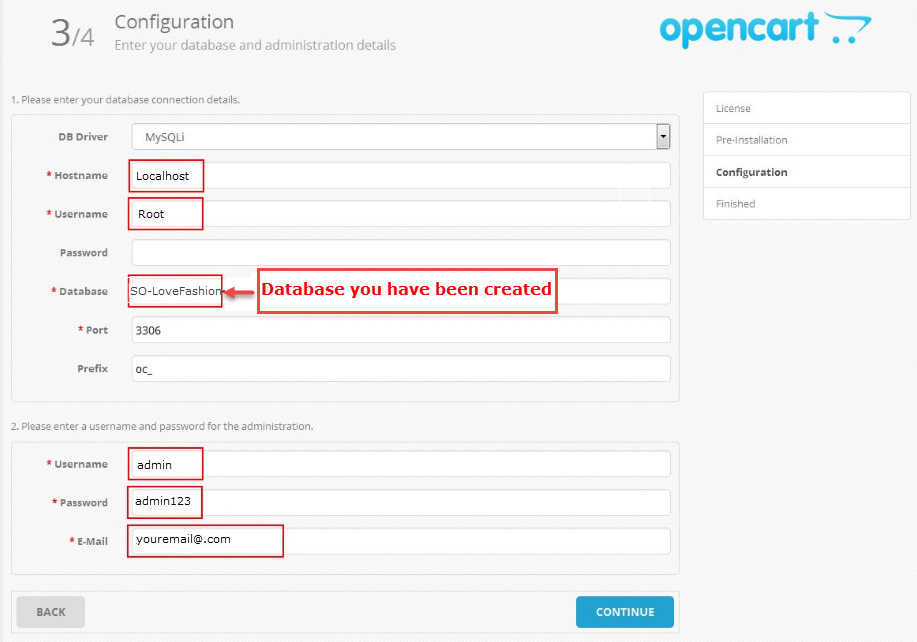
Step 2: Then create database
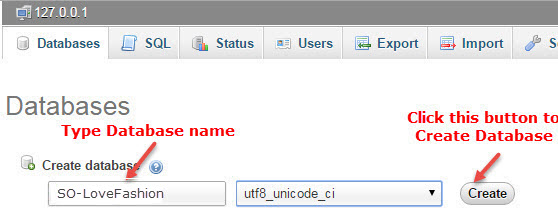
As an example, name of opencart is SO-LoveFashion: Https://Opencart/SO-LoveFashion/upload/install/index.php then click “install” button
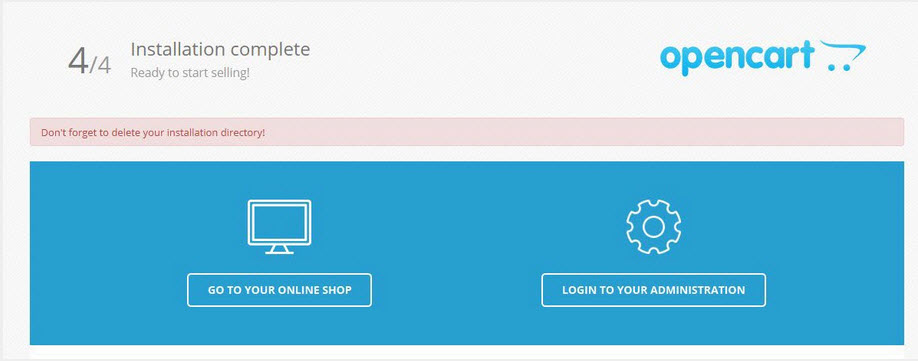
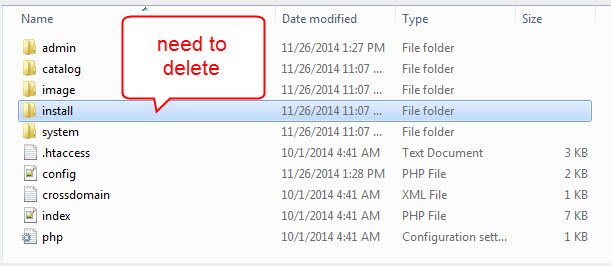
You need to delete install folder
Note:
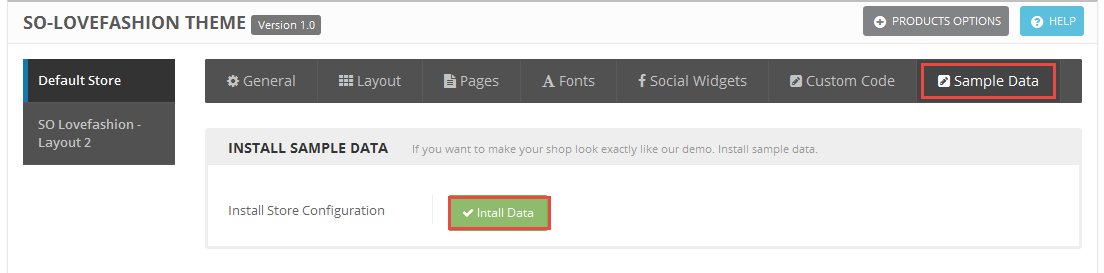
After installing quickstart package and choosing Layout you want. To retrieve sample data for theme default, please go to Theme Control Panel >> Choose Sample Data >> Click “Install data” button
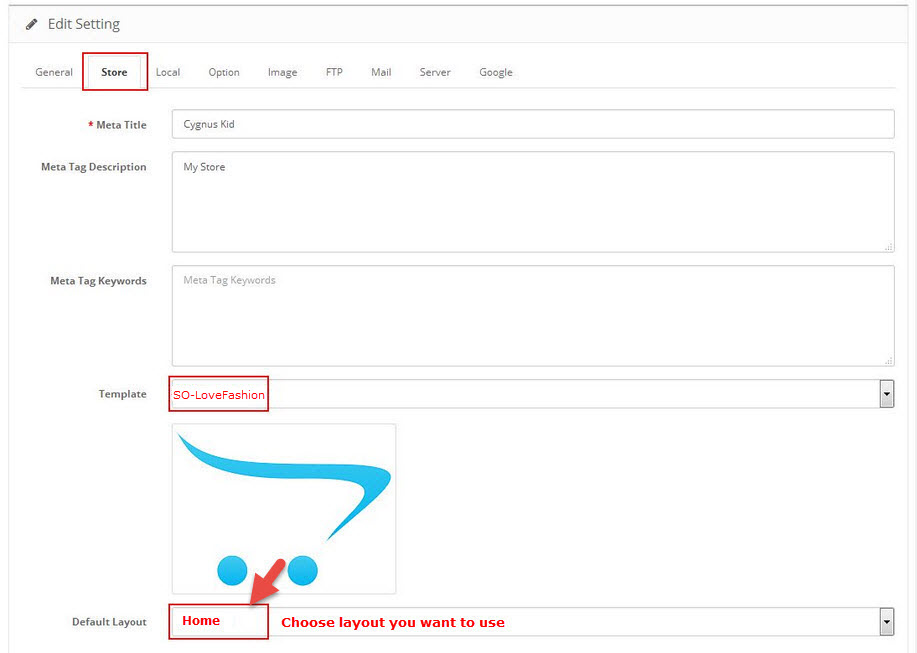
- Go to System -> Settings
- At tab Store Name , choose your default store, click Edit button
- Choose tab Store
2.2 Install Theme
You can download Opencart here.
You can install default Opencart the same as part 2.1 Install with Quickstart Package
There are two ways to install Theme
Option1: you to use the new Extension Installer featured in OpenCart 2.0
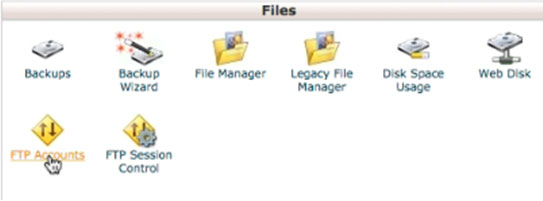
- Step 1 : Click FTP Accounts from your cPanel
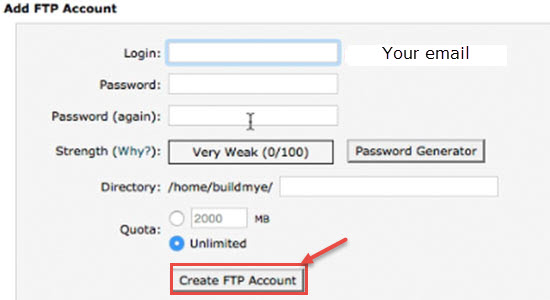
- Step 2: Create username and password
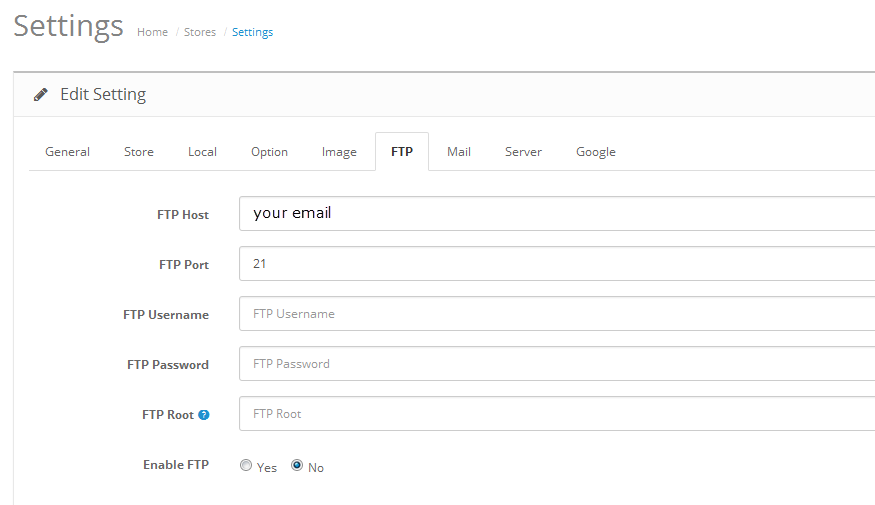
- Step 3: Enable FTP. please go to System >> Settings >> Click Edit next to your store >> Click FTP tab and enter the FTP username & password, which you just created from the cPanel
- Step 4: Go to Extensions > Extension Installer > Click Upload and select the “so_lovefashion_template.ocmod.zip” file to upload. Then You should see the message Success: You have installed your extension!
- Step 5: You run the vqmod on your Frontend. Please type the following link: http://www.yoursite.com/vqmod/install. Then you should see the message Success: You have installes your Vqmod !. Refresh your site
- Step 6: Go to System > Settings > Edit (your store)
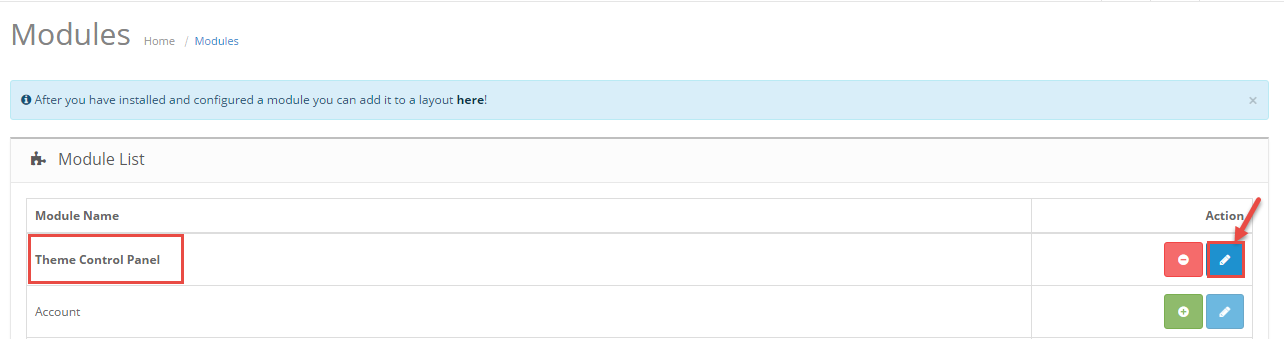
- Step 7: Go to Extension > Modules > SO Theme Control Panel and click on the ‘install’ link
- Step 8: To retrieve sample data for theme default, please go to Theme Control Panel >> Choose Sample Data >> Click “Install data” button
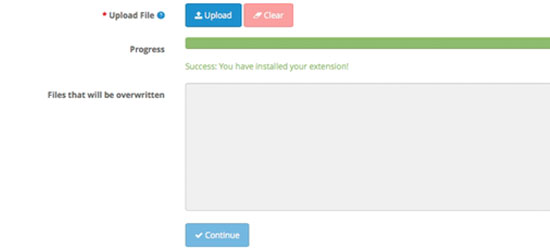
Then You should see the message Success: You have installed your extension!
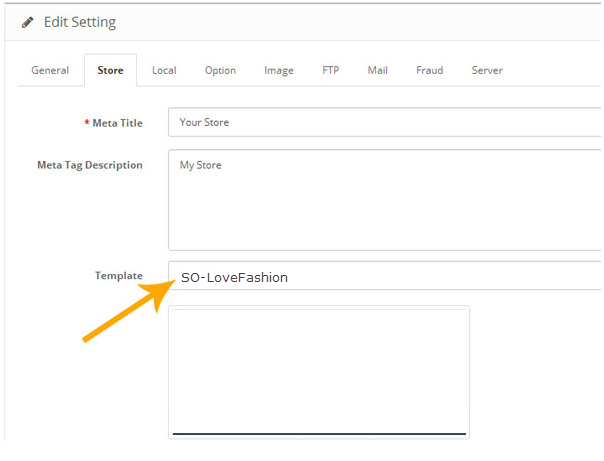
Click on the Store tab. From the drop down listing of available themes select SO LoveFashion
Then click on the ‘edit’ button to cofigure this module.
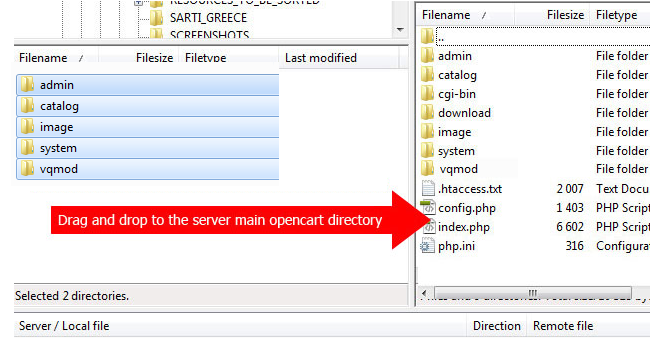
Option2: Just copy your files to your webserver
- Extract the so_lovefashion_template.ocmod.zip from the archive you downloaded from Themeforest.
- Open the folder that corresponds to your OpenCart version and upload all the files from “FILES_TO_UPLOAD” to the root directory you have installed OpenCart in. Drag the 5 folders (admin, catalog, image, system, ocmod) over to your OpenCart installation
- Login your opencart admin
- Go to System > Settings > Edit (your store)
- Click on the Store tab. From the drop down listing of available themes select SO LoveFashion
Go to Extension > Modules > SO Theme Control Panel and click on the ‘install’ link
Then click on the ‘edit’ button to cofigure this module.
2.3 Install Vqmod
SO LoveFashion makes use of plugins to add custom features. These plugins need Vqmod installed on your site.
Download the lastest vqmod-x.x.x-opencart.zip file: here.
Please type the following link: http://www.yoursite.com/vqmod/install. Then you should see the message Success: You have installes your Vqmod !. Refresh your site.
3CONFIGURATION – Back to top
3.1 Layout Position
3.1.1 Layout1
3.1.2 Layout2
3.1.3 Layout3
3.1.4 Layout4
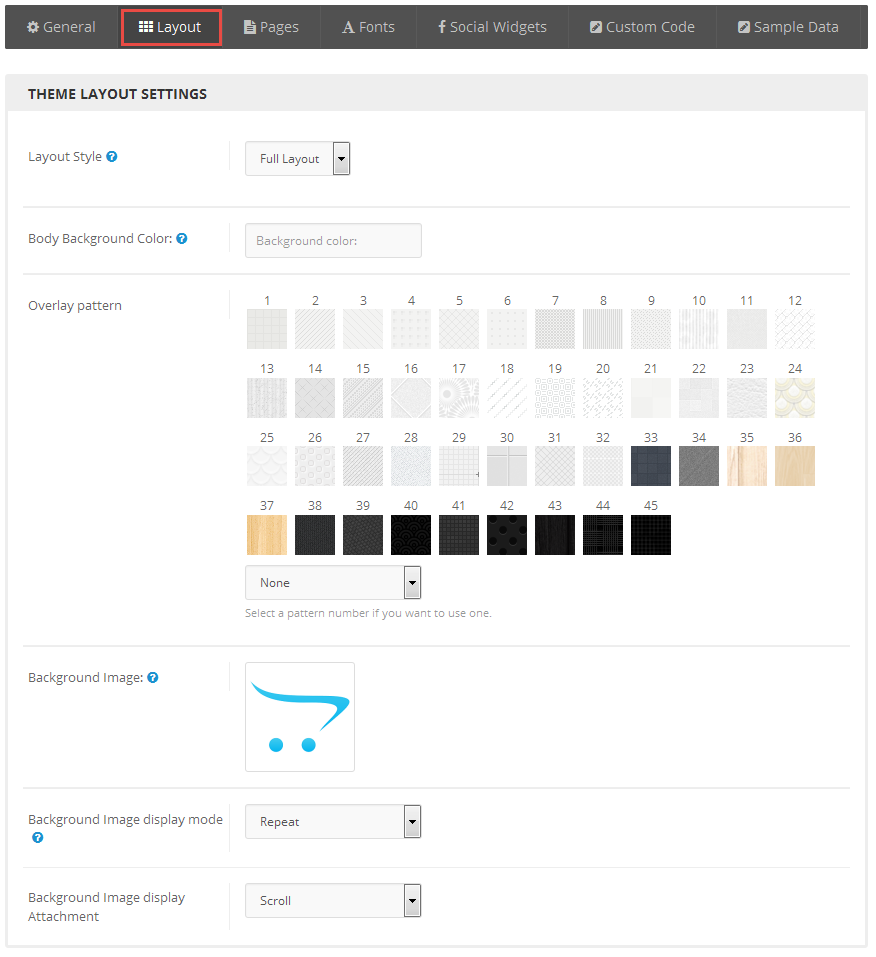
3.2 Template Configuration
3.2.1. Template Configuration
Go to Extensions > Modules > Theme Control Panel >> Click “Edit” Button. All of parameters of this theme are divided into the following groups, in which they are explained themselves:
General
Layout
Pages
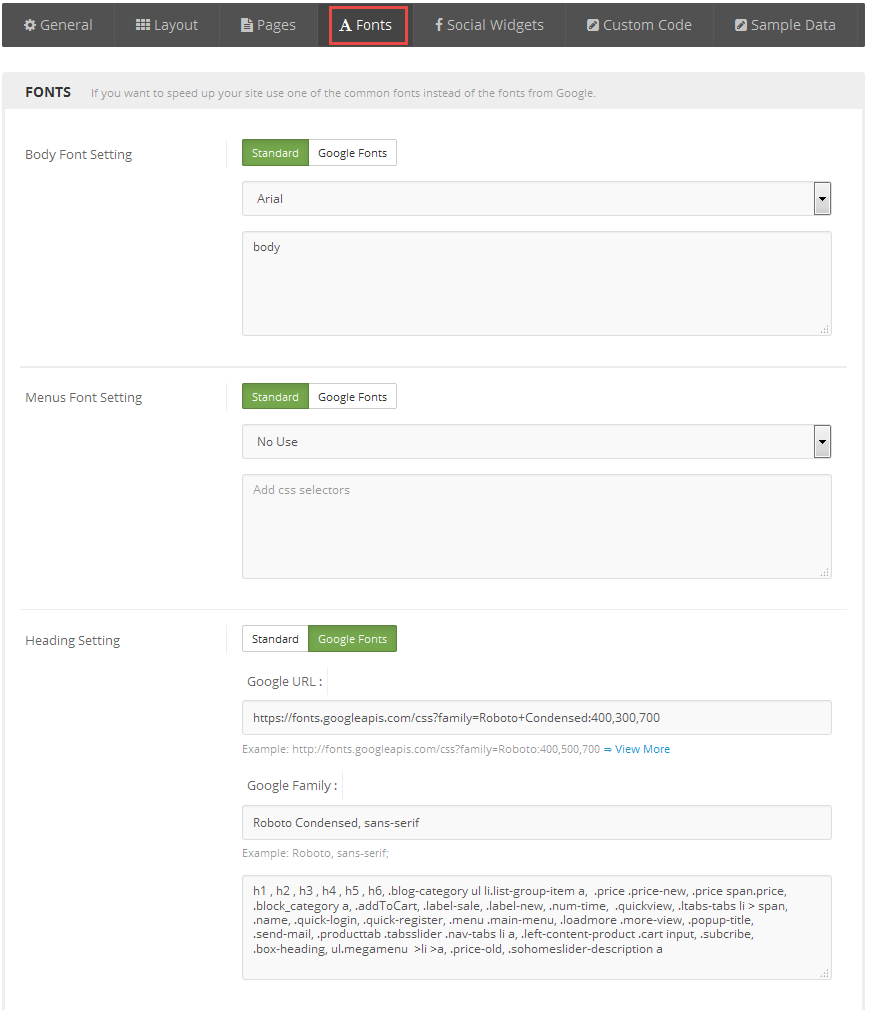
Fonts
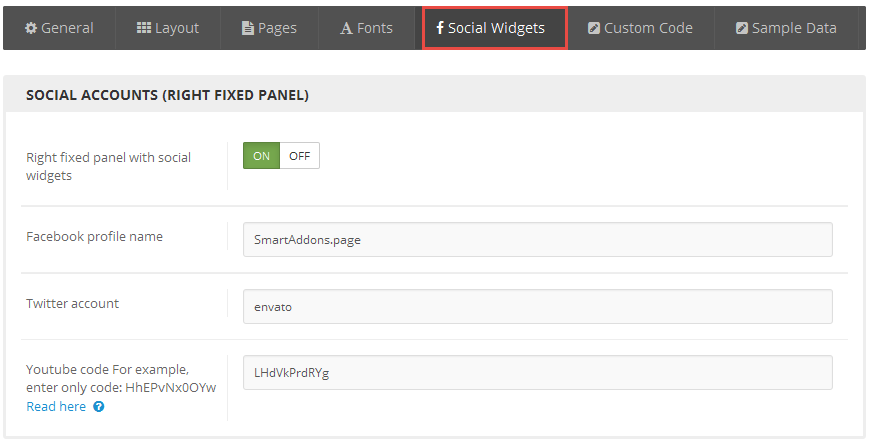
Social Widgets Accounts
Custom Code
3.3 Menu Configuration
Frontend Appearance

3.3.1.1 Create New Megamenu
Go to Extensions >> Modules >> Find module “SO Mega Menu” >> Click “Edit” button >> Enter a menu’s name: “SO Mega Menu” >> Then Click “Save” button >> Create New Megamenu Here
3.3.1.2 Features Menu Configuration
Frontend Appearance
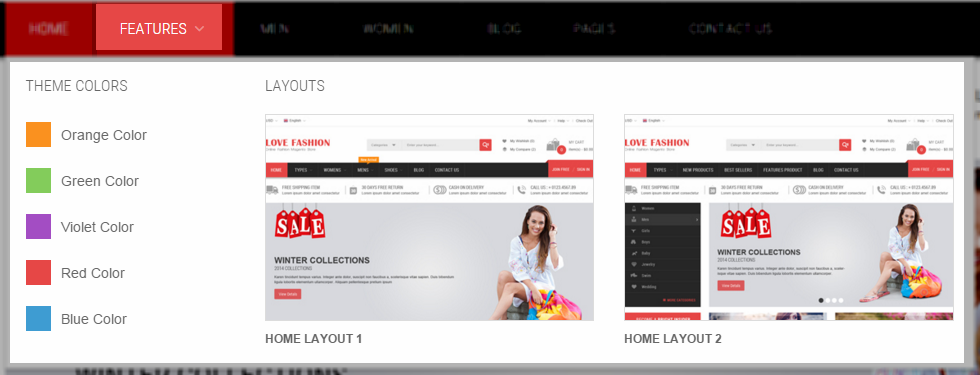
To create this menu, please go to Extensions >> Modules >> ” SO Megamenu > SO Megamenu” >> Click “Edit” button >> Click “Creat new Item” >> Creat new item Here
Check the menu item in the boxes in the left column, click “Creat new Item” to add Submenus to the menu and drag/drop to arrange them.
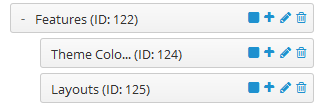
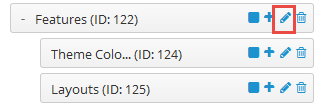
To configure Features Menu, click on “pencil” symbol to configure its backend settings
To configure Theme Colors – Submenu, click on “pencil” symbol to configure its backend settings
Copy and paste the Code into editor:
|
1 2 3 4 5 6 7 8 9 10 11 12 13 14 15 16 17 18 19 |
<div class="column layout-color"> <h3>Theme Colors</h3> <div> <ul class="row-list"> <li class="color orange"><a href="index.php?scheme=orange" onclick="window.location = 'index.php?scheme=orange';">Orange Color</a></li> <li class="color green"><a href="index.php?scheme=green" onclick="window.location = 'index.php?scheme=green';">Green Color</a></li> <li class="color violet"><a href="index.php?scheme=violet" onclick="window.location = 'index.php?scheme=violet';">Violet Color</a></li> <li class="color red"><a href="index.php?scheme=red" onclick="window.location = 'index.php?scheme=red';">Red Color</a></li> <li class="color blue"><a href="index.php?scheme=blue" onclick="window.location = 'index.php?scheme=blue';">Blue Color</a></li> </ul> </div> </div> |
To configure Layouts – Submenu, click on “pencil” symbol to configure its backend settings
Copy and paste the Code into editor:
|
1 2 3 4 5 6 7 8 9 10 11 12 13 14 15 16 17 18 19 20 21 22 23 24 |
<div class="column"> <h3>Layouts</h3> <ul class="row"> <li class="col-sm-6"> <a href="http://dev.ytcvn.com/ytc_templates/opencart/so_lovefashion/" onclick="window.location = 'http://dev.ytcvn.com/ytc_templates/opencart/so_lovefashion/';"> <img src="image/layout1.jpg" alt="img-layout1"> <span>Home Layout 1</span> </a> </li> <li class="col-sm-6"> <a href=" http://dev.ytcvn.com/ytc_templates/opencart/so_lovefashion/layout2/" onclick="window.location = 'http://dev.ytcvn.com/ytc_templates/opencart/so_lovefashion/layout2/';"> <img src="image/layout2.jpg" alt="img-layout2"> <span>Home Layout 2</span> </a> </li> </ul> </div> |
3.3.1.3 Men Menu Configuration
Frontend Appearance
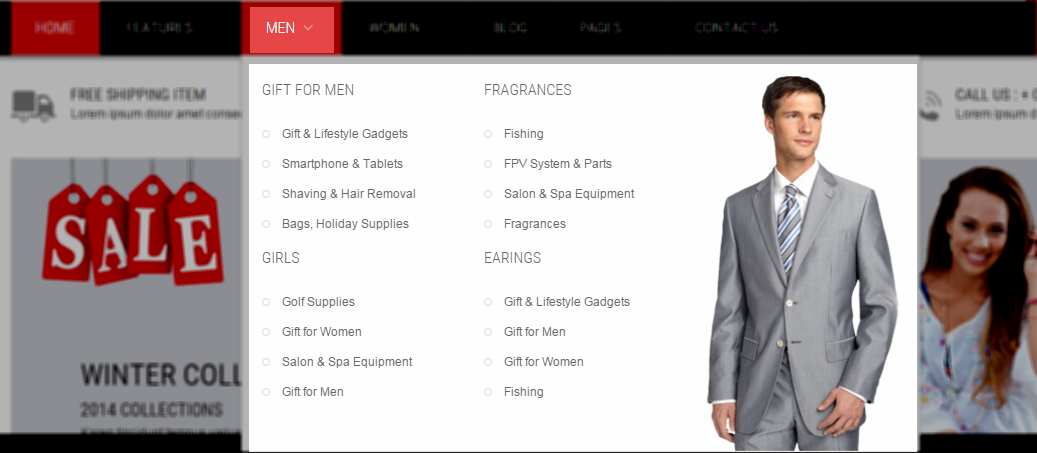
To create this menu, please go to Extensions >> Modules >> ” SO Megamenu > SO Megamenu” >> Click “Edit” button >> Click “Creat new Item” >> Creat new item Here
Check the menu item in the boxes in the left column, click “Creat new Item” to add Submenus to the menu and drag/drop to arrange them.
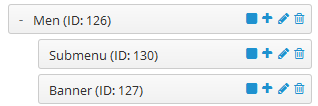
To configure Men Menu, click on “pencil” symbol to configure its backend settings
To configure Submenu, click on “pencil” symbol to configure its backend settings
To configure Banner – Submenu, click on “pencil” symbol to configure its backend settings
Copy and paste the Code into editor:
|
1 |
<img src="image/catalog/demo/banners/men.png" alt="banner"> |
3.3.1.4 Women Menu Configuration
Frontend Appearance

To create this menu, please go to Extensions >> Modules >> ” SO Megamenu > SO Megamenu” >> Click “Edit” button >> Click “Creat new Item” >> Creat new item Here
Check the menu item in the boxes in the left column, click “Creat new Item” to add Submenus to the menu and drag/drop to arrange them.
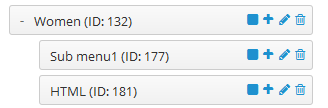
To configure Women Menu, click on “pencil” symbol to configure its backend settings
To configure Sub menu1, click on “pencil” symbol to configure its backend settings
To configure HTML- Submenu, click on “pencil” symbol to configure its backend settings
Copy and paste the Code into editor:
|
1 |
<a href="#"><img src="image/catalog/demo/banners/t23.jpg" style="width: 100%;" alt="banner"></a> |
Frontend Appearance
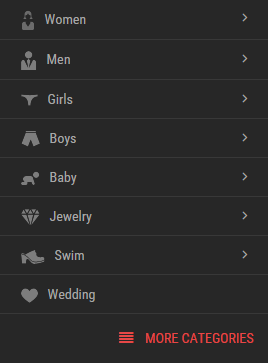
3.3.2.1 Create New Verticalmenu
Go to Extensions >> Modules >> Find module “SO Megamenu” >> Click “Edit” button >> Enter a menu’s name: “SO Verticalmenu” >> Then Click “Save” button >> Create New Verticalmenu Here
3.3.2.2 Women Menu Configuration
Frontend Appearance
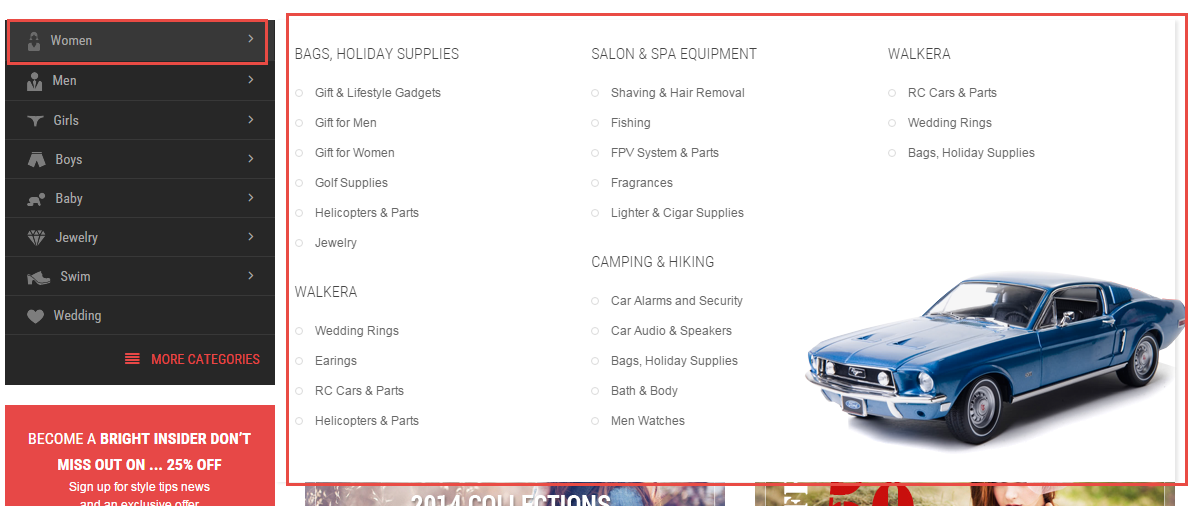
To create this menu, please go to Extensions >> Modules >> ” SO Megamenu > SO Verticalmenu” >> Click “Edit” button >> Click “Creat new Item” >> Creat new item Here
Check the menu item in the boxes in the left column, click “Creat new Item” to add Submenus to the menu and drag and drop to arrange them.
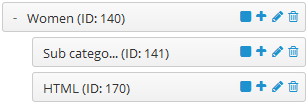
To configure Women Menu, click on “pencil” symbol to configure its backend settings
To configure Sub category – Submenu, click on “pencil” symbol to configure its backend settings
To configure HTML – Submenu, click on “pencil” symbol to configure its backend settings
Copy and paste the Code into editor:
|
1 |
<div class="image-position"><img src="image/catalog/demo/banners/menu1-bg.jpg" alt="banner"></div> |
3.3.2.3 Men Menu Configuration
Frontend Appearance
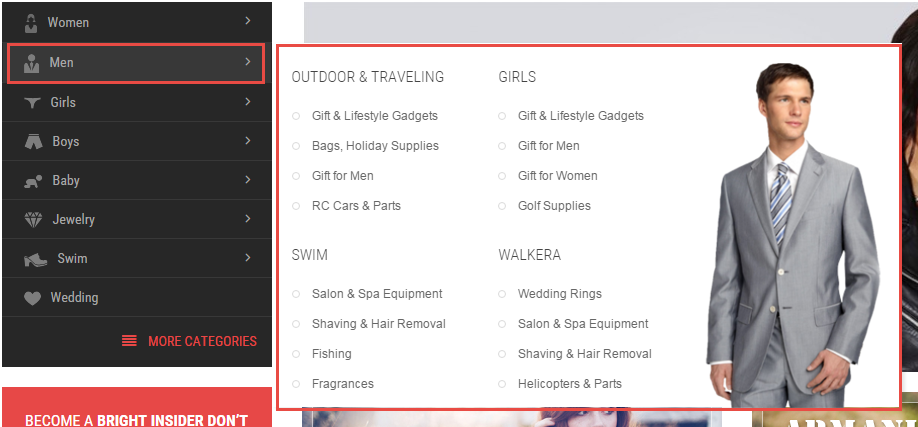
To create this menu, please go to Extensions >> Modules >> ” SO Megamenu > SO Verticalmenu” >> Click “Edit” button >> Click “Creat new Item” >> Creat new item Here
Check the menu item in the boxes in the left column, click “Creat new Item” to add Submenus to the menu and drag and drop to arrange them.
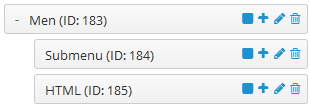
To configure Men Menu, click on “pencil” symbol to configure its backend settings
To configure Submenu – Submenu, click on “pencil” symbol to configure its backend settings
To configure HTML – Submenu, click on “pencil” symbol to configure its backend settings
Copy and paste the Code into editor:
|
1 |
<img src="image/catalog/demo/banners/men.png" alt="banner"> |
3.3.2.4 Girls Menu Configuration
Frontend Appearance
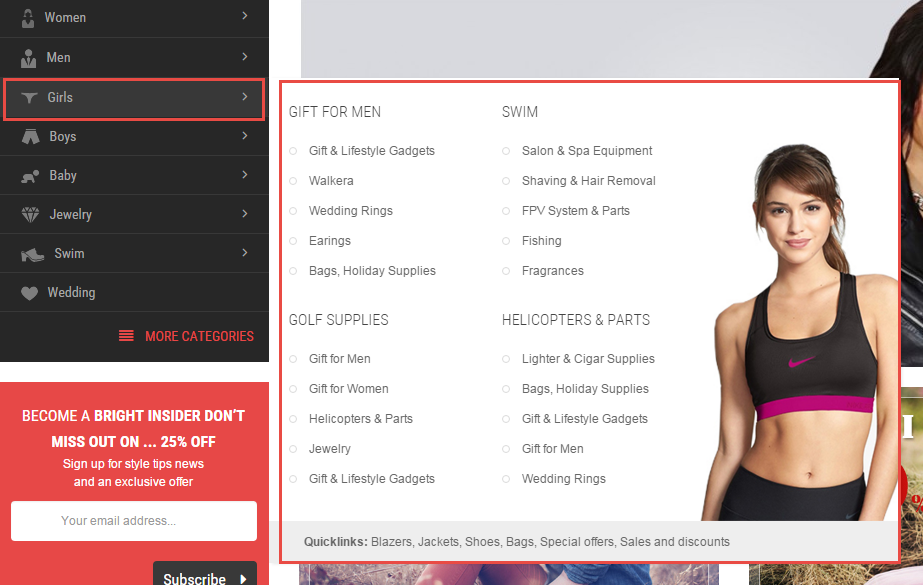
To create this menu, please go to Extensions >> Modules >> ” SO Megamenu > SO Verticalmenu” >> Click “Edit” button >> Click “Creat new Item” >> Creat new item Here
Check the menu item in the boxes in the left column, click “Creat new Item” to add Submenus to the menu and drag/drop to arrange them.
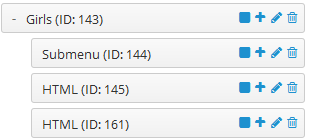
To configure Girls Menu, click on “pencil” symbol to configure its backend settings
To configure Sub menu – Submenu, click on “pencil” symbol to configure its backend settings
To configure Banner- Submenu, click on “pencil” symbol to configure its backend settings
Copy and paste the Code into editor:
|
1 |
<img src="image/catalog/demo/banners/t10.jpg" alt="banner"> |
To configure HTML – Submenu, click on “pencil” symbol to configure its backend settings
Copy and paste the Code into editor:
|
1 |
<strong>Quicklinks:</strong> <a href="#" title="Blazers">Blazers, </a><a href="#" title="Jackets">Jackets, </a><a href="#" title="Shoes">Shoes, </a><a href="#" title="Bags">Bags, </a><a href="#" title="Special offers">Special offers, </a><a href="#" title="Sales and discounts">Sales and discounts</a> |
3.3.2.5 Boys Menu Configuration
Frontend Appearance

To create this menu, please go to Extensions >> Modules >> ” SO Megamenu > SO Verticalmenu” >> Click “Edit” button >> Click “Creat new Item” >> Creat new item Here
Check the menu item in the boxes in the left column, click “Creat new Item” to add Submenus to the menu and drag/drop to arrange them.
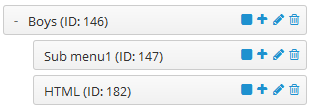
To configure Boys Menu, click on “pencil” symbol to configure its backend settings
To configure Submenu – Submenu, click on “pencil” symbol to configure its backend settings
To configure HTML – Submenu, click on “pencil” symbol to configure its backend settings
Copy and paste the Code into editor:
|
1 |
<img src="image/catalog/demo/banners/t23.jpg" alt="banner"> |
3.3.2.6 Baby Menu Configuration
Frontend Appearance
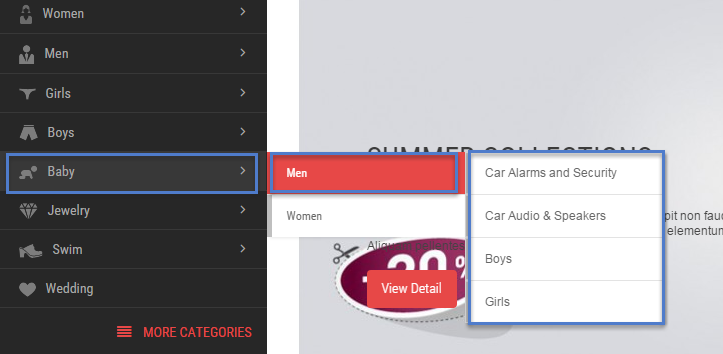
To create this menu, please go to Extensions >> Modules >> ” SO Megamenu > SO Verticalmenu” >> Click “Edit” button >> Click “Creat new Item” >> Creat new item Here
Check the menu item in the boxes in the left column, click “Creat new Item” to add Submenus to the menu and drag/drop to arrange them.
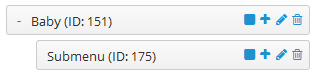
To configure Baby Menu, click on “pencil” symbol to configure its backend settings
To configure Submenu – Submenu, click on “pencil” symbol to configure its backend settings
3.3.2.7 Jewelry Menu Configuration
Frontend Appearance
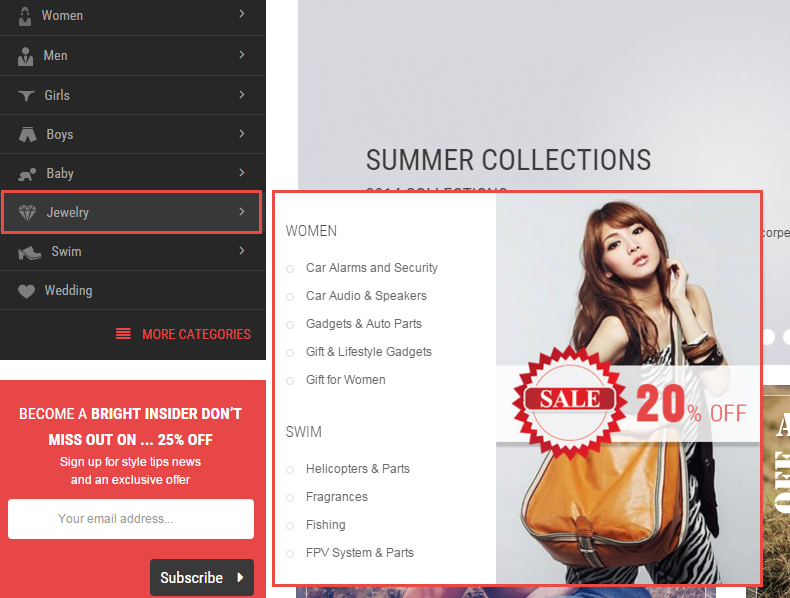
To create this menu, please go to Extensions >> Modules >> ” SO Megamenu > SO Verticalmenu” >> Click “Edit” button >> Click “Creat new Item” >> Creat new item Here
Check the menu item in the boxes in the left column, click “Creat new Item” to add Submenus to the menu and drag/drop to arrange them.
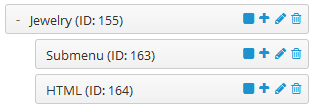
To configure Jewelry Menu, click on “pencil” symbol to configure its backend settings
To configure Submenu – Submenu, click on “pencil” symbol to configure its backend settings
To configure HTML – Submenu, click on “pencil” symbol to configure its backend settings
Copy and paste the Code into editor:
|
1 |
<img src="image/catalog/demo/banners/bn1.jpg" alt="banner"> |
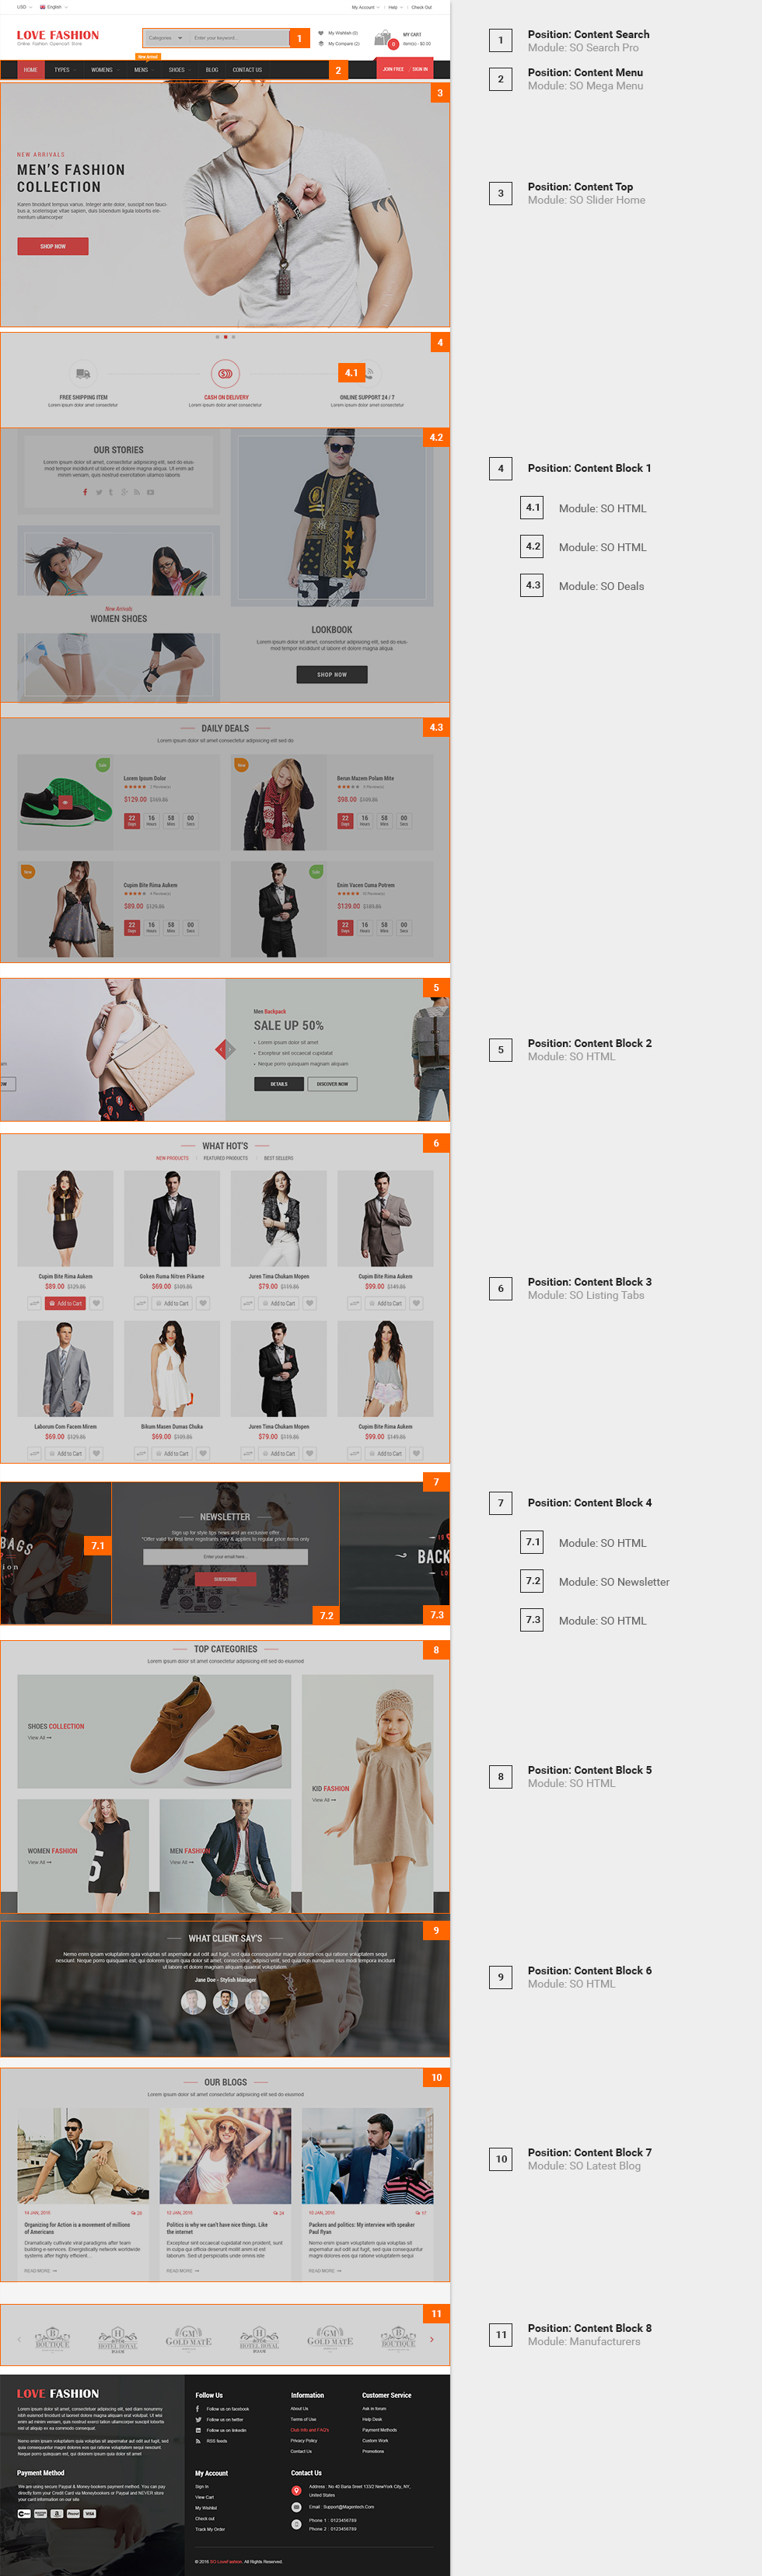
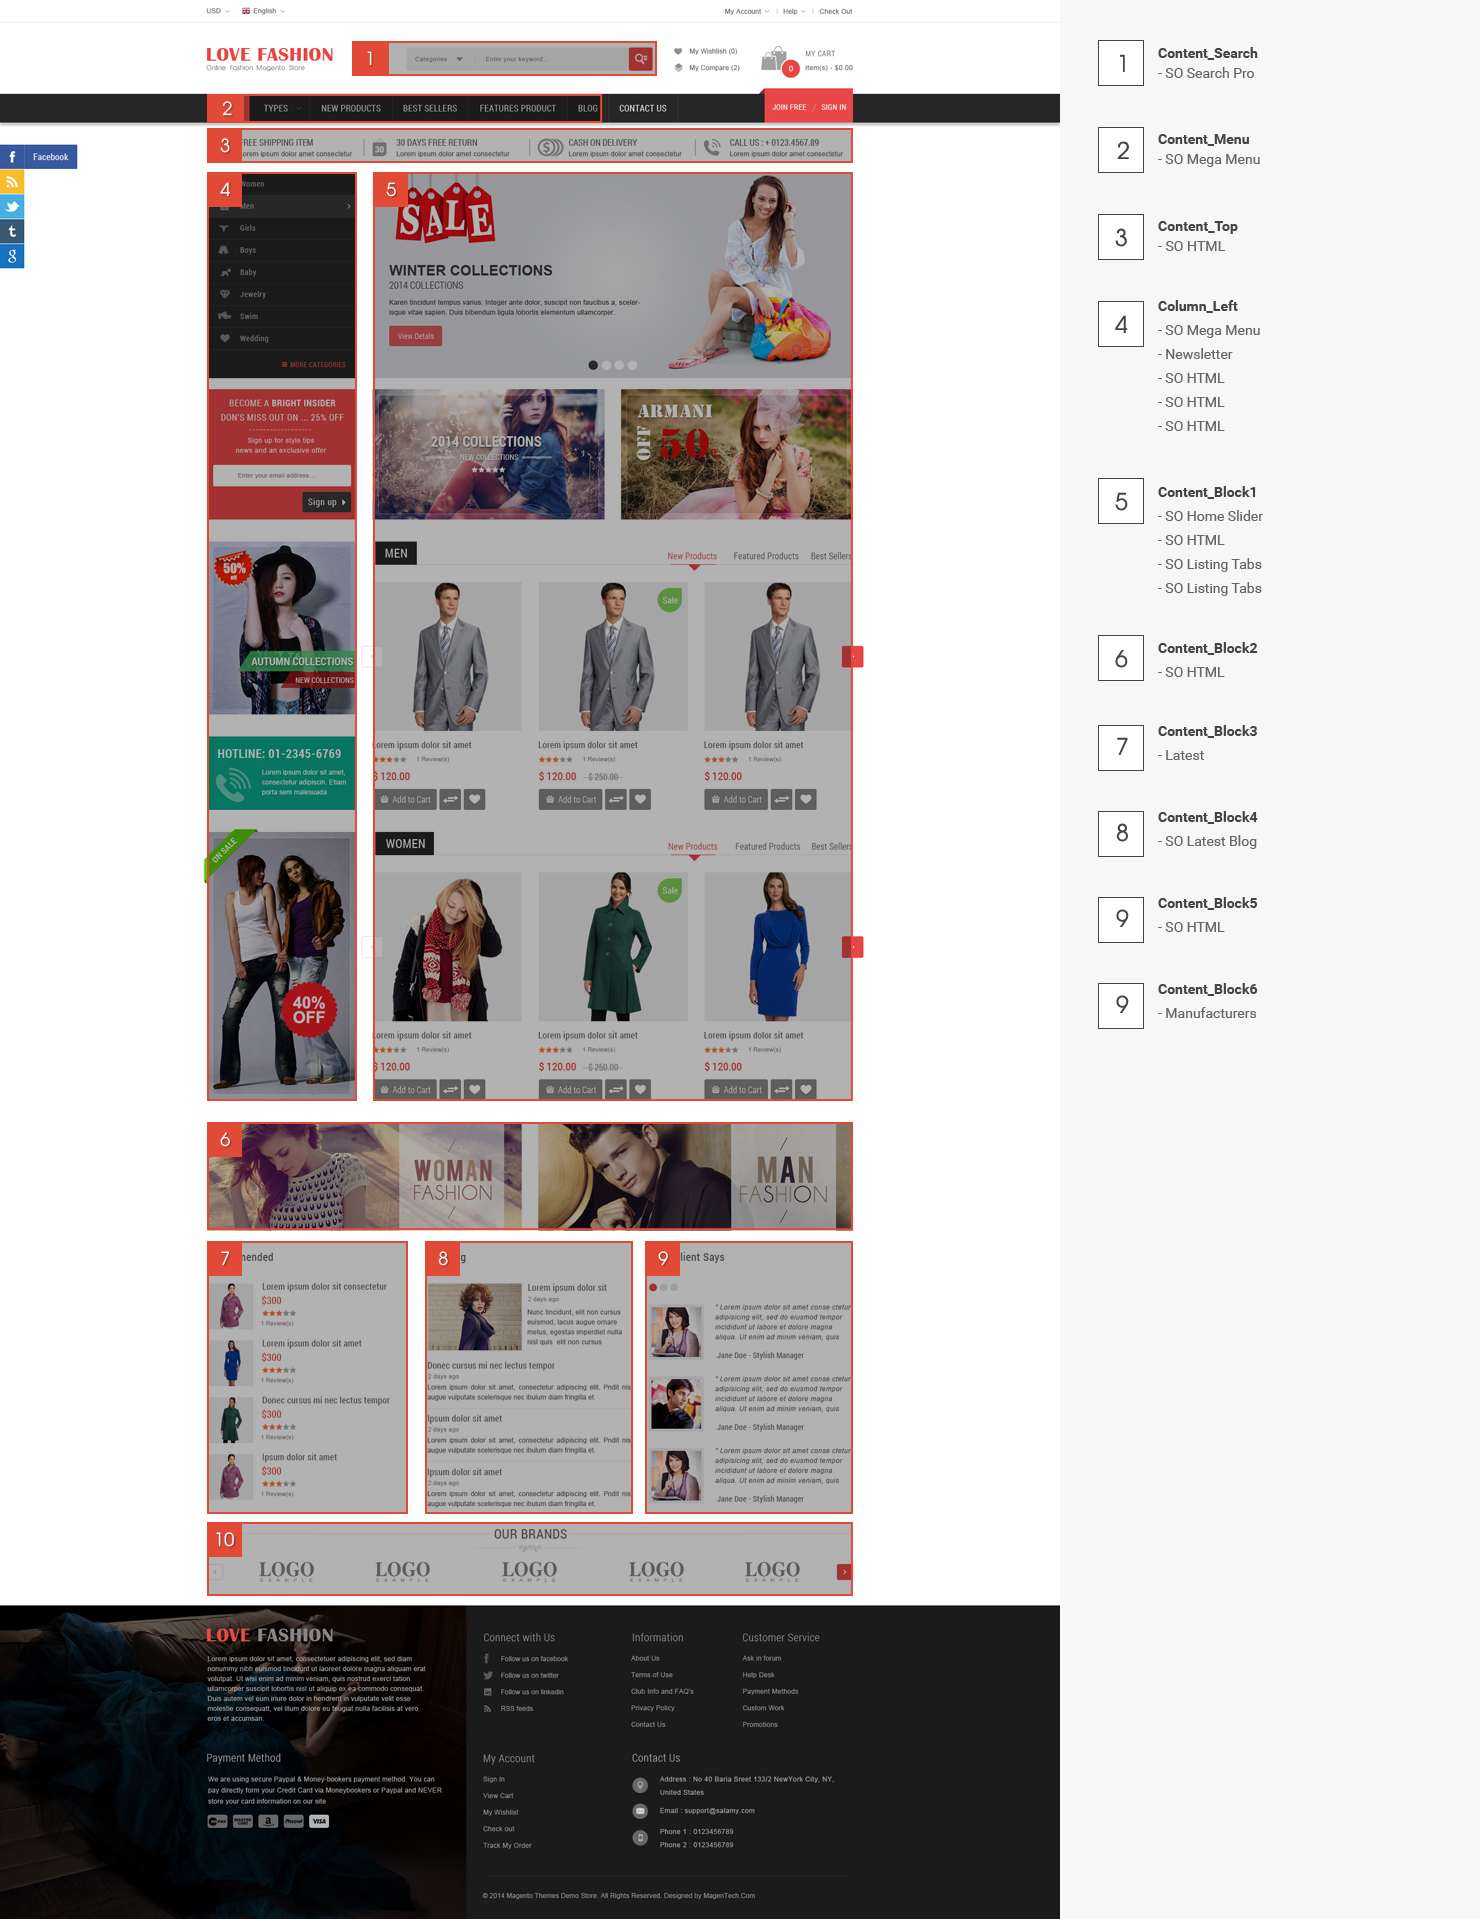
3.4 Extension Configuration – Layout1
The SO LoveFashion front-page has been integrated with extensions in the Theme as following list:
- Position: Content-Search
- Frontend Appearance

- Backend of SO-SearchPro: Click Here
- Position: Content-Menu
- Frontend Appearance

- Backend of SO-Mega-Menu: Click Here
- Position: Content-Top
- Frontend Appearance
- Position: Content-Block1
- Frontend Appearance
Backend of HTML-Content: Click Here
Copy and paste the Code into editor:
|
1 2 3 4 5 6 7 8 9 10 11 12 13 14 15 16 17 18 19 20 21 22 23 24 25 26 27 28 29 30 31 32 33 34 35 36 37 38 39 40 41 42 43 44 45 46 47 48 |
<ul class="row shipping-days"> <li class="col-sm-4 col-xs-12" data-anijs="if: scroll, on: window, do: flipInY animated duration-md , before: $scrollReveal "> <div class="icon icon1"> <div class="border"></div> </div> <div class="content"> <h3>Free Shipping Item</h3> <p>Lorem ipsum dolor amet consectetur</p> </div> </li> <li class="col-sm-4 col-xs-12" data-anijs="if: scroll, on: window, do: flipInY animated duration-md, before: $scrollReveal"> <div class="icon icon2"> <div class="border"></div> </div> <div class="content"> <h3>CASH ON DELIVERY</h3> <p>Lorem ipsum dolor amet consectetur</p> </div> </li> <li class="col-sm-4 col-xs-12" data-anijs="if: scroll, on: window, do: flipInY animated duration-md, before: $scrollReveal"> <div class="icon icon3"> <div class="border"></div> </div> <div class="content"> <h3>Online support 24 / 7</h3> <p>Lorem ipsum dolor amet consectetur</p> </div> </li> </ul> |
Backend of HTML-Content: Click Here
Copy and paste the Code into editor:
|
1 2 3 4 5 6 7 8 9 10 11 12 13 14 15 16 17 18 19 20 21 22 23 24 25 26 27 28 29 30 31 32 33 34 35 36 37 38 39 40 41 42 43 44 45 46 47 48 49 50 51 52 53 54 55 56 57 58 59 60 61 62 63 64 65 66 67 68 |
<div class="Our-stories"> <div class="row"> <div class="col-md-6 col-xs-12 block-left"> <div class="block-top" data-anijs="if: scroll, on: window, do: fadeInUp animated delay-xs , before: $scrollReveal"> <h3 class="title">our Stories</h3> <p>Lorem ipsum dolor sit amet, consectetur adipisicing elit, sed do eiusmod tempor incididunt ut labore et dolore magna aliqua. Ut enim ad minim veniam, quis nostrud exercitation ullamco laboris </p> <ul class="list-icon"> <li><a href="https://www.facebook.com/SmartAddons.page" title="" data-toggle="tooltip" data-original-title="Facebook"><i class="fa fa-facebook"></i></a></li> <li><a href="https://twitter.com/smartaddons" title="" data-toggle="tooltip" data-original-title="Twitter"><i class="fa fa-twitter"></i></a></li> <li><a href="#" title="" data-toggle="tooltip" data-original-title="Tumblr"><i class="fa fa-tumblr"></i></a></li> <li><a href="https://plus.google.com/u/0/+SmartAddons-Joomla-Magento-WordPress/posts" title="" data-toggle="tooltip" data-original-title="Google Plus"><i class="fa fa-google-plus"></i></a></li> <li><a href="#" title="" data-toggle="tooltip" data-original-title="Rss"><i class="fa fa-rss"></i></a></li> <li><a href="#" title="" data-toggle="tooltip" data-original-title="Youtube"><i class="fa fa-youtube-play"></i></a></li> </ul> </div> <div class="block-bottom hidden-sm hidden-xs" data-anijs="if: scroll, on: window, do: fadeInUp animated delay-md , before: $scrollReveal "> <div class="image-item"> <div class="border"></div> <img src="image/catalog/baner/g1.jpg" alt="Banner"> </div> <div class="content"> <h4>New Arrivals</h4> <h3><a href="#" title="Women Shoes">Women Shoes</a></h3> </div> </div> </div> <div class="col-md-6 col-xs-12 block-right hidden-sm hidden-xs" data-anijs="if: scroll, on: window, do: fadeInUp animated delay-xs , before: $scrollReveal "> <div class="image-item"> <div class="border-before"></div> <div class="border-after"></div> <img src="image/catalog/baner/b1.jpg" alt="Banner"> </div> <div class="content"> <h3 class="title">lookbook</h3> <p>Lorem ipsum dolor sit amet, consectetur adipisicing elit, sed do eiusmod tempor incididunt ut labore et dolore magna aliqua.</p> <a class="btn" href="#" title="Shop Now">Shop Now</a> </div> </div> </div> </div> |
Backend of SO-Deals: Click Here
- Backend of General Options: Click Here
- Backend of Source Options: Click Here
- Backend of Items Options: Click Here
- Backend of Image Options: Click Here
- Backend of Effect Options: Click Here
- Backend of Advanced: Click Here
- Position: Content-block2
- Frontend Appearance
Backend of HTML-Content: Click Here
Copy and paste the Code into editor:
|
1 2 3 4 5 6 7 8 9 10 11 12 13 14 15 16 17 18 19 20 21 22 23 24 25 26 27 28 29 30 31 32 33 34 35 36 37 38 39 40 41 42 43 44 45 46 47 48 49 50 51 52 53 54 55 56 57 58 59 60 61 62 63 64 65 66 67 68 69 70 71 72 73 74 75 76 77 78 79 80 81 82 83 84 85 86 87 88 89 90 91 92 93 94 95 96 97 98 99 100 101 102 103 104 105 106 107 108 109 110 111 112 113 114 115 116 117 118 119 120 121 122 123 124 125 126 127 128 129 130 131 132 133 134 135 136 137 138 139 140 141 |
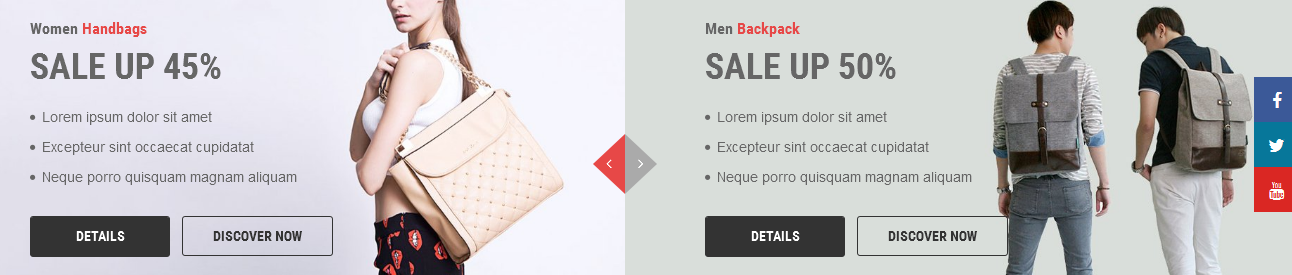
<div class="slider-shortcode-up" data-anijs="if: scroll, on: window, do: fadeInUp animated , before: $scrollReveal "> [content_slider item_xs ='1' item_sm ='2' item_lg='2' margin='0' arrow='yes' pagination='no' loop='no'] [content_slider_item] <div class="item"> <div class="item-image"> <img src="image/catalog/baner/s1.jpg" alt="Sale Up"> </div> <div class="main-content"> <h4 class="title">Women <span>Handbags</span></h4> <h3 class="sale-up">sale up 45%</h3> <ul class="content-list"> <li>Lorem ipsum dolor sit amet</li> <li>Excepteur sint occaecat cupidatat</li> <li>Neque porro quisquam magnam aliquam</li> </ul> <ul class="buton-list"> <li class="button"><a href="#" title="details">details</a></li> <li class="button"><a href="#" title="details">Discover now</a></li> </ul> </div> </div> [/content_slider_item] [content_slider_item] <div class="item"> <div class="item-image"> <img src="image/catalog/baner/s2.jpg" alt="Sale Up"> </div> <div class="main-content"> <h4 class="title">Men <span>Backpack</span></h4> <h3 class="sale-up">sale up 50%</h3> <ul class="content-list"> <li>Lorem ipsum dolor sit amet</li> <li>Excepteur sint occaecat cupidatat</li> <li>Neque porro quisquam magnam aliquam</li> </ul> <ul class="buton-list"> <li class="button"><a href="#" title="details">details</a></li> <li class="button"><a href="#" title="details">Discover now</a></li> </ul> </div> </div> [/content_slider_item] [content_slider_item] <div class="item"> <div class="item-image"> <img src="image/catalog/baner/s1.jpg" alt="Sale Up"> </div> <div class="main-content"> <h4 class="title">Women <span>Handbags</span></h4> <h3 class="sale-up">sale up 45%</h3> <ul class="content-list"> <li>Lorem ipsum dolor sit amet</li> <li>Excepteur sint occaecat cupidatat</li> <li>Neque porro quisquam magnam aliquam</li> </ul> <ul class="buton-list"> <li class="button"><a href="#" title="details">details</a></li> <li class="button"><a href="#" title="details">Discover now</a></li> </ul> </div> </div> [/content_slider_item] [content_slider_item] <div class="item"> <div class="item-image"> <img src="image/catalog/baner/s2.jpg" alt="Sale Up"> </div> <div class="main-content"> <h4 class="title">Men <span>Backpack</span></h4> <h3 class="sale-up">sale up 50%</h3> <ul class="content-list"> <li>Lorem ipsum dolor sit amet</li> <li>Excepteur sint occaecat cupidatat</li> <li>Neque porro quisquam magnam aliquam</li> </ul> <ul class="buton-list"> <li class="button"><a href="#" title="details">details</a></li> <li class="button"><a href="#" title="details">Discover now</a></li> </ul> </div> </div> [/content_slider_item] [/content_slider] </div> |
- Position: Content-block3
- Frontend Appearance
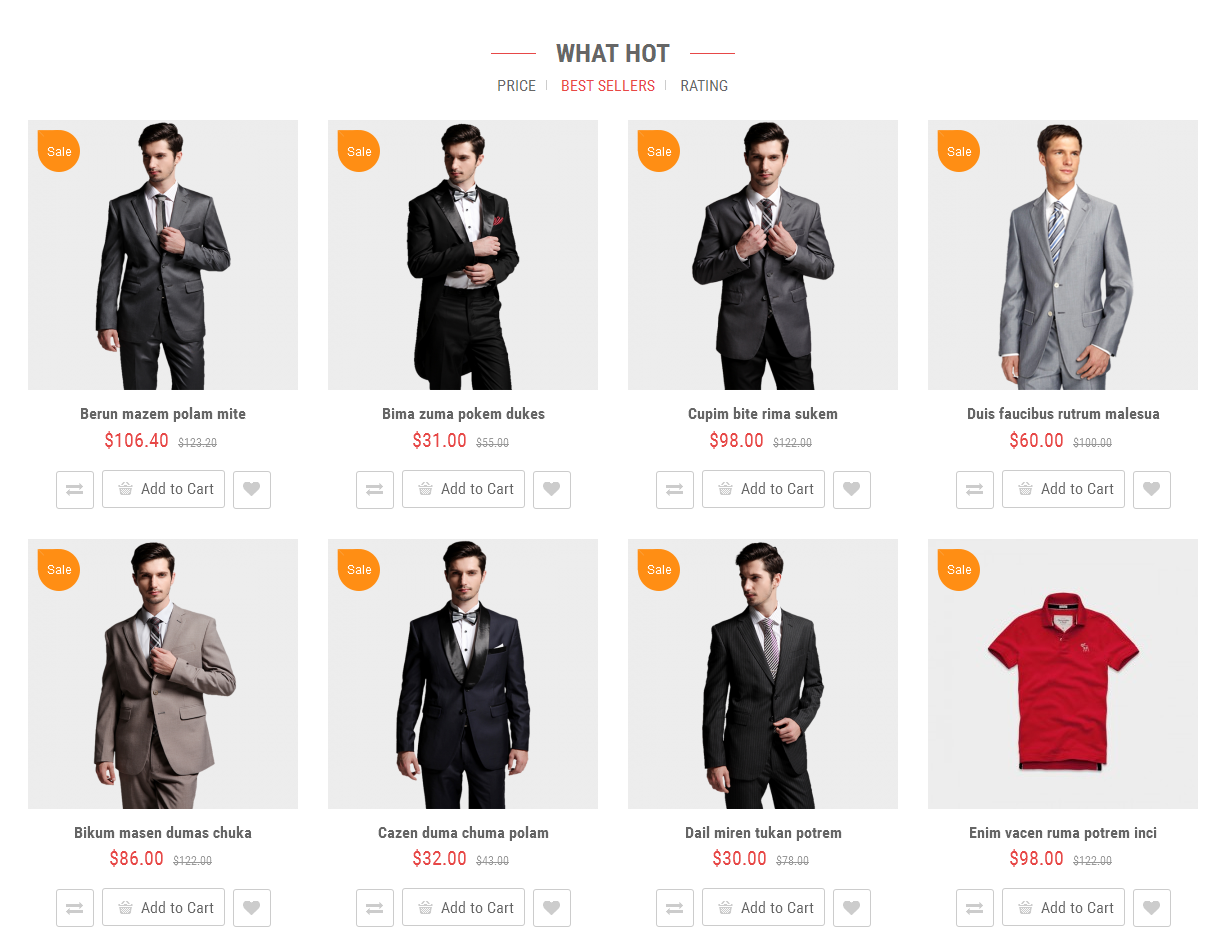
Backend of SO-Listing-Tabs: Click Here
- Backend of General Options: Click Here
- Backend of Source Options: Click Here
- Backend of Tabs Options: Click Here
- Backend of Items Options: Click Here
- Backend of Image Options: Click Here
- Backend of Effect Options: Click Here
- Backend of Advanced: Click Here
- Position: Content-Block4
- Frontend Appearance
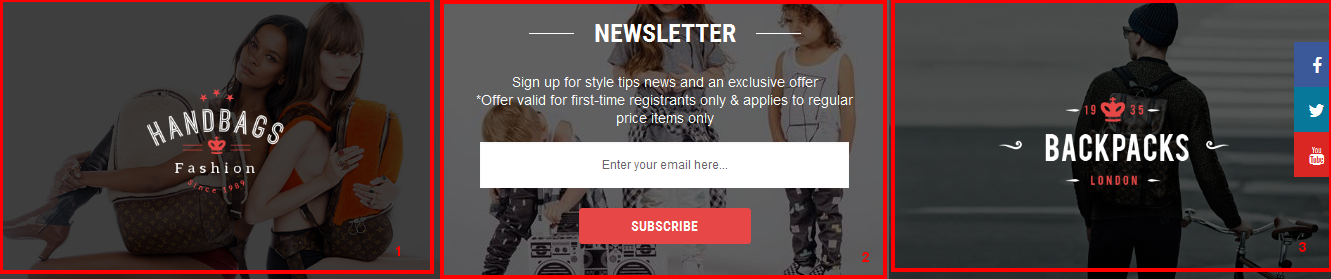
Backend of HTML-Content: Click Here
Copy and paste the Code into editor:
|
1 2 3 4 5 6 |
<div class="block-banner-img"> <a href="#" title="banner" class="image-item"> <span class="border"></span> <img src="image/catalog/baner/letter-bg-1.jpg" alt="banner"> </a> </div> |
Backend of HTML-Content: Click Here
Copy and paste the Code into editor:
|
1 2 3 4 5 6 |
<div class="block-banner-img"> <a href="#" title="banner" class="image-item"> <span class="border"></span> <img src="image/catalog/baner/letter-bg-2.jpg" alt="banner"> </a> </div> |
Backend of Newsletter: Click Here
- Position: Content-block5
- Frontend Appearance
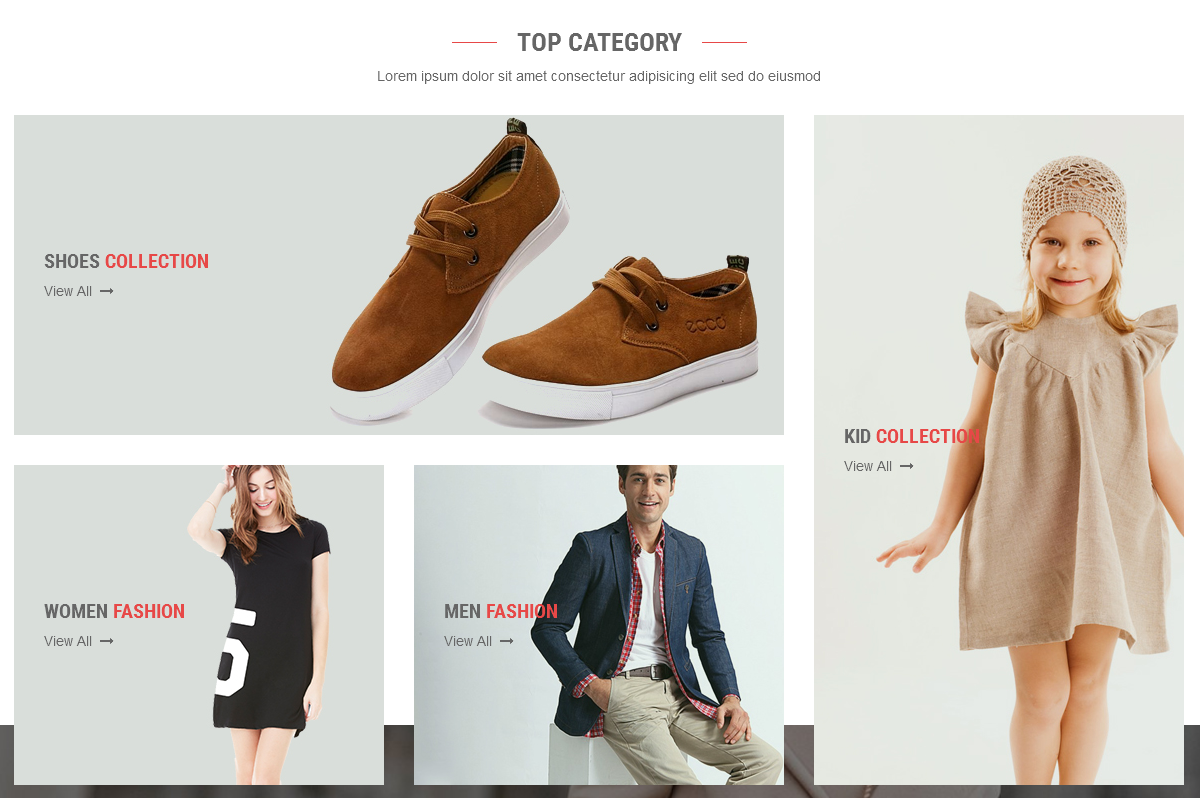
Backend of HTML-Content: Click Here
Copy and paste the Code into editor:
|
1 2 3 4 5 6 7 8 9 10 11 12 13 14 15 16 17 18 19 20 21 22 23 24 25 26 27 28 29 30 31 32 33 34 35 36 37 38 39 40 41 42 43 44 45 46 47 48 49 50 51 52 53 54 55 56 57 58 59 60 61 62 63 64 65 66 67 68 69 70 71 72 73 74 75 76 77 78 79 80 81 82 |
<p class="des">Lorem ipsum dolor sit amet consectetur adipisicing elit sed do eiusmod</p> <div class="main row"> <div class="col-sm-8"> <div class="top" data-anijs="if: scroll, on: window, do: fadeInUp animated, before: $scrollReveal "> <div class="content"> <div class="img-cate"> <div class="border"></div> <img src="image/catalog/baner/c1.jpg" alt="img cate"> </div> <div class="text"> <h3 class="title"><a href="#" title="Link Cate">Shoes <span>Collection</span></a></h3> <a href="#" title="load more">View All <i class="fa fa-long-arrow-right"></i></a> </div> </div> </div> <div class="bottom row"> <div class="col-sm-6" data-anijs="if: scroll, on: window, do: fadeInUp animated delay-xs , before: $scrollReveal "> <div class="content"> <div class="img-cate"> <div class="border"></div> <img src="image/catalog/baner/c2.jpg" alt="img cate"> </div> <div class="text"> <h3 class="title"><a href="#" title="Link Cate">Women <span>Fashion</span></a></h3> <a href="#" title="load more">View All <i class="fa fa-long-arrow-right"></i></a> </div> </div> </div> <div class="col-sm-6" data-anijs="if: scroll, on: window, do: fadeInUp animated delay-sm , before: $scrollReveal "> <div class="content"> <div class="img-cate"> <div class="border"></div> <img src="image/catalog/baner/c3.jpg" alt="img cate"> </div> <div class="text"> <h3 class="title"><a href="#" title="Link Cate">Men <span>Fashion</span></a></h3> <a href="#" title="load more">View All <i class="fa fa-long-arrow-right"></i></a> </div> </div> </div> </div> </div> <div class="col-sm-4" data-anijs="if: scroll, on: window, do: fadeInUp animated delay-md , before: $scrollReveal "> <div class="content"> <div class="img-cate"> <div class="border"></div> <img src="image/catalog/baner/c4.jpg" alt="img cate"> </div> <div class="text"> <h3 class="title"><a href="#" title="Link Cate">Kid <span>Collection</span></a></h3> <a href="#" title="load more">View All <i class="fa fa-long-arrow-right"></i></a> </div> </div> </div> </div> |
- Position: Content-block6
- Frontend Appearance
Backend of HTML-Content: Click Here
Copy and paste the Code into editor:
|
1 2 3 4 5 6 7 8 9 10 11 12 13 14 15 16 17 18 19 20 21 22 23 24 25 |
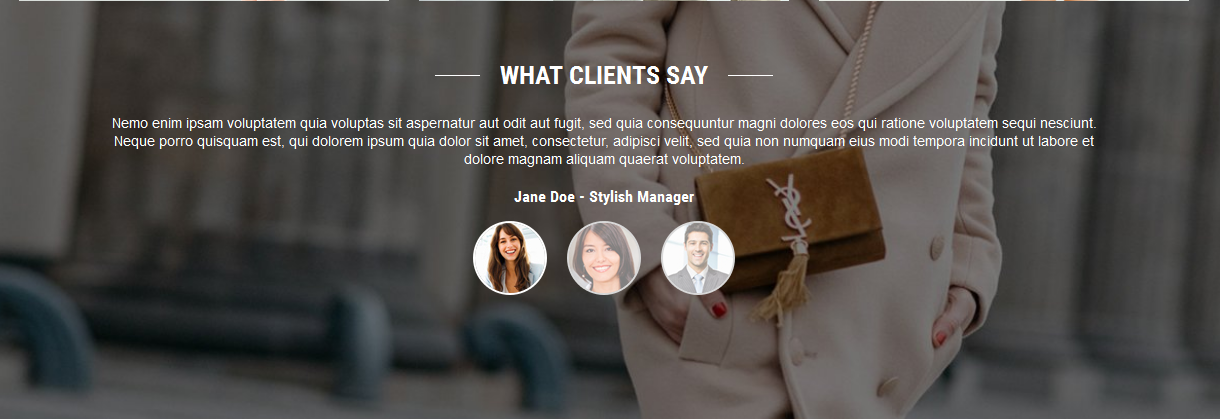
<div class="slider-shortcode" data-anijs="if: scroll, on: window, do: fadeInUp animated , before: $scrollReveal "><div class="item" data-src="image/catalog/baner/t1.jpg"> <div class="main-content"> <p class="des">Nemo enim ipsam voluptatem quia voluptas sit aspernatur aut odit aut fugit, sed quia consequuntur magni dolores eos qui ratione voluptatem sequi nesciunt. Neque porro quisquam est, qui dolorem ipsum quia dolor sit amet, consectetur, adipisci velit, sed quia non numquam eius modi tempora incidunt ut labore et dolore magnam aliquam quaerat voluptatem.</p> <h3 class="job">Jane Doe - Stylish Manager</h3> </div> </div> <div class="item" data-src="image/catalog/baner/t2.jpg"> <div class="main-content"> <p class="des">Nemo enim ipsam voluptatem quia voluptas sit aspernatur aut odit aut fugit, sed quia consequuntur magni dolores eos qui ratione voluptatem sequi nesciunt. Neque porro quisquam est, qui dolorem ipsum quia dolor sit amet, consectetur, adipisci velit, sed quia non numquam eius modi tempora incidunt ut labore et dolore magnam aliquam quaerat voluptatem.</p> <h3 class="job">Eker Pham - Stylish Manager</h3> </div> </div> <div class="item" data-src="image/catalog/baner/t3.jpg"> <div class="main-content"> <p class="des">Nemo enim ipsam voluptatem quia voluptas sit aspernatur aut odit aut fugit, sed quia consequuntur magni dolores eos qui ratione voluptatem sequi nesciunt. Neque porro quisquam est, qui dolorem ipsum quia dolor sit amet, consectetur, adipisci velit, sed quia non numquam eius modi tempora incidunt ut labore et dolore magnam aliquam quaerat voluptatem.</p> <h3 class="job">Mike Luis - Stylish Manager</h3> </div> </div> </div> |
- Position: Content-block7
- Frontend Appearance
- Backend of General Options: Click Here
- Backend of Blogs Options: Click Here
- Backend of Image Options: Click Here
- Backend of Effect Options: Click Here
- Backend of Advanced: Click Here
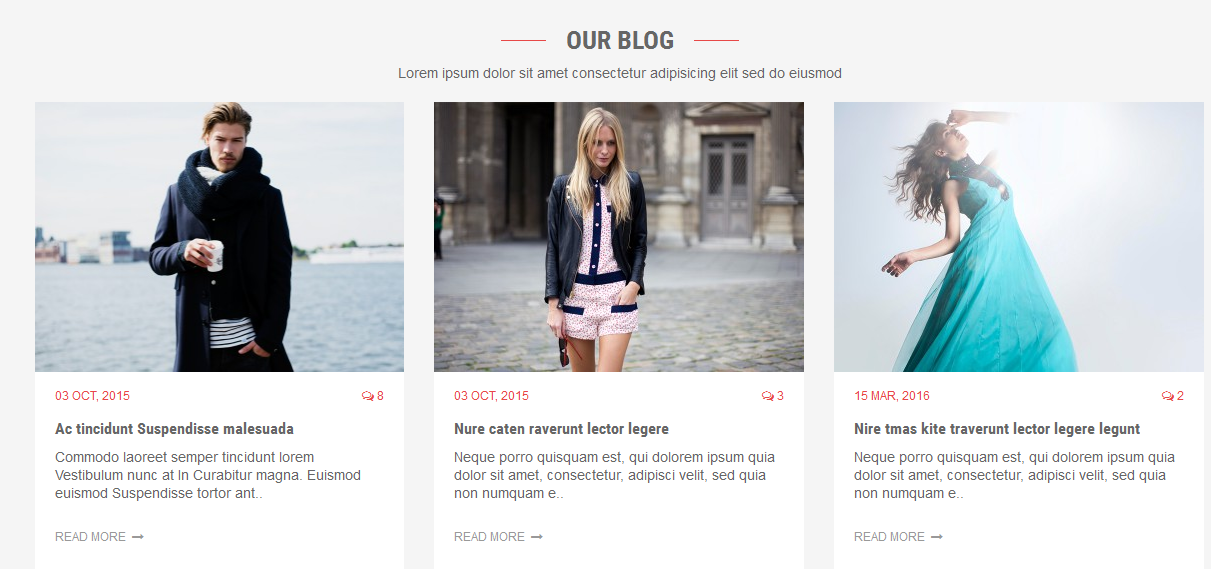
Backend of SO-Latest-Blog: Click Here
- Position: Content-block8
- Frontend Appearance

Backend of Manufacturers: Click Here
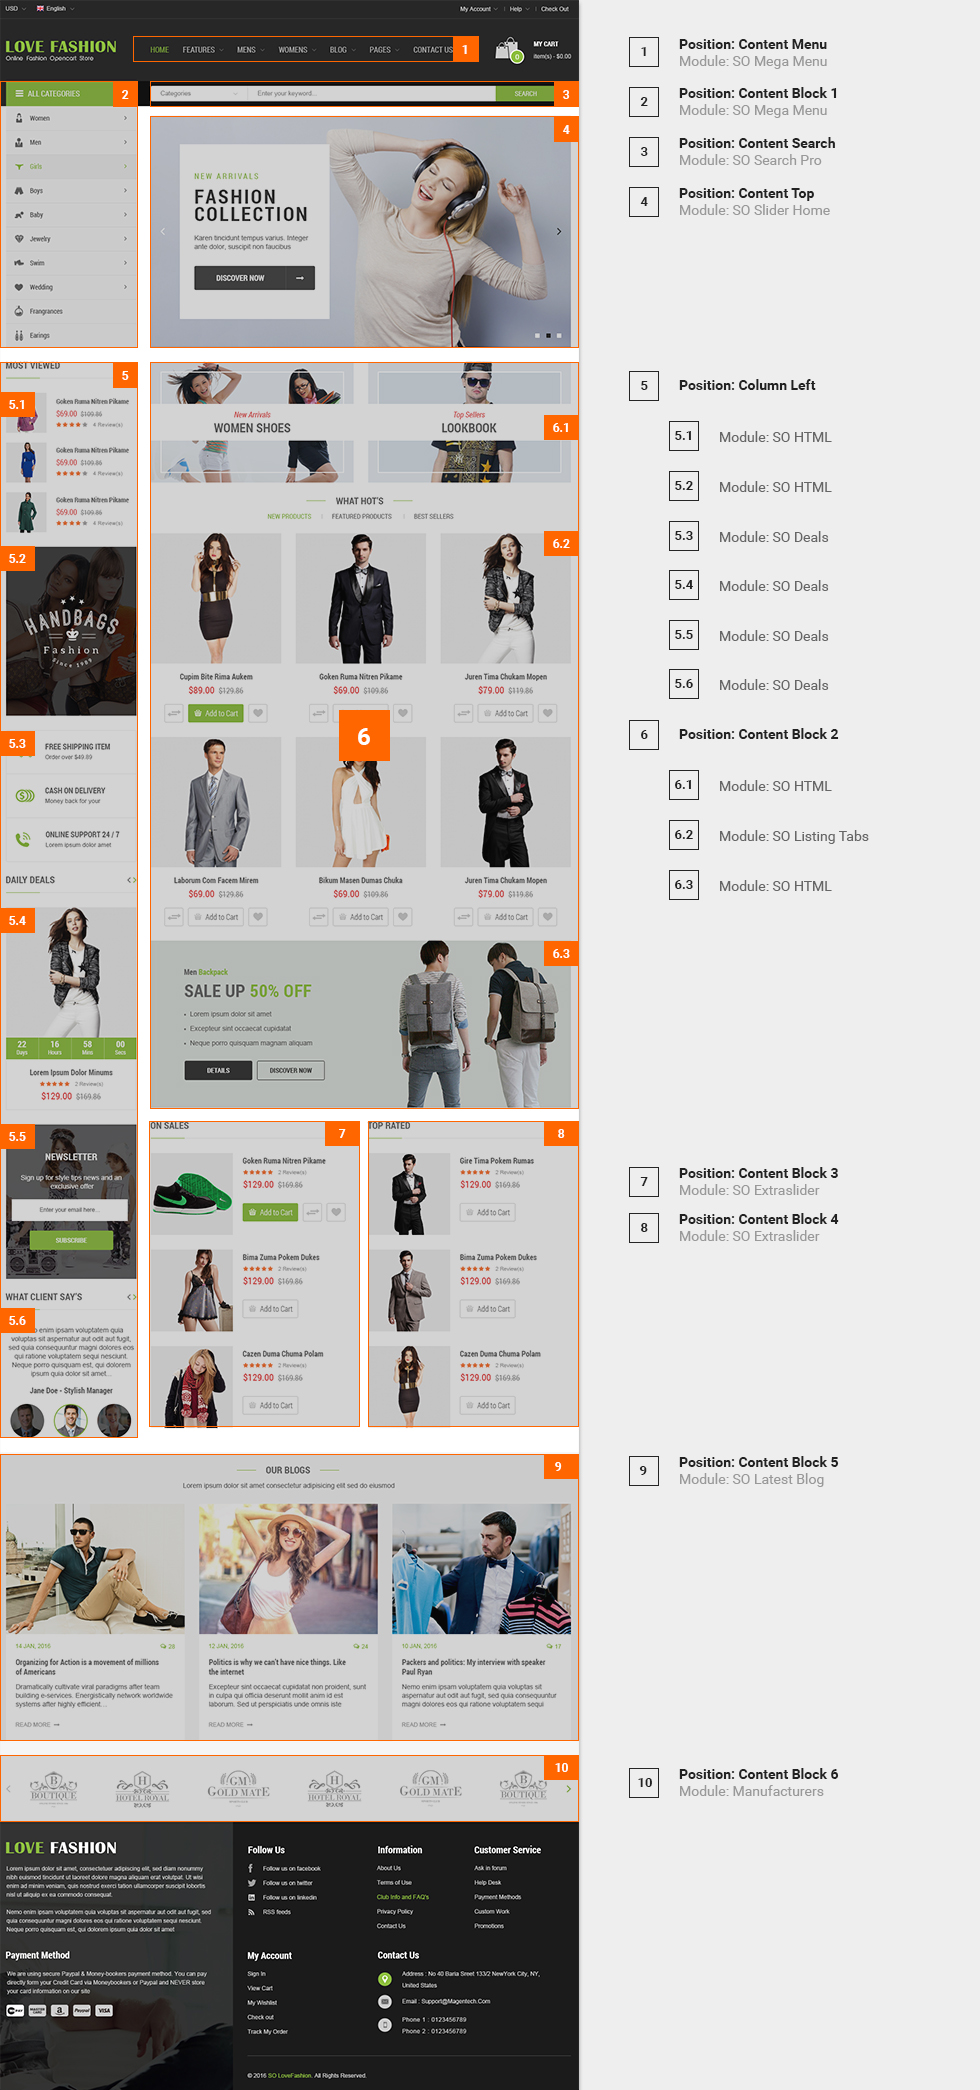
3.5 Extension Configuration – Layout2
The SO LoveFashion front-page has been integrated with extensions in the Theme as following list:
- SO-Mega-Menu
- SO-Mega-Menu- Vertical-Menu
- SO-SearchPro
- SO-Slider-Home
- SO-HTML, SO-HTML, SO-Deals, SO-Deals, SO-Deals, SO-Extraslider
- HTMl-Content, SO-Listing-Tabs, SO-HTML
- SO-Extraslider
- SO-Extraslider
- SO-Latest-Blog
- Manufacturers
- Position: Column-block1
- Frontend Appearance
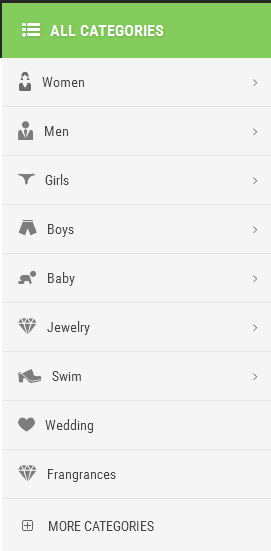
Backend of SO-Mega-Menu – Vertical-Menu: Click Here
- Position: Content-Top
- Frontend Appearance
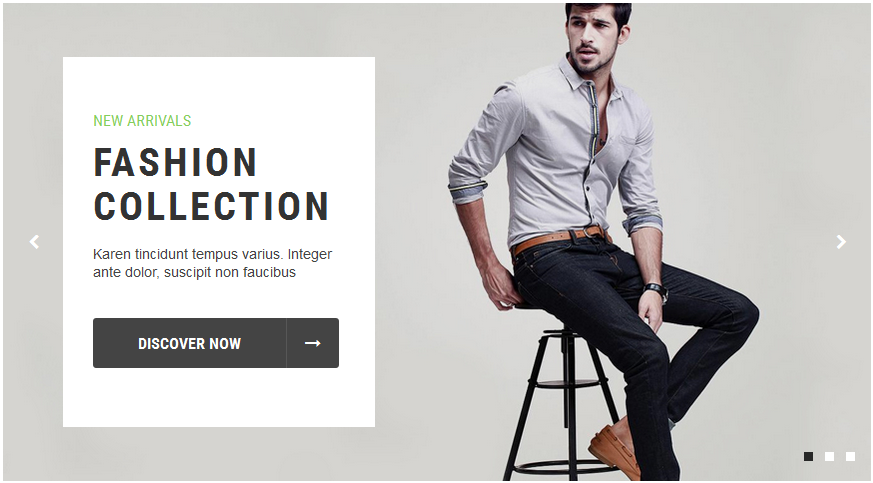
Backend of SO-Home-Slider:
- Position: Content-Block1
- Frontend Appearance

Backend of SO-Extraslider: Click Here
- Backend of General Options: Click Here
- Backend of Source Options: Click Here
- Backend of Products Options: Click Here
- Backend of Image Options: Click Here
- Backend of Effect Options: Click Here
Backend of HTML-Content: Click Here
Copy and paste the Code into editor:
|
1 |
<div class="block-banner-img"><a href="#" title="banner" class="image-item"> <span class="border"></span> <img src="image/catalog/baner/bn2.jpg" alt="banner"></a></div> |
Backend of HTML-Content: Click Here
Copy and paste the Code into editor:
|
1 2 3 4 5 6 7 8 9 10 11 12 13 14 15 16 17 18 19 20 21 22 23 24 25 26 27 28 29 30 31 32 33 34 35 36 37 38 39 40 41 42 |
<ul class="shipping-days-sup"> <li class="item"> <div class="icon icon1"> </div> <div class="content"> <h3>Free Shipping Item</h3> <p>Order over $49.89 </p> </div> </li> <li class="item"> <div class="icon icon2"> </div> <div class="content"> <h3>CASH ON DELIVERY</h3> <p><span style="font-size:12.8px">Money back guarantee</span></p> </div> </li> <li class="item"> <div class="icon icon3"> </div> <div class="content"> <h3>Online support 24 / 7</h3> <p>Lorem ipsum dolor amet </p> </div> </li> </ul> |
Backend of SO-Deals: Click Here
- Backend of General Options: Click Here
- Backend of Source Options: Click Here
- Backend of Items Options: Click Here
- Backend of Image Options: Click Here
- Backend of Effect Options: Click Here
- Backend of Advanced: Click Here
Backend of HTML-Content: Click Here
Copy and paste the Code into editor:
|
1 2 3 4 5 6 7 8 9 10 11 12 13 14 15 16 17 18 19 20 21 22 23 24 25 26 27 28 29 30 31 32 |
<div class="slider-shortcode"> <div class="item" data-src="image/catalog/baner/t1.jpg"> <div class="main-content"> <p class="des">“ Nemo enim ipsam voluptatem quia voluptas sit aspernatur aut odit aut fugit, sed quia consequuntur magni dolores eos qui ratione voluptatem sequi nesciunt. Neque porro quisquam est, qui dolorem ipsum quia dolor sit amet ”</p> <h3 class="job">Jane Doe - Stylish Manager</h3> </div> </div> <div class="item" data-src="image/catalog/baner/t2.jpg"> <div class="main-content"> <p class="des">“ Nemo enim ipsam voluptatem quia voluptas sit aspernatur aut odit aut fugit, sed quia consequuntur magni dolores eos qui ratione voluptatem sequi nesciunt. Neque porro quisquam est, qui dolorem ipsum quia dolor sit amet ”</p> <h3 class="job">Eker Pham - Stylish Manager</h3> </div> </div> <div class="item" data-src="image/catalog/baner/t3.jpg"> <div class="main-content"> <p class="des">“ Nemo enim ipsam voluptatem quia voluptas sit aspernatur aut odit aut fugit, sed quia consequuntur magni dolores eos qui ratione voluptatem sequi nesciunt. Neque porro quisquam est, qui dolorem ipsum quia dolor sit amet ”</p> <h3 class="job">Mike Luis - Stylish Manager</h3> </div> </div> </div> |
- Position: Content-Block2
- Frontend Appearance
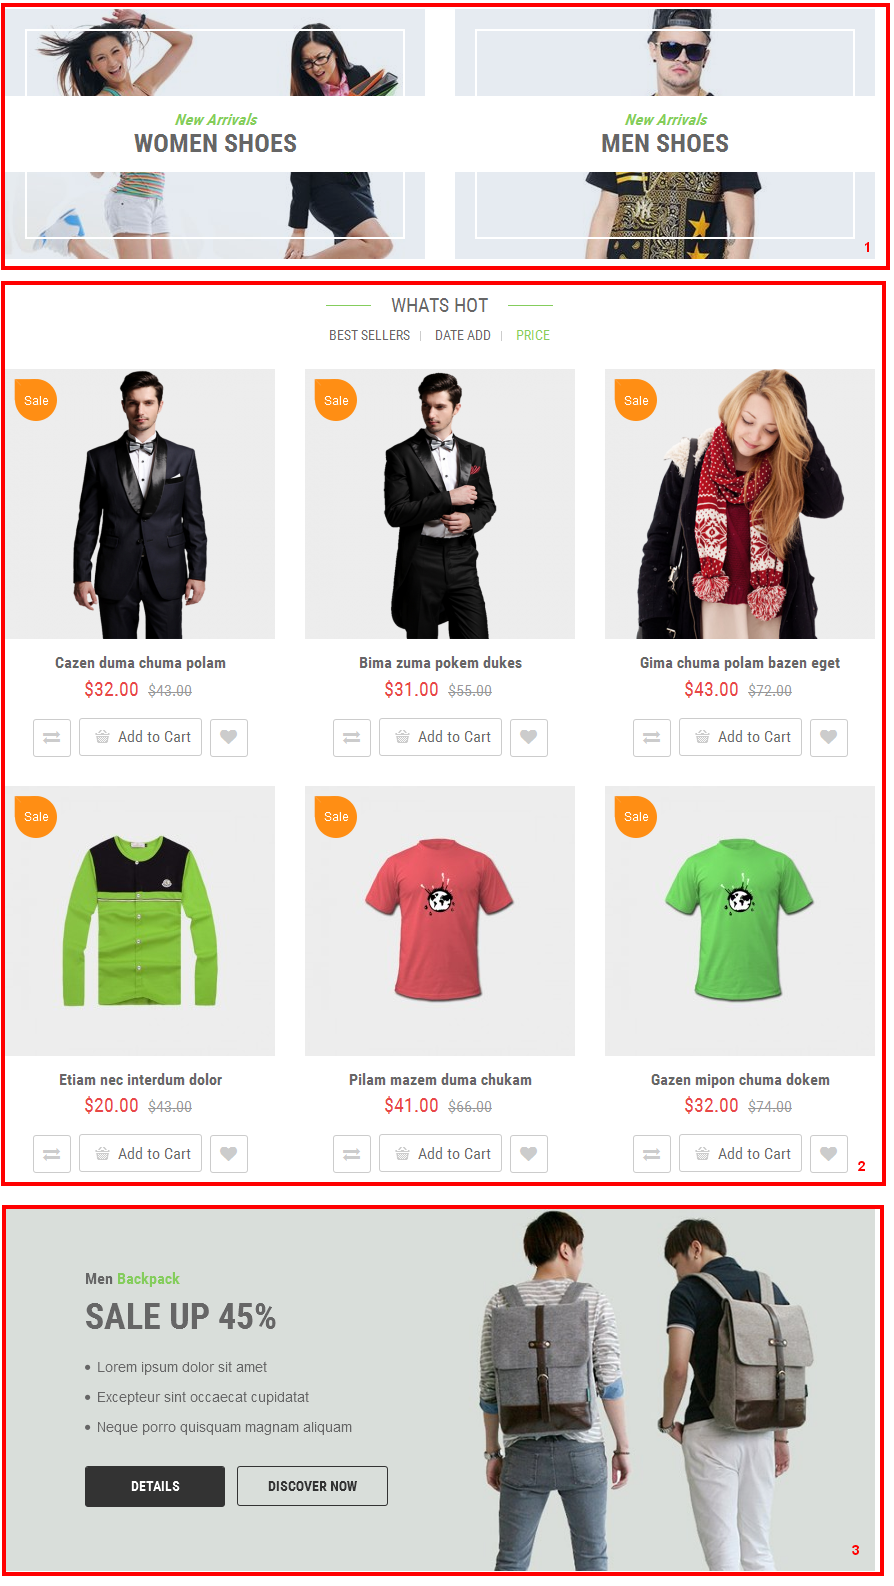
Backend of HTML-Content: Click Here
Copy and paste the Code into editor:
|
1 2 3 4 5 6 7 8 9 10 11 12 13 14 15 16 17 18 19 20 21 22 23 24 25 26 27 28 29 30 31 32 33 34 |
<div class="row women-lookbook"> <div class="block-main col-sm-6"> <a class="image-item" href="#" title="women"> <span class="border"></span> <img src="image/catalog/baner/g21.jpg" alt="Women"> </a> <div class="content"> <h4>New Arrivals</h4> <h3><a href="#" title="Women Shoes">Women Shoes</a></h3> </div> </div> <div class="block-main col-sm-6"> <a class="image-item" href="#" title="Men"> <span class="border"></span> <img src="image/catalog/baner/b21.jpg" alt="Men"> </a> <div class="content"> <h4>New Arrivals</h4> <h3><a href="#" title="Women Shoes">Men Shoes</a></h3> </div> </div> </div> |
Backend of SO-Listing-Tabs: Click Here
- Backend of General Options: Click Here
- Backend of Source Options: Click Here
- Backend of Item Options: Click Here
- Backend of Image Options: Click Here
- Backend of Effect Options: Click Here
- Backend of Advanced: Click Here
Backend of HTML-Content: Click Here
Copy and paste the Code into editor:
|
1 2 3 4 5 6 7 8 9 10 11 12 13 14 15 16 17 18 19 20 21 22 23 24 25 26 27 28 29 30 31 |
<div class="men-backpack"> <div class="item-image"> <img src="image/catalog/baner/s2.jpg" alt="Sale Up"> </div> <div class="main-content"> <h4 class="title">Men <span>Backpack</span></h4> <h3 class="sale-up">sale up 45%</h3> <ul class="content-list"> <li>Lorem ipsum dolor sit amet</li> <li>Excepteur sint occaecat cupidatat</li> <li>Neque porro quisquam magnam aliquam</li> </ul> <ul class="buton-list"> <li class="button"><a href="#" title="details">details</a></li> <li class="button"><a href="#" title="details">Discover now</a></li> </ul> </div> </div> |
- Position: Content-Block3
- Frontend Appearance

Backend of SO-Extraslider: Click Here
- Backend of General Options: Click Here
- Backend of Source Options: Click Here
- Backend of Products Options: Click Here
- Backend of Image Options: Click Here
- Backend of Effect Options: Click Here
- Other extensions in Layout2 are configured the same as above extension in Layout1.
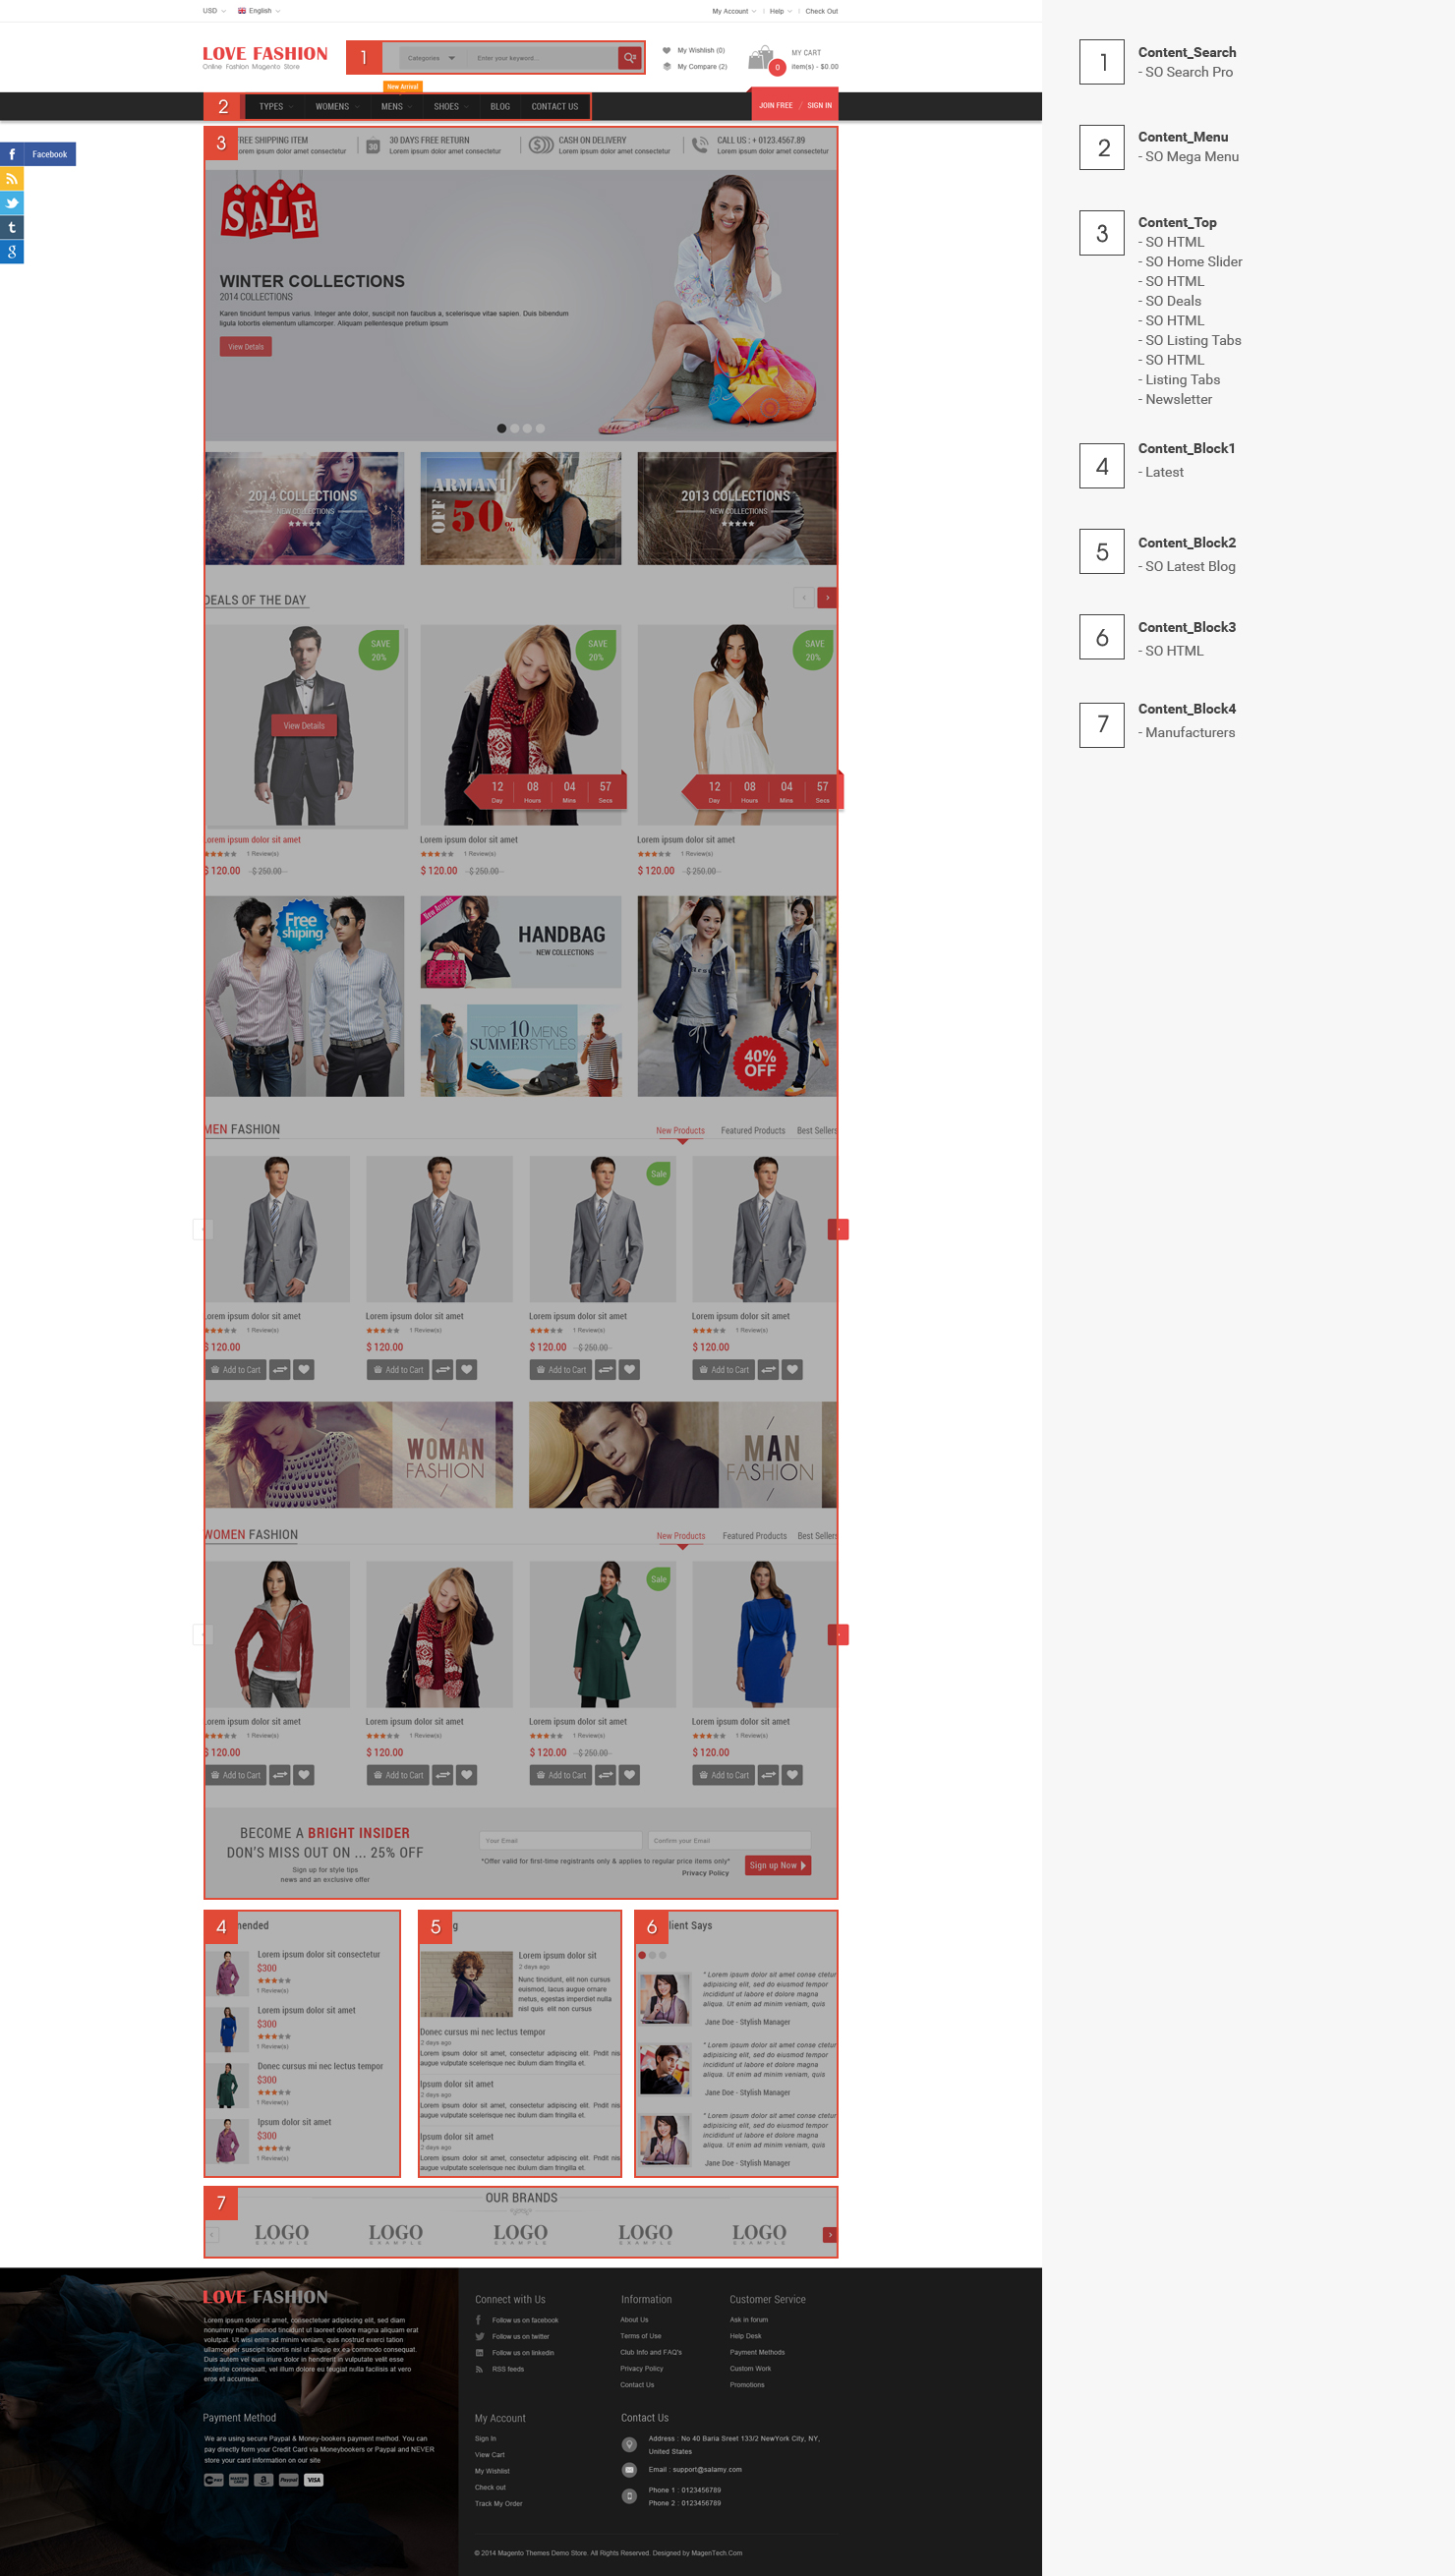
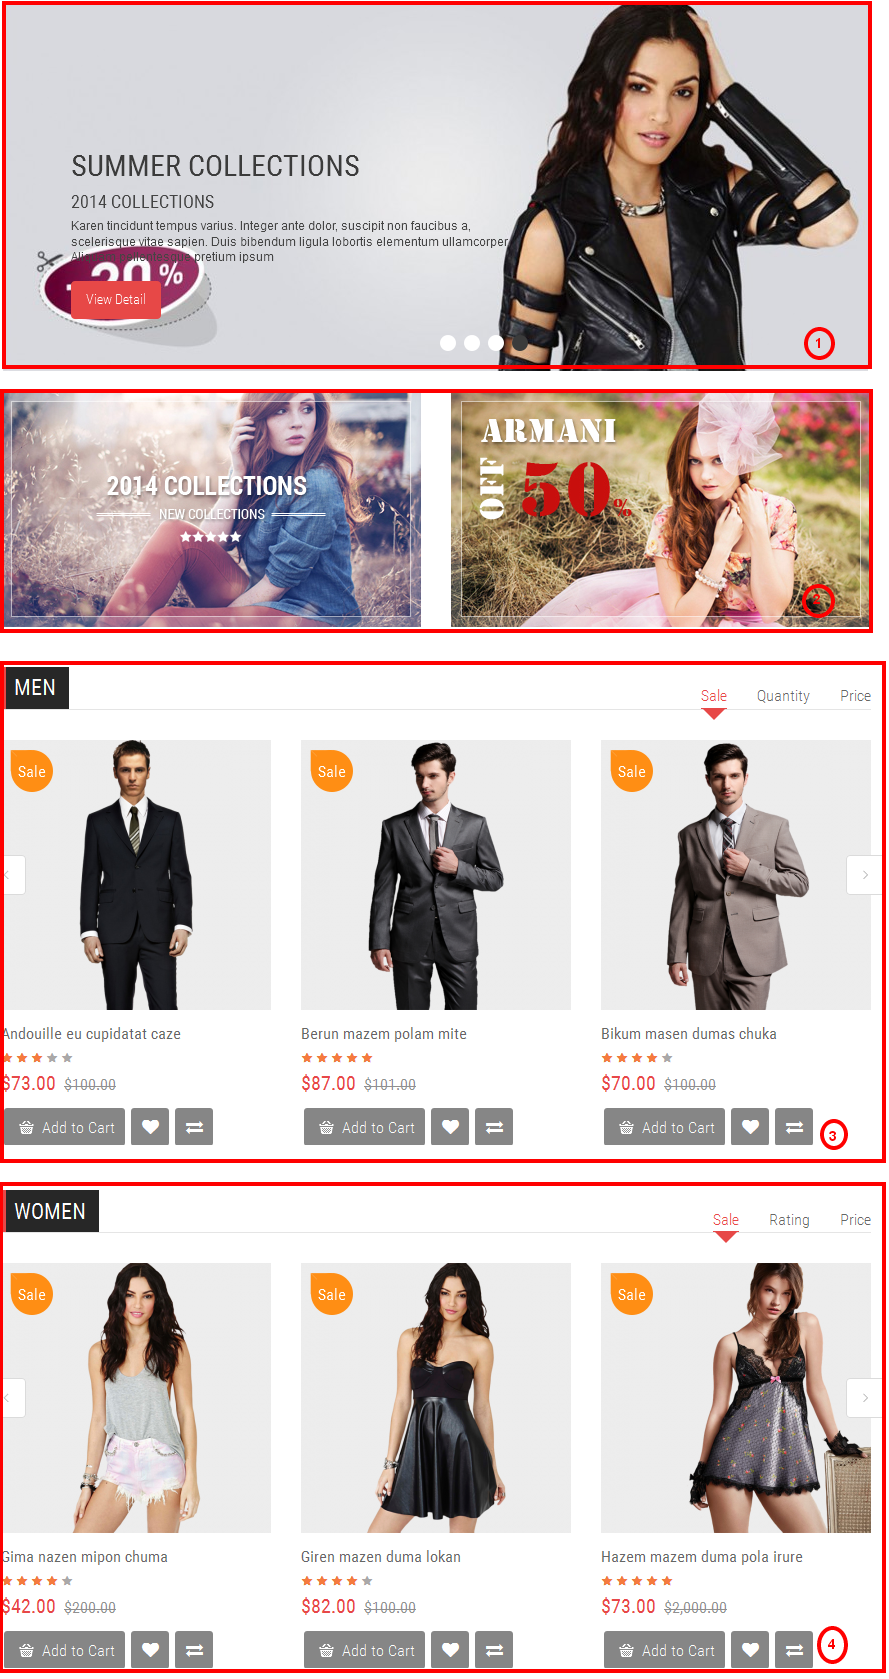
3.6 Extension Configuration – Layout3
The SO LoveFashion front-page has been integrated with extensions in the Theme as following list:
- Position: Content-Search
- Frontend Appearance
- Backend of SO-SearchPro: Click Here
- Position: Content-Menu
- Frontend Appearance
- Backend of SO-Mega-Menu: Click Here
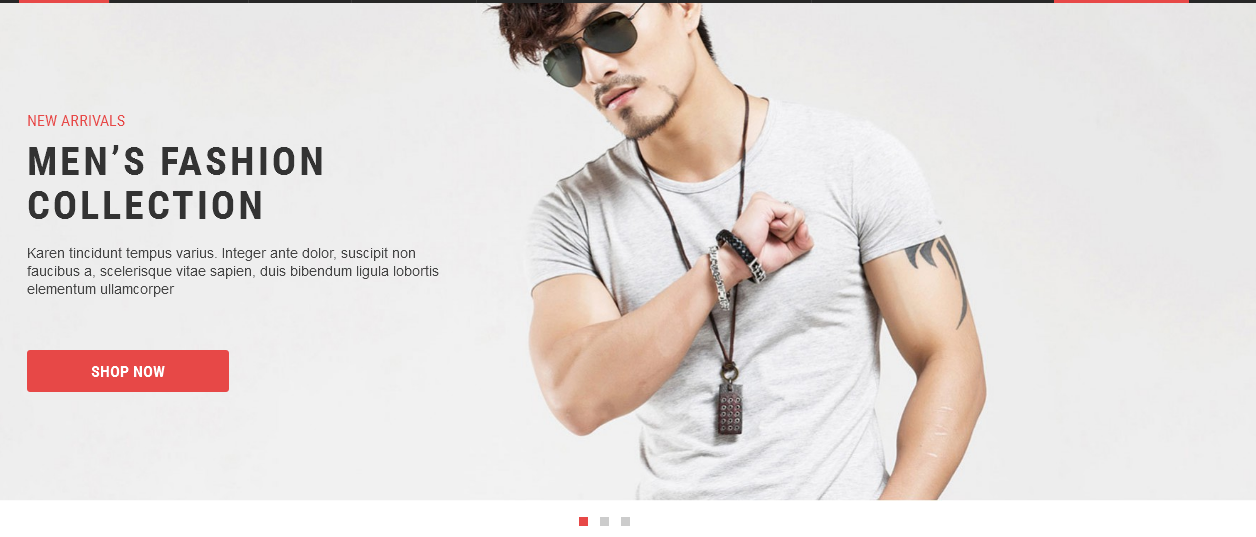
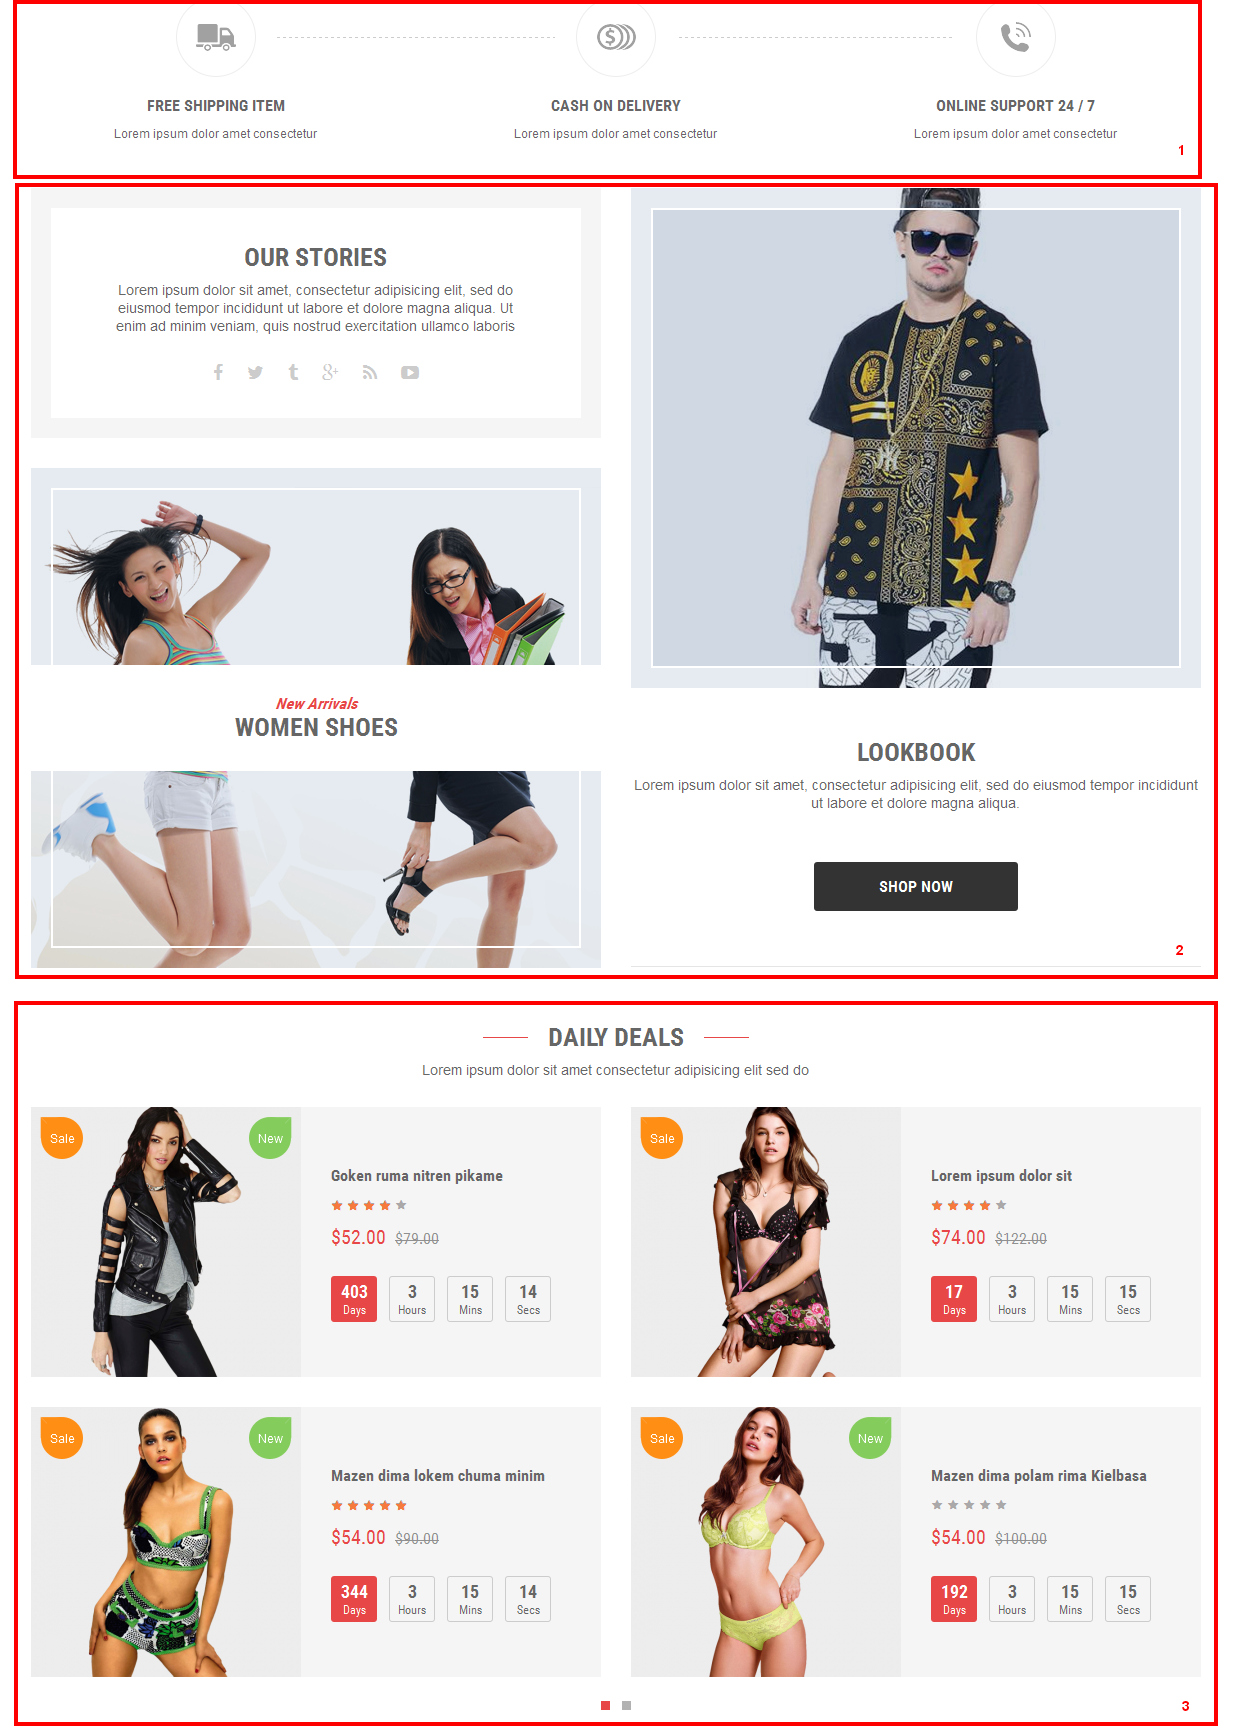
- Position: Content-top
- Frontend Appearance
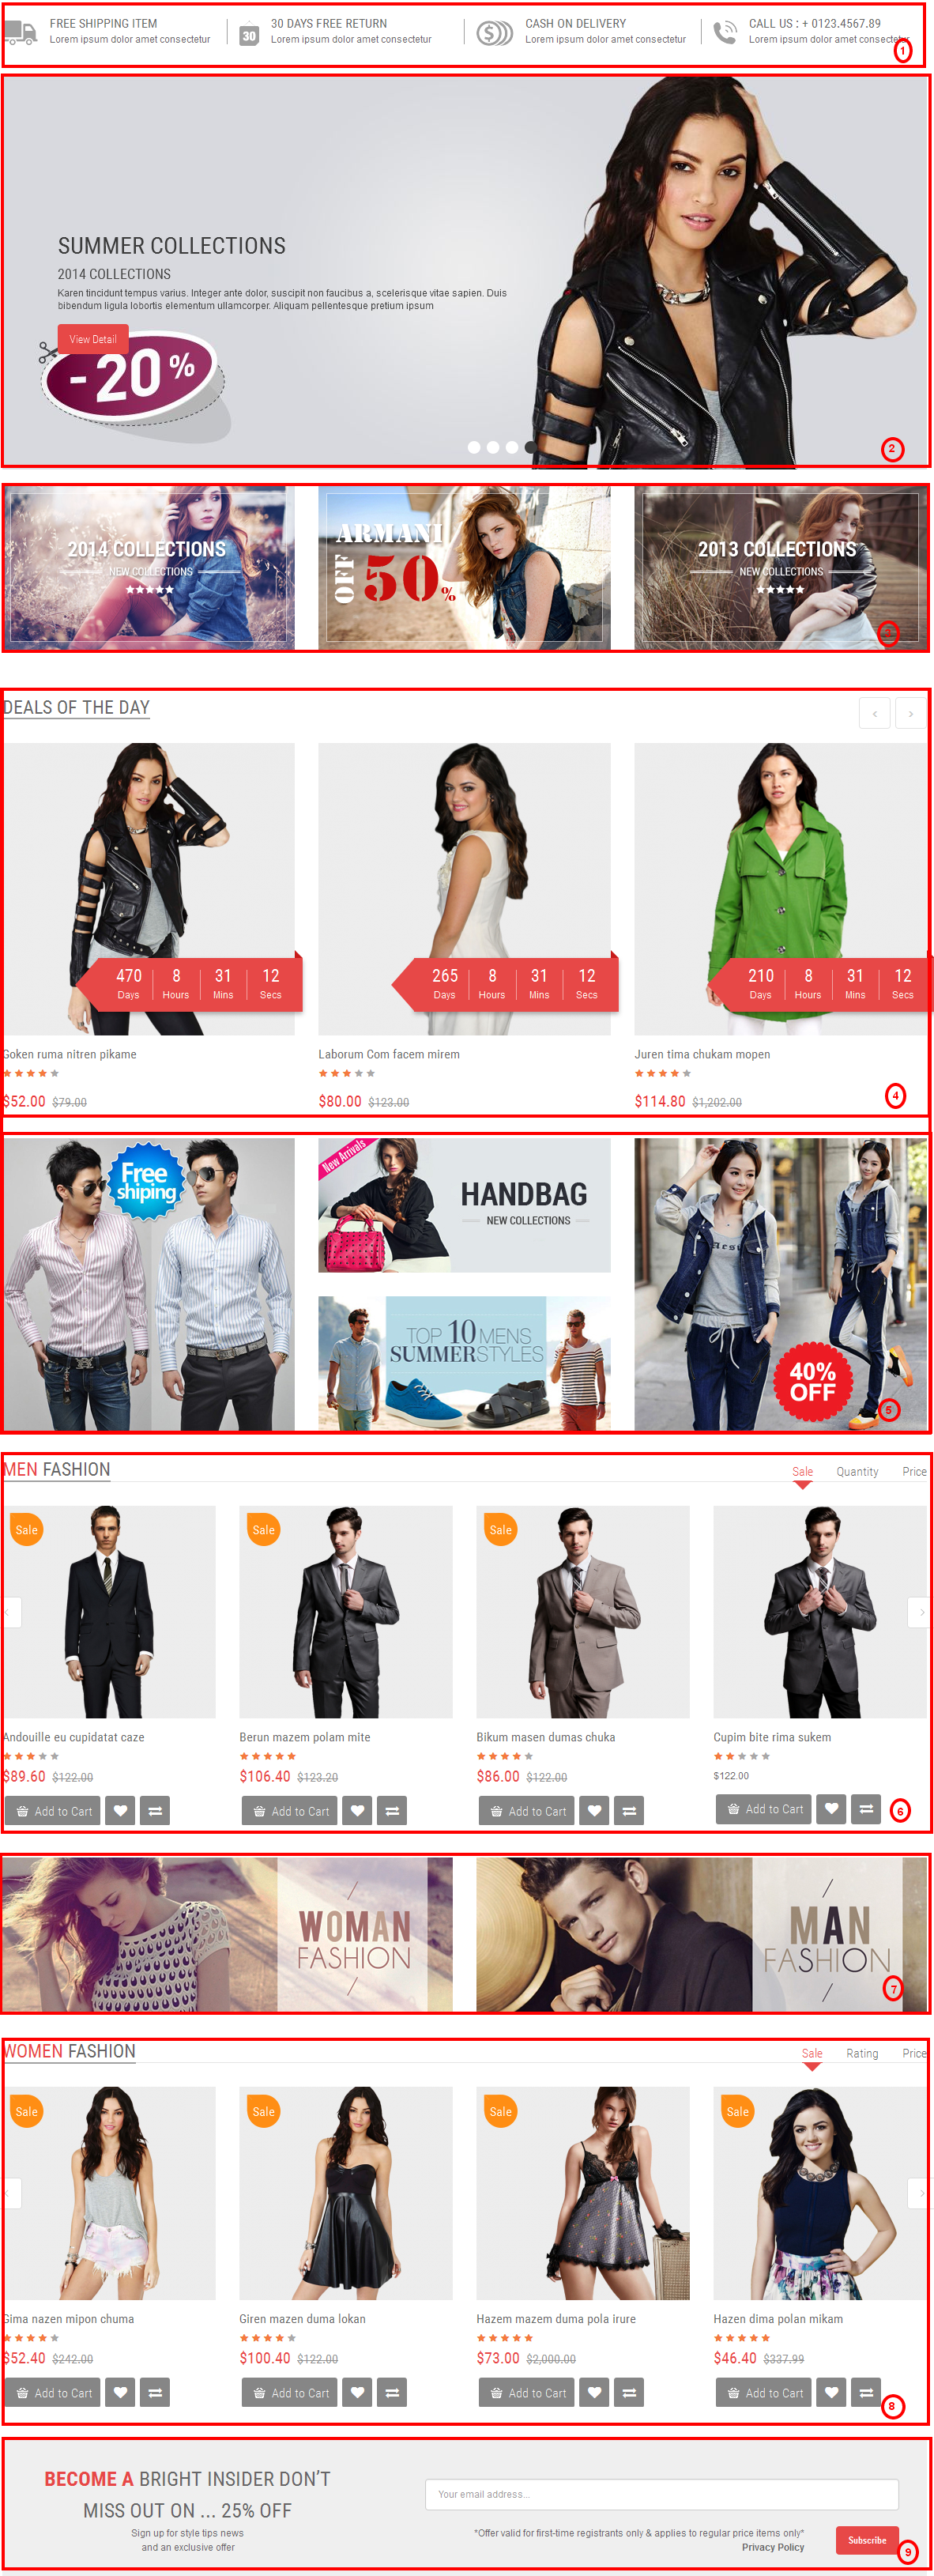
- 1. HTML-Content
- 2. SO-Home-Slider
- 3. HTML-Content
- 4. SO-Deals
- Backend of General Options: Click Here
- Backend of Source Options: Click Here
- Backend of Items Options: Click Here
- Backend of Image Options: Click Here
- Backend of Effect Options: Click Here
- 5. HTML-Content
- 6. SO-Listing-Tabs – Men Fashion
- Backend of General Options: Click Here
- Backend of Source Options: Click Here
- Backend of Tabs Options: Click Here
- Backend of Items Options: Click Here
- Backend of Image Options: Click Here
- Backend of Effect Options: Click Here
- 7. HTML-Content
- 8. SO-Listing-Tabs – Women Fashion
- Backend of General Options: Click Here
- Backend of Source Options: Click Here
- Backend of Tabs Options: Click Here
- Backend of Items Options: Click Here
- Backend of Image Options: Click Here
- Backend of Effect Options: Click Here
- 9. Newsletter
Backend of HTML-Content: Click Here
Copy and paste the Code into editor:
|
1 2 3 4 5 6 7 8 9 10 11 12 13 14 15 16 17 18 19 20 21 22 23 24 25 26 27 28 29 30 31 32 33 34 35 36 37 38 39 40 41 42 43 44 45 46 47 48 49 50 51 |
<ul class="row shipping-days"> <li class="col-sm-3 col-xs-6"> <div class="icon"><img src="image/catalog/demo/icon/shipp.png" alt="banner"></div> <div class="content"> <h3>Free Shipping Item</h3> <p>Lorem ipsum dolor amet consectetur </p> </div> </li> <li class="col-sm-3 col-xs-6"> <div class="icon"><img src="image/catalog/demo/icon/days.png" alt="banner"></div> <div class="content"> <h3>30 days free return</h3> <p>Lorem ipsum dolor amet consectetur </p> </div> </li> <li class="col-sm-3 col-xs-6"> <div class="icon"><img src="image/catalog/demo/icon/cash.png" alt="banner"></div> <div class="content"> <h3>CASH ON DELIVERY </h3> <p>Lorem ipsum dolor amet consectetur </p> </div> </li> <li class="col-sm-3 col-xs-6"> <div class="icon"><img src="image/catalog/demo/icon/phone.png" alt="banner"></div> <div class="content"> <h3>Call Us : + 0123.4567.89</h3> <p>Lorem ipsum dolor amet consectetur </p> </div> </li> </ul> |
Backend of SO-Home-Slider:
Backend of HTML-Content: Click Here
Copy and paste the Code into editor:
|
1 2 3 4 5 6 7 8 9 10 11 12 13 14 15 |
<ul class="row custom-collection"> <li class="col-sm-4 item"> <a href="#" title="banner"><img src="image/catalog/demo/banners/bn2.png" alt="banner"></a> </li> <li class="col-sm-4 item"> <a href="#" title="banner"><img src="image/catalog/demo/banners/bn3.png" alt="banner"></a> </li> <li class="col-sm-4 item"> <a href="#" title="banner"><img src="image/catalog/demo/banners/bn4.png" alt="banner"></a> </li> </ul> |
Backend of SO-Deals: Click Here
Backend of HTML-Content: Click Here
Copy and paste the Code into editor:
|
1 2 3 4 5 6 7 8 9 10 11 12 13 14 15 16 |
<ul class="row handbag"> <li class="col-sm-4 item"> <a href="#" title="banner"><img src="image/catalog/demo/banners/t1.jpg" alt="banner"></a> </li> <li class="col-sm-4 item"> <a href="#" title="banner"><img src="image/catalog/demo/banners/t2.jpg" alt="banner"></a> <a href="#" title="banner"><img src="image/catalog/demo/banners/t3.jpg" alt="banner"></a> </li> <li class="col-sm-4 item"> <a href="#" title="banner"><img src="image/catalog/demo/banners/t4.jpg" alt="banner"></a> </li> </ul> |
Backend of SO-Listing-Tabs – Men Fashion: Click Here
Backend of HTML-Content: Click Here
Copy and paste the Code into editor:
|
1 2 3 4 5 6 7 8 9 10 11 |
<ul class="row"> <li class="col-sm-6 item"> <a href="#" title="banner"><img src="image/catalog/demo/banners/s1.jpg" alt="banner"></a> </li> <li class="col-sm-6 item"> <a href="#" title="banner"><img src="image/catalog/demo/banners/s2.jpg" alt="banner"></a> </li> </ul> |
Backend of SO-Listing-Tabs – Women Fashion: Click Here
Backend of Newsletter: Click Here
- Position: Content-block1
- Frontend Appearance
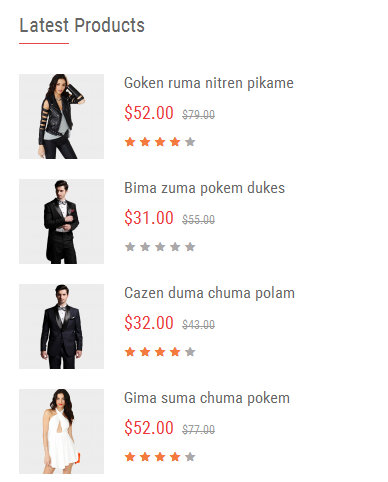
- Backend of Latest: Click Here
- Position: Content-block2
- Frontend Appearance
- Backend of General Options: Click Here
- Backend of Blogs Options: Click Here
- Backend of Image Options: Click Here
- Backend of Effect Options: Click Here
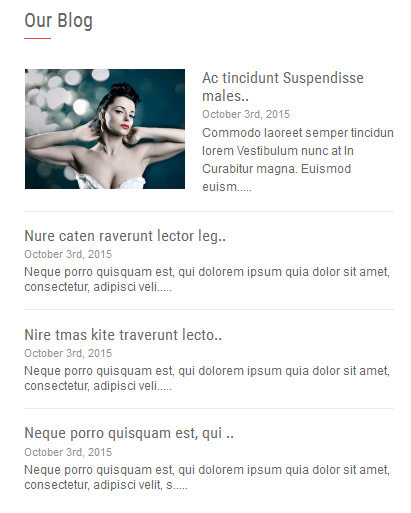
Backend of SO-Latest-Blog: Click Here
- Position: Content-block3
- Frontend Appearance
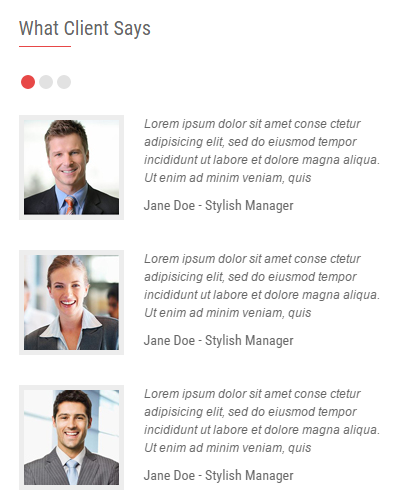
Backend of HTML-Content: Click Here
Copy and paste the Code into editor:
|
1 2 3 4 5 6 7 8 9 10 11 12 13 14 15 16 17 18 19 20 21 22 23 24 25 26 27 28 29 30 31 32 33 34 35 36 37 38 39 40 41 42 43 44 45 46 47 48 49 50 51 52 53 54 55 56 57 58 59 60 61 62 63 64 65 66 67 68 69 70 71 72 73 74 75 76 77 78 79 80 81 82 83 84 85 86 87 88 89 90 91 92 93 94 95 96 97 98 99 100 101 102 103 104 105 106 107 108 109 110 111 112 113 114 115 116 117 118 119 120 121 122 123 124 125 126 127 128 129 130 131 132 133 134 135 136 137 138 139 140 141 142 143 144 |
[content_slider items='1' item_lg='1' item_sm='1' margin='30' pagination='yes' arrows='no' loop='no'] [content_slider_item] <div class="item"> <ul> <li class="media"> <div class="images media-left"> <img src="image/catalog/demo/banners/h1.jpg" alt="client"> </div> <div class="content media-body"> <p>Lorem ipsum dolor sit amet conse ctetur adipisicing elit, sed do eiusmod tempor incididunt ut labore et dolore magna aliqua. Ut enim ad minim veniam, quis </p> <span class="name">Jane Doe - Stylish Manager</span> </div> </li> <li class="media"> <div class="images media-left"> <img src="image/catalog/demo/banners/h2.jpg" alt="client"> </div> <div class="content media-body"> <p>Lorem ipsum dolor sit amet conse ctetur adipisicing elit, sed do eiusmod tempor incididunt ut labore et dolore magna aliqua. Ut enim ad minim veniam, quis </p> <span class="name">Jane Doe - Stylish Manager</span> </div> </li> <li class="media"> <div class="images media-left"> <img src="image/catalog/demo/banners/h3.jpg" alt="client"> </div> <div class="content media-body"> <p>Lorem ipsum dolor sit amet conse ctetur adipisicing elit, sed do eiusmod tempor incididunt ut labore et dolore magna aliqua. Ut enim ad minim veniam, quis </p> <span class="name">Jane Doe - Stylish Manager</span> </div> </li> </ul> </div> [/content_slider_item][content_slider_item] <div class="item"> <ul> <li class="media"> <div class="images media-left"> <img src="image/catalog/demo/banners/h1.jpg" alt="client"> </div> <div class="content media-body"> <p>Lorem ipsum dolor sit amet conse ctetur adipisicing elit, sed do eiusmod tempor incididunt ut labore et dolore magna aliqua. Ut enim ad minim veniam, quis </p> <span class="name">Jane Doe - Stylish Manager</span> </div> </li> <li class="media"> <div class="images media-left"> <img src="image/catalog/demo/banners/h2.jpg" alt="client"> </div> <div class="content media-body"> <p>Lorem ipsum dolor sit amet conse ctetur adipisicing elit, sed do eiusmod tempor incididunt ut labore et dolore magna aliqua. Ut enim ad minim veniam, quis </p> <span class="name">Jane Doe - Stylish Manager</span> </div> </li> <li class="media"> <div class="images media-left"> <img src="image/catalog/demo/banners/h3.jpg" alt="client"> </div> <div class="content media-body"> <p>Lorem ipsum dolor sit amet conse ctetur adipisicing elit, sed do eiusmod tempor incididunt ut labore et dolore magna aliqua. Ut enim ad minim veniam, quis </p> <span class="name">Jane Doe - Stylish Manager</span> </div> </li> </ul> </div> [/content_slider_item] [content_slider_item] <div class="item"> <ul> <li class="media"> <div class="images media-left"> <img src="image/catalog/demo/banners/h1.jpg" alt="client"> </div> <div class="content media-body"> <p>Lorem ipsum dolor sit amet conse ctetur adipisicing elit, sed do eiusmod tempor incididunt ut labore et dolore magna aliqua. Ut enim ad minim veniam, quis </p> <span class="name">Jane Doe - Stylish Manager</span> </div> </li> <li class="media"> <div class="images media-left"> <img src="image/catalog/demo/banners/h2.jpg" alt="client"> </div> <div class="content media-body"> <p>Lorem ipsum dolor sit amet conse ctetur adipisicing elit, sed do eiusmod tempor incididunt ut labore et dolore magna aliqua. Ut enim ad minim veniam, quis </p> <span class="name">Jane Doe - Stylish Manager</span> </div> </li> <li class="media"> <div class="images media-left"> <img src="image/catalog/demo/banners/h3.jpg" alt="client"> </div> <div class="content media-body"> <p>Lorem ipsum dolor sit amet conse ctetur adipisicing elit, sed do eiusmod tempor incididunt ut labore et dolore magna aliqua. Ut enim ad minim veniam, quis </p> <span class="name">Jane Doe - Stylish Manager</span> </div> </li> </ul> </div> [/content_slider_item][/content_slider] |
- Position: Content-block4
- Frontend Appearance

Backend of Manufacturers: Click Here
- Other extensions in Layout3 are configured the same as above extension in Layout1, Layout2.
3.7 Extension Configuration – Layout4
The SO LoveFashion front-page has been integrated with extensions in the Theme as following list:
- SO-SearchPro
- SO-Mega-Menu
- HTML-Content
- SO-Mega-Menu – Vertical-Menu, Newsletter, HTML-Content, HTML-Content, HTML-Content
- SO-Home-Slider, HTMl-Content, SO-Listing-Tabs, SO-Listing-Tabs
- HTML-Content
- Latest-Recommended
- SO-Latest-Blog
- HTML-Content
- Manufacturers
- Position: Column-left
- Frontend Appearance

- 1. SO-Mega-Menu – Vertical-Menu
- 2. HTML-Contentleft1-Home2
- 3. HTML-Contentleft2-Home2
- 4. HTML-Contentleft3-Home2
Backend of SO-Mega-Menu – Vertical-Menu: Click Here
Backend of HTML-Contentleft1-Home2: Click Here
Copy and paste the Code into editor:
|
1 |
<a href="#" title="banner"><img src="image/catalog/demo/banners/l1.jpg" alt="banner"></a> |
Backend of HTML-Contentleft2-Home2: Click Here
Copy and paste the Code into editor:
|
1 2 3 4 5 6 7 8 9 10 11 12 13 14 15 16 17 18 |
<div class="hotline"> <h3 class="title"> HOtLINE: 01-2345-6769 </h3> <ul class="media"> <li class="media-left"> <img src="image/catalog/demo/banners/phone.png" alt="banner" style="max-width: none;"> </li> <li class="media-body"> Lorem ipsum dolor sit amet, consectetur adipiscin. Etiam porta sem malesuada </li> </ul> </div> |
Backend of HTML-Contentleft3-Home2: Click Here
Copy and paste the Code into editor:
|
1 |
<a href="#" title="banner"><img src="image/catalog/demo/banners/l2.jpg" alt="banner"></a> |
- Position: Content-block1
- Frontend Appearance
- 1. SO-Home-Slider
- 2. HTML-Content2-Home 2
- 3. SO-Listing-Tabs
Backend of SO-Home-Slider:
Backend of HTML-Content2-Home 2: Click Here
Copy and paste the Code into editor:
|
1 2 3 4 5 6 7 8 9 10 11 |
<ul class="row custom-collection"> <li class="col-sm-6 item"> <a href="#" title="banner"><img src="image/catalog/demo/banners/bn21.jpg" alt="banner"></a> </li> <li class="col-sm-6 item"> <a href="#" title="banner"><img src="image/catalog/demo/banners/bn22.jpg" alt="banner"></a> </li> </ul> |
Backend of SO-Listing-Tabs: Click Here
- Position: Content-block2
- Frontend Appearance

-
Backend of HTML-Content: Click Here
|
1 2 3 4 5 6 7 8 9 10 11 |
<ul class="row"> <li class="col-sm-6 item"> <a href="#" title="banner"><img src="image/catalog/demo/banners/s1.jpg" alt="banner"></a> </li> <li class="col-sm-6 item"> <a href="#" title="banner"><img src="image/catalog/demo/banners/s2.jpg" alt="banner"></a> </li> </ul> |
- Other extensions in Layout4 are configured the same as above extension in Layout1, Layout2, Layout3.
Note: You can read other extensions here:
4SUPPORT – Back to top
Thank you so much for purchasing this template. If you have any questions that are beyond the scope of this help file, please send us via: Submit a Ticket
Thanks so much!
