SJ Social Media plugin works with classes and it allows users directly share their posts on Facebook, Twitter. This guide will help you install SJ Social Media step by step.
1REQUIREMENT – Back to top
At the basic level, this plugin will require the following conditions:
- Compatible with version Joomla: Joomla! 3.x, Joomla! 2.5.x
2INSTALLATION – Back to top
Prepare your plugin package
- Firstly, you need to UNZIP file that you have downloaded. Please note that you should choose plug-in package that are suitable with each Joomla version which you have just downloaded
- Secondly, install main plugin (extracted mod_ file)
- In your Administrator page, go to Extensions -> Extension Manager. In this page, click Browse, select plug-in package.
- Then click Upload & Install

- Please wait for plugin being installed, usually within several seconds.
- Now go to Extensions -> Plug-in Manager, click Select Type box and choose the plug-in you have installed

- Prepare to perform Plug-in Configuration
3PLUGIN CONFIGURATION – Back to top
Note: We used the images of plugin’s installation on Joomla 3 to illustrate
After installing, go to Extensions -> Plugin Manager and find SJ Social Media to configure
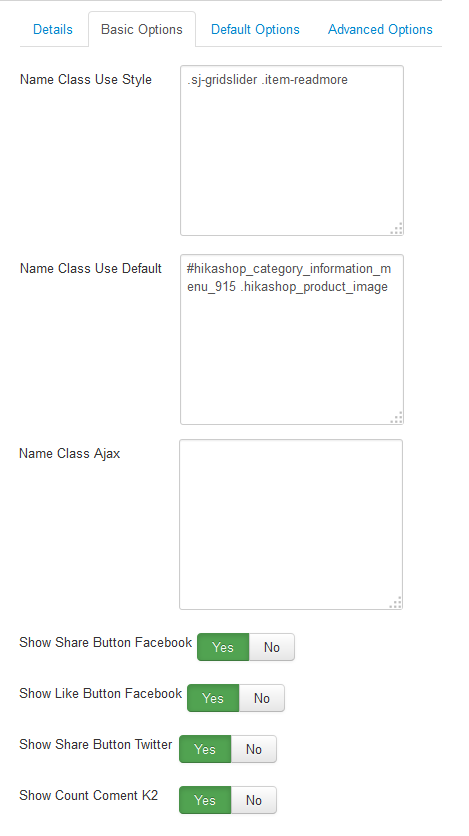
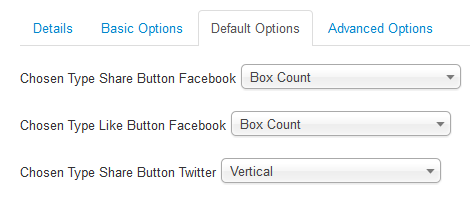
SJ Social Media plugin is configured in 3 main groups of parameters as following:
- Basic Options
- Default Options
- Advanced Options
Let’s look at the parameters in detail:
4SUPPORT – Back to top
Thank you so much for purchasing this plugin. If you have any questions that are beyond the scope of this help file, please send us via: Submit a Ticket
Thanks so much!


