This guide will help you install SJ Job Search for JS Jobs step by step.
1REQUIREMENT – Back to top
At the basic level, this module will require the following conditions:
- Compatible with version Joomla: Joomla 3.x
- Support Component JS Jobs . Download Here
- Have Responsive
2.1 Install JS Jobs Component
- Firstly, you need to UNZIP file SJ Jobs Component Package that you have downloaded. Please note that you should choose modules package that are situable with each Joomla version which you have just downloaded
- Secondly, install JS Jobs Component:
- In your Administrator page, go to Extensions -> Extension Manager. In this page, click Choose File, select JS Jobs package.
- Then click Upload & Install
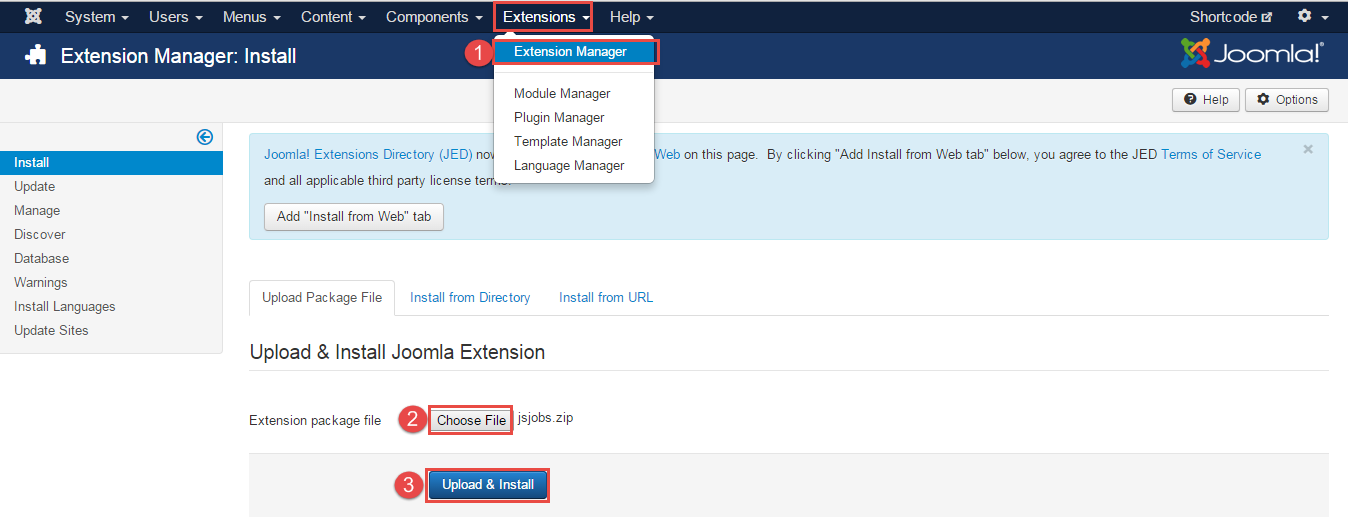
- Please wait for Component being installed, usually within several seconds.
- Now go to Extensions -> Module Manager, click Select Type box and choose the module you have installed
- Prepare to perform Component Configuration
2.2 Create a database for JS Jobs
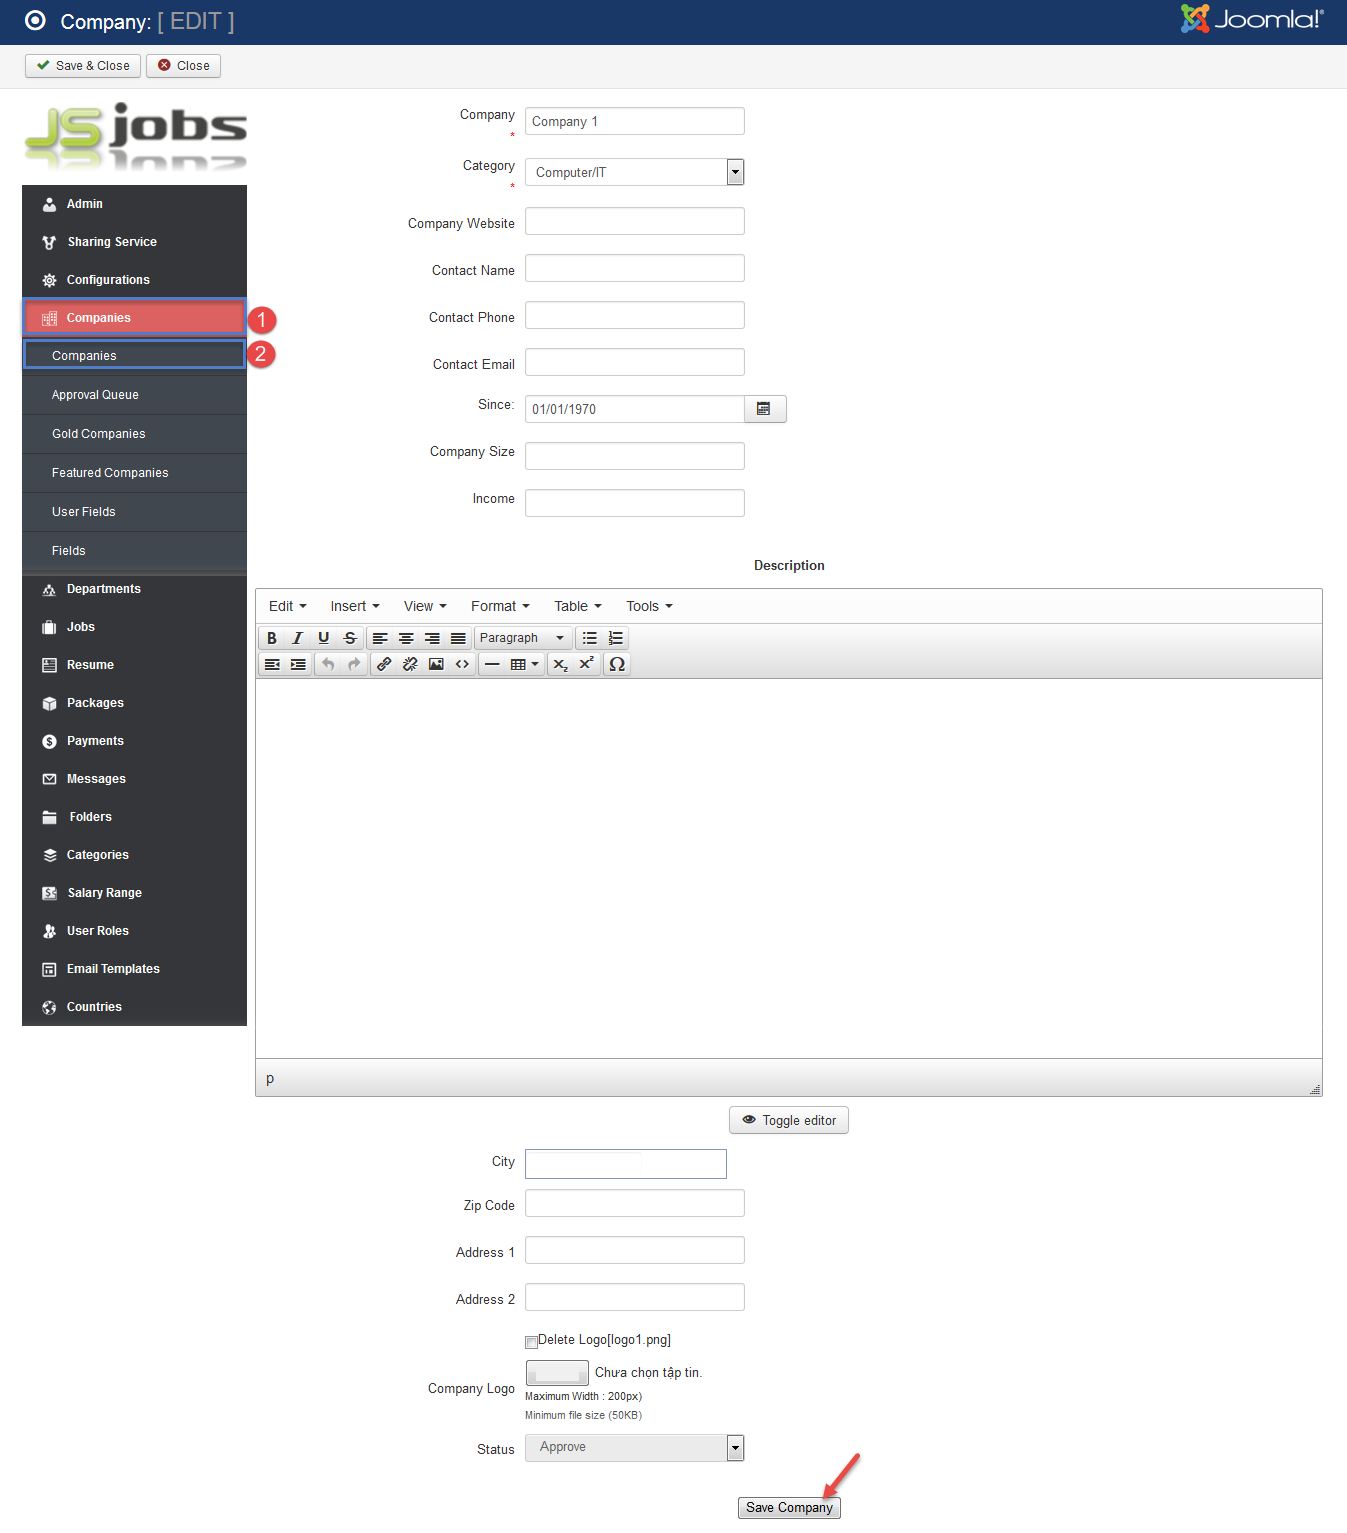
2.2.1 To Create a new Company
: Please go to Component >> JS Jobs >> Companies >> Companies >> New >> Enter these fields
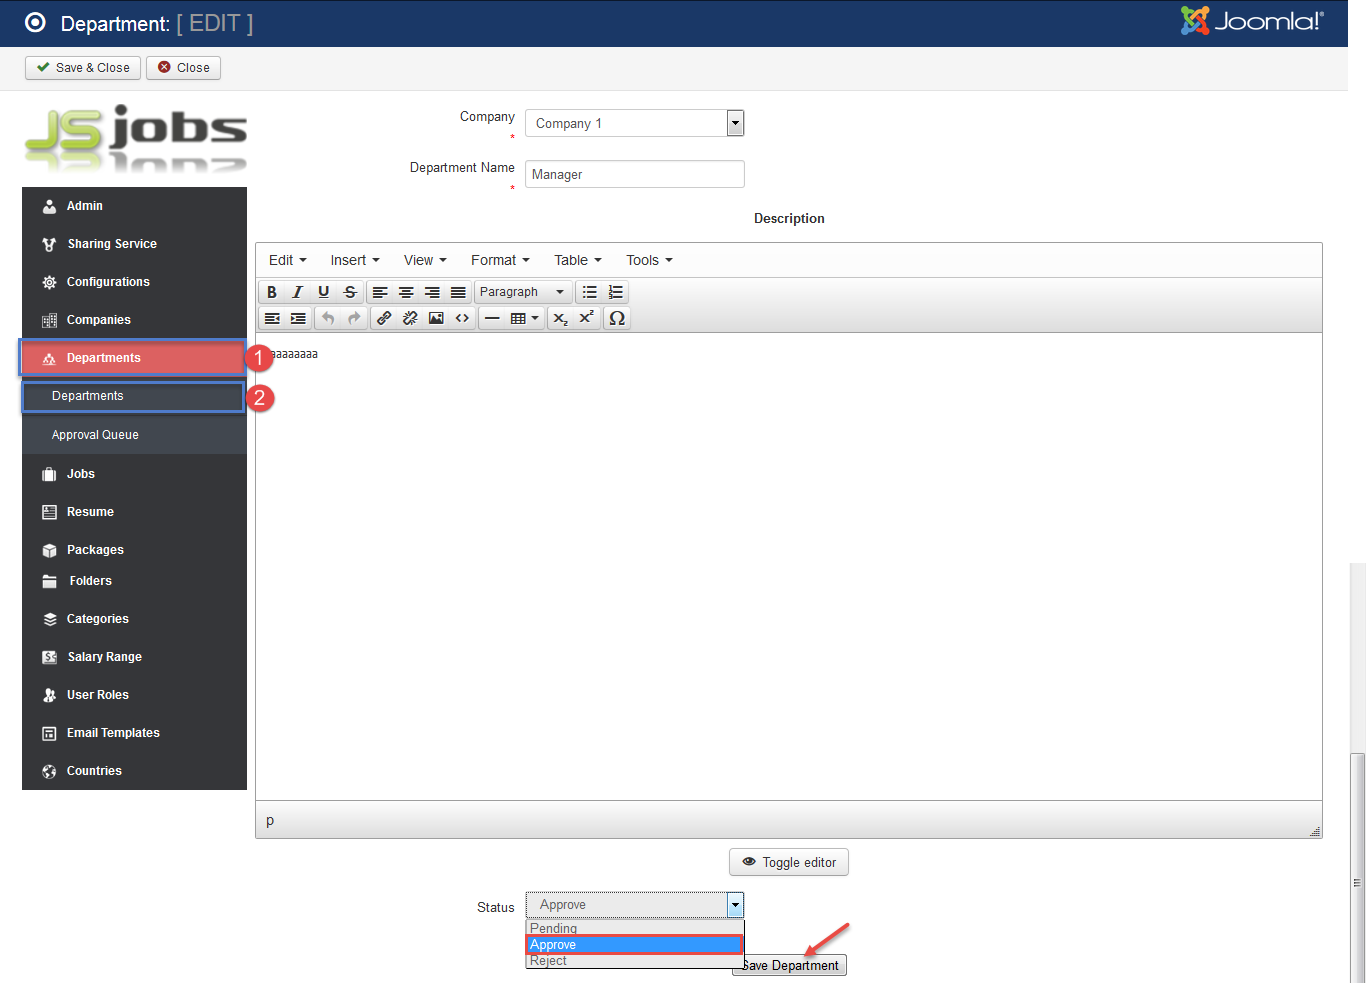
2.2.2 To Create a new Departments
: Please go to Component >> JS Jobs >> Departments >> Departments >> New >> Enter these fields
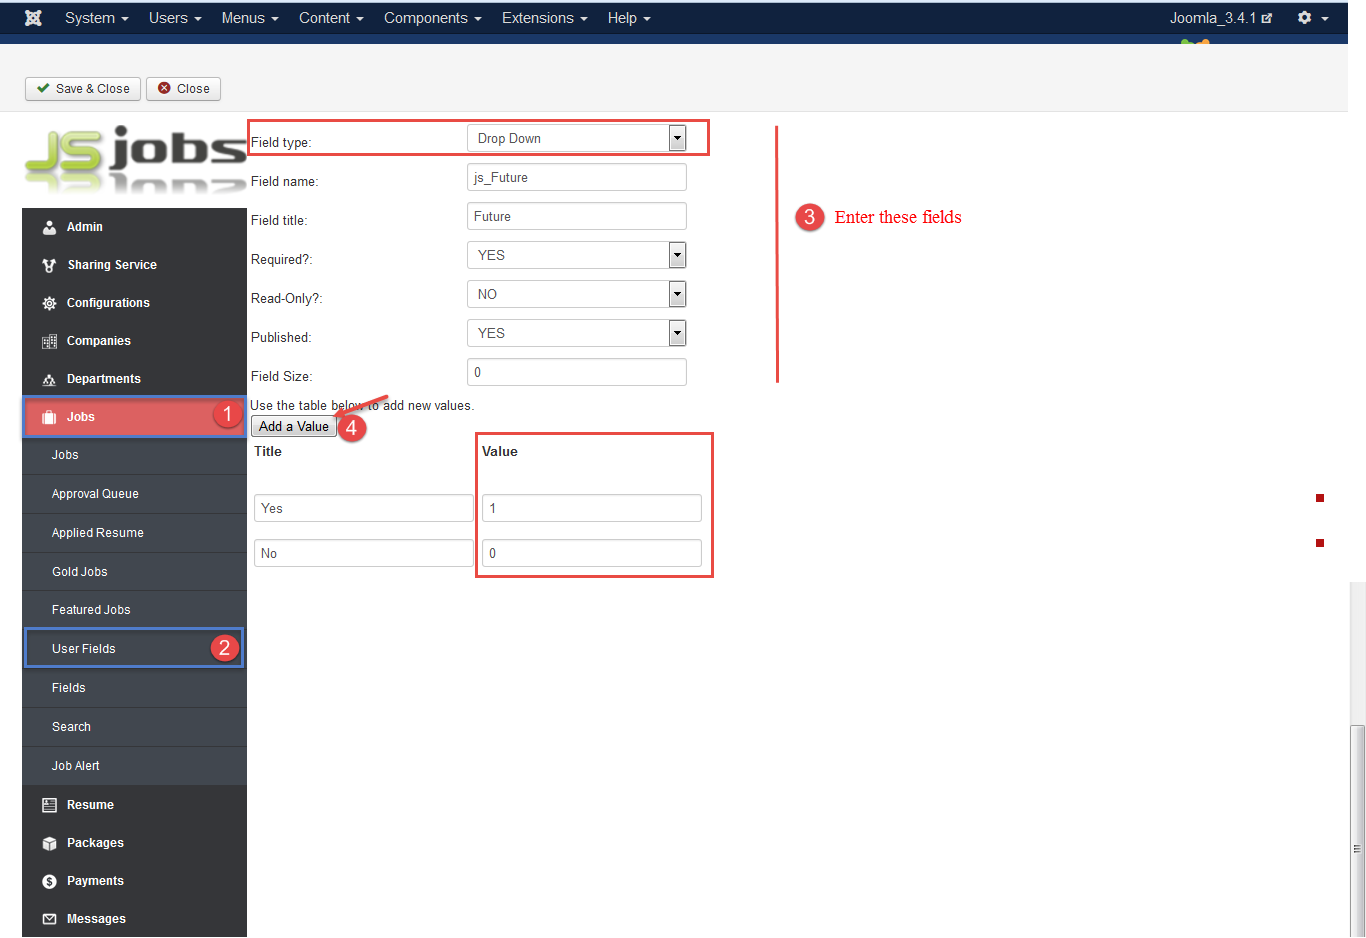
2.2.3 To Create a new User Fields
: Please go to Component >> JS Jobs >> User Fields >> New >> Enter these fields
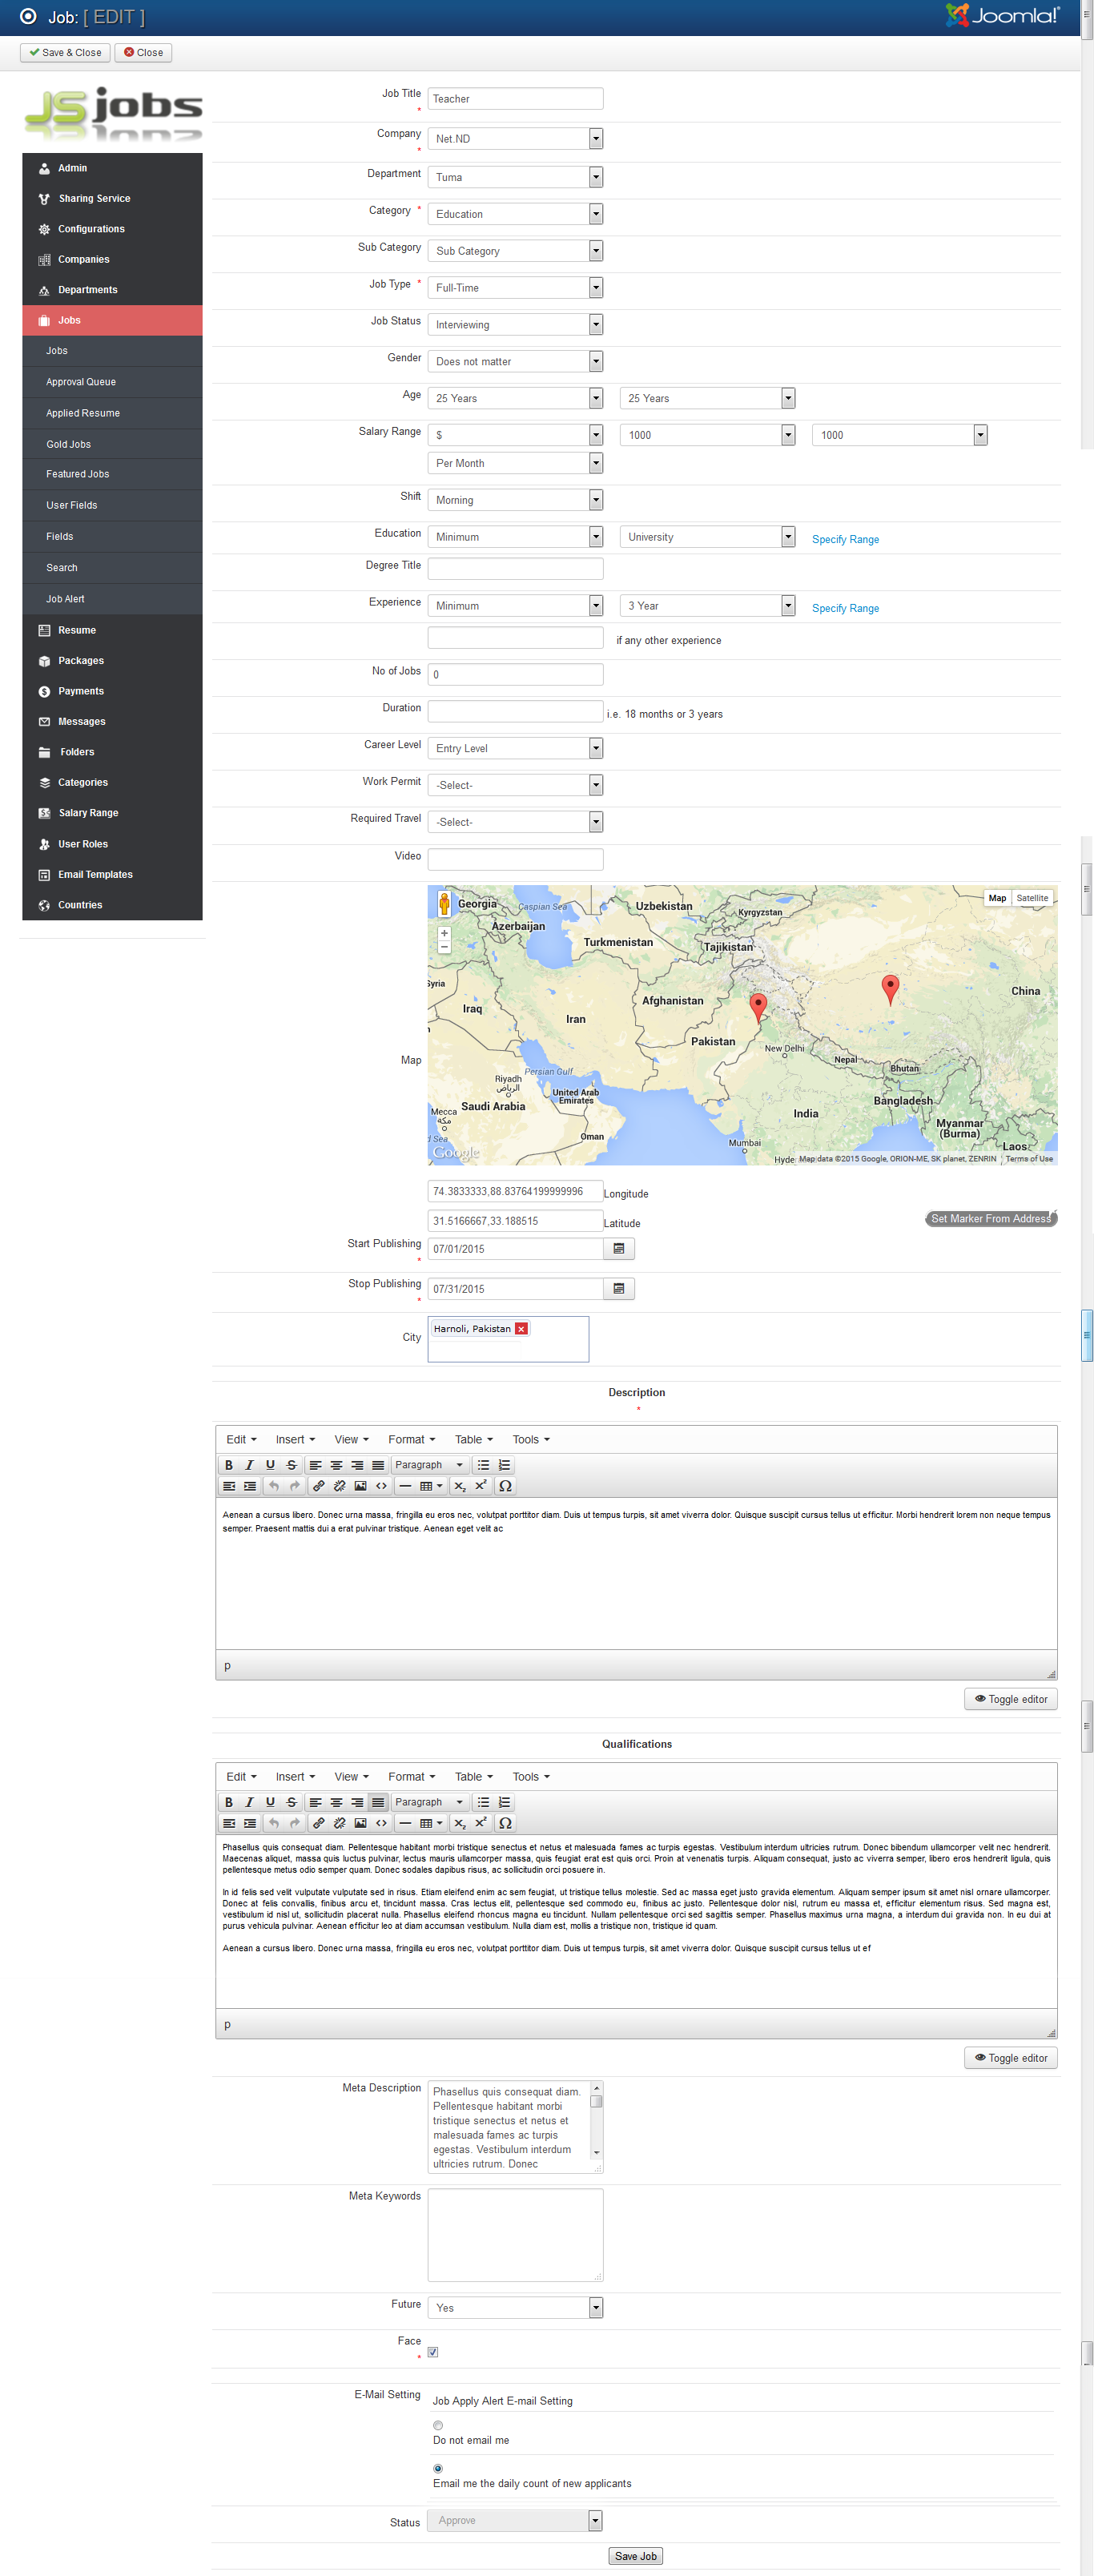
2.2.4 To Create a new Jobs
: Please go to Component >> JS Jobs >> Jobs >> New >> Enter these fields
2.3 Create a new Resume
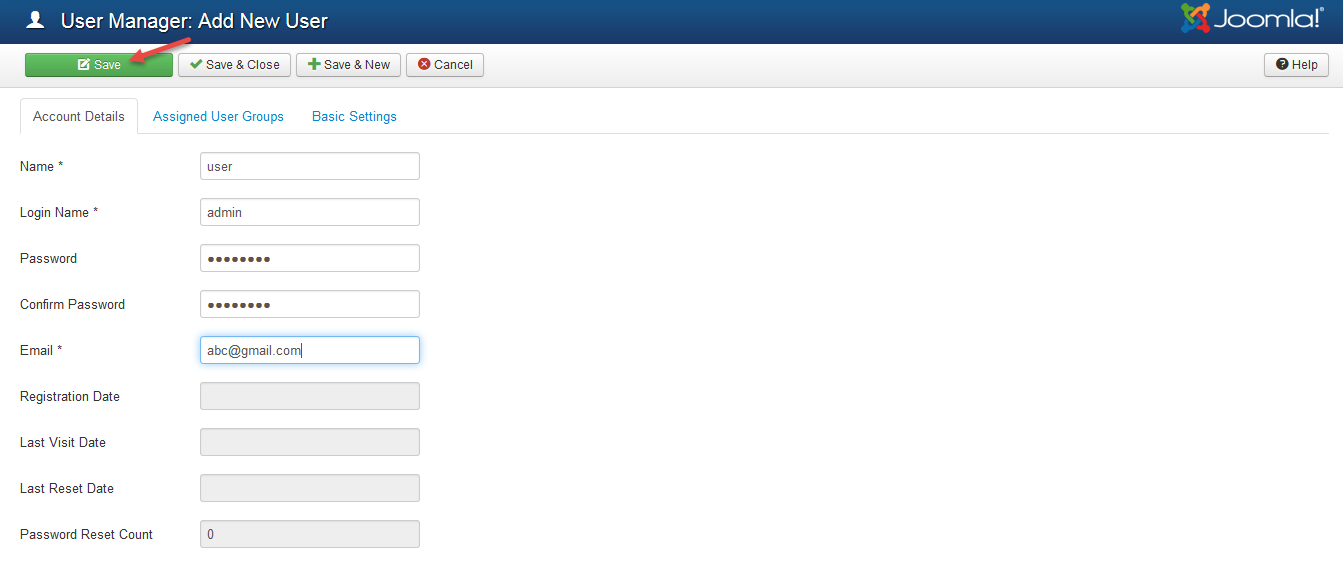
2.3.1 To Create a new User
: In your Administrator page, please go to Users >> User Manager >> Add new User >> Enter these fields
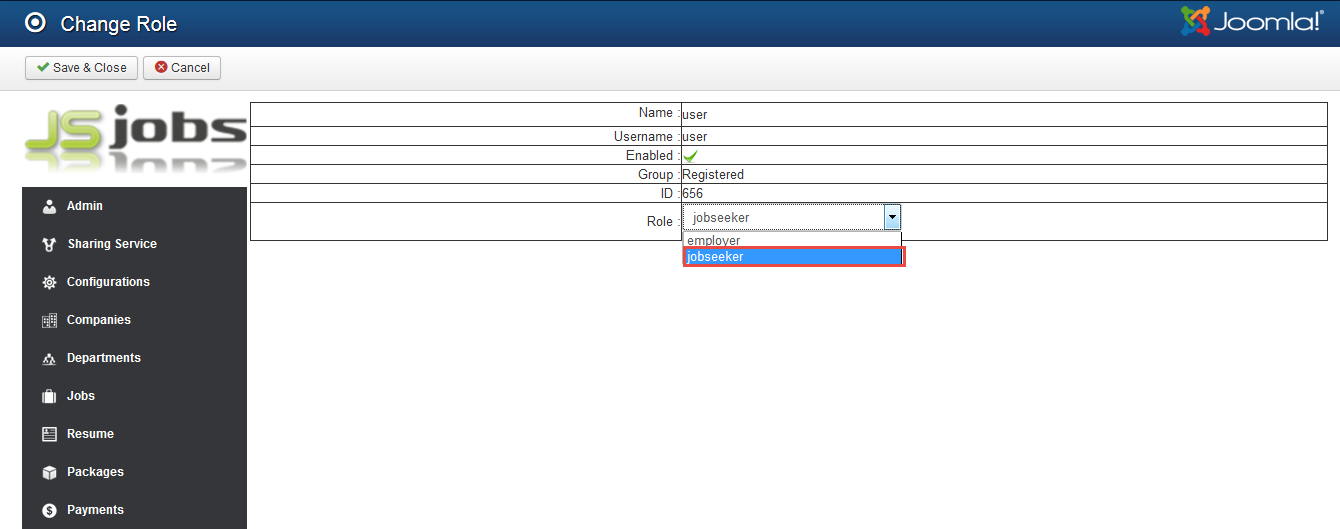
2.3.2 To Create a new User Roles
: Please go to Component >> JS Jobs >> User Roles >> User >> Select the User just created
2.3.3 To Create a new Menu
: Please go to Menu >> Main Menu >> Add new Menu Item >> Select “Menu Item Type”
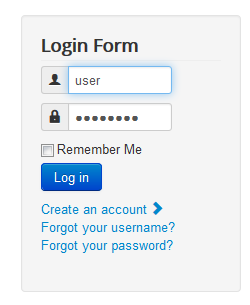
2.3.4 To Login user just created
: Please Click Main menu just created >> Click “Control Panel” >> Add Resume
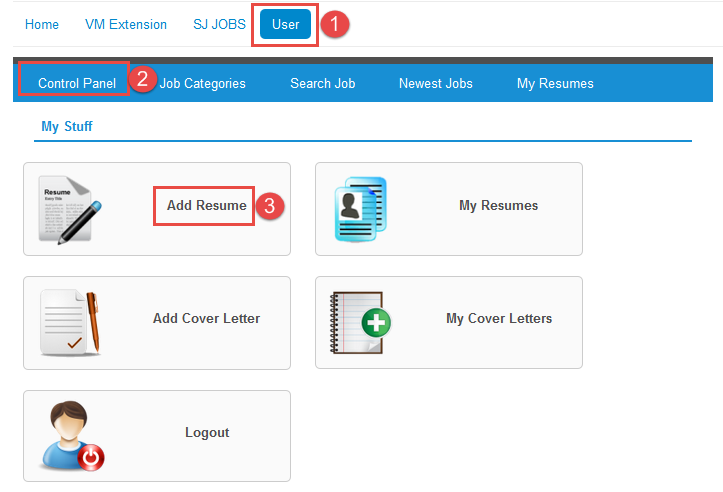
2.3.5 To Create a new Resume
: Please Click Main menu just created >> Click “Control Panel” >> Add Resume
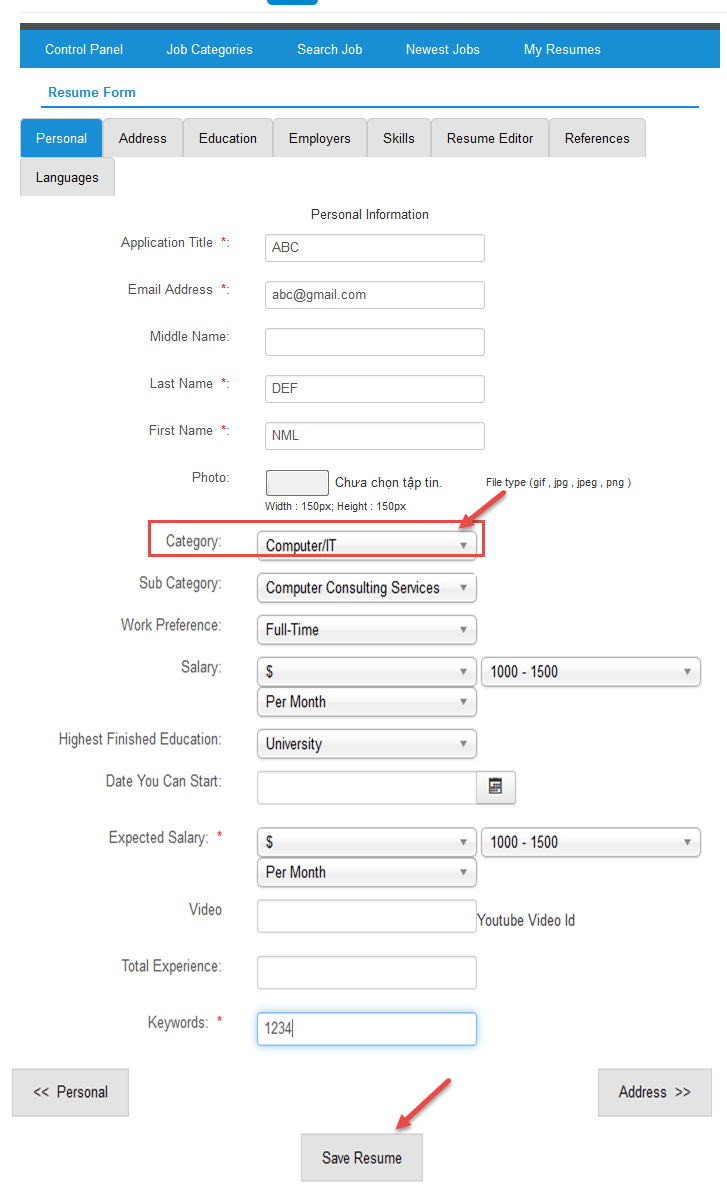
2.3.6 A new Resume
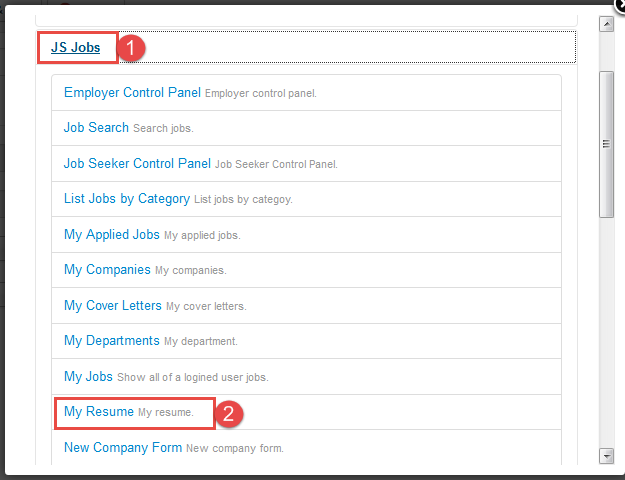
2.3.7 To see a list of Resume
: Please Click “My Resumes”

2.4 Install Module
Prepare your module package
- Firstly, you need to UNZIP file that you have downloaded. Please note that you should choose modules package that are situable with each Joomla version which you have just downloaded
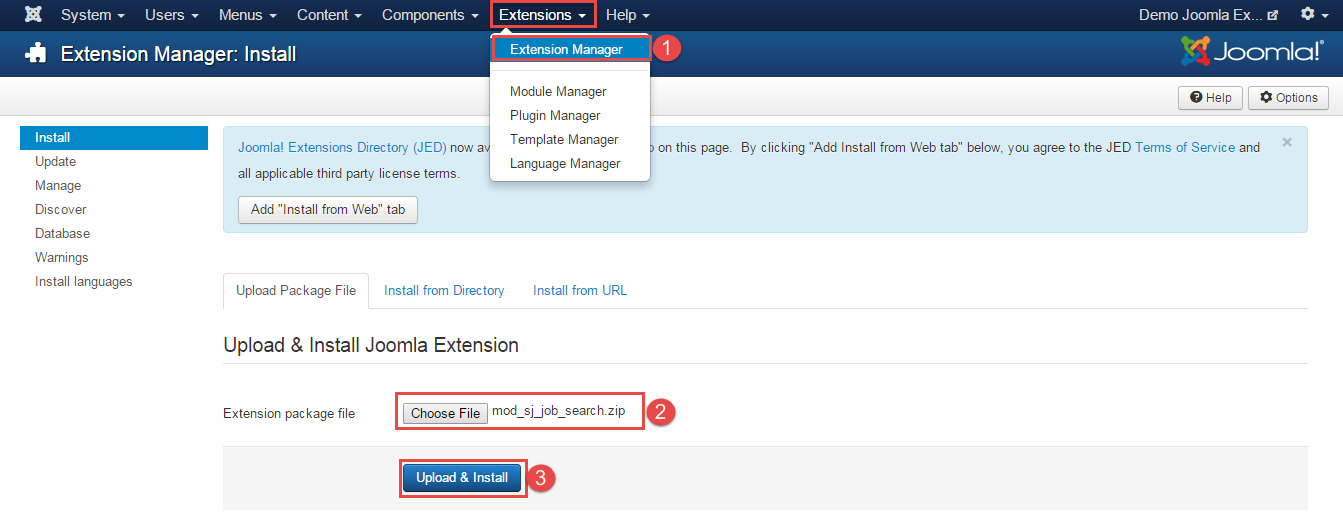
- Secondly, install main module (extracted mod_ file):
- In your Administrator page, go to Extensions -> Extension Manager. In this page, click Choose File, select module package.
- Then click Upload & Install
- Please wait for module being installed, usually within several seconds.
- Now go to Extensions -> Module Manager, click Select Type box and choose the module you have installed
- Prepare to perform Module Configuration
3MODULE CONFIGURATION – Back to top
3.1 Module Demo
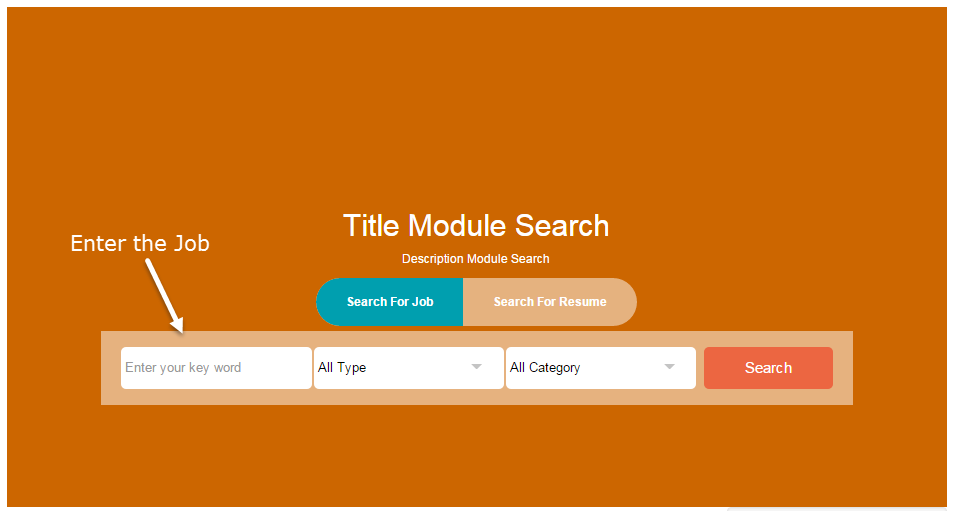
3.2 Module Configuration
Note:We used the images of module’s installation on Joomla 3.x to illustrate
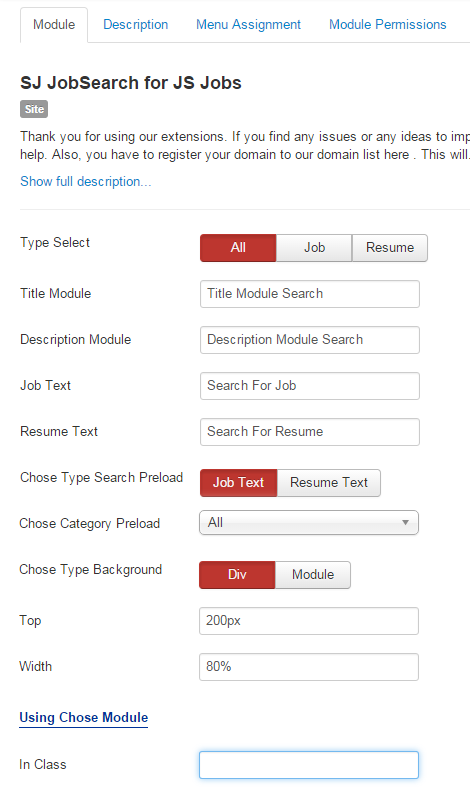
After installing, go to Extension -> Module Manager and find SJ Job Search for JS Jobs to configure.
SJ Job Search for JS Jobs module is configured in 2 main groups of parameters as following:
- Module
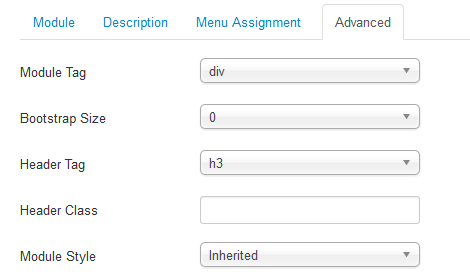
- Advanced
Let’s look at the parameters in detail:
4SUPPORT – Back to top
Thank you so much for purchasing this module. If you have any questions that are beyond the scope of this help file, please send us via: Submit a Ticket
Thanks so much!
